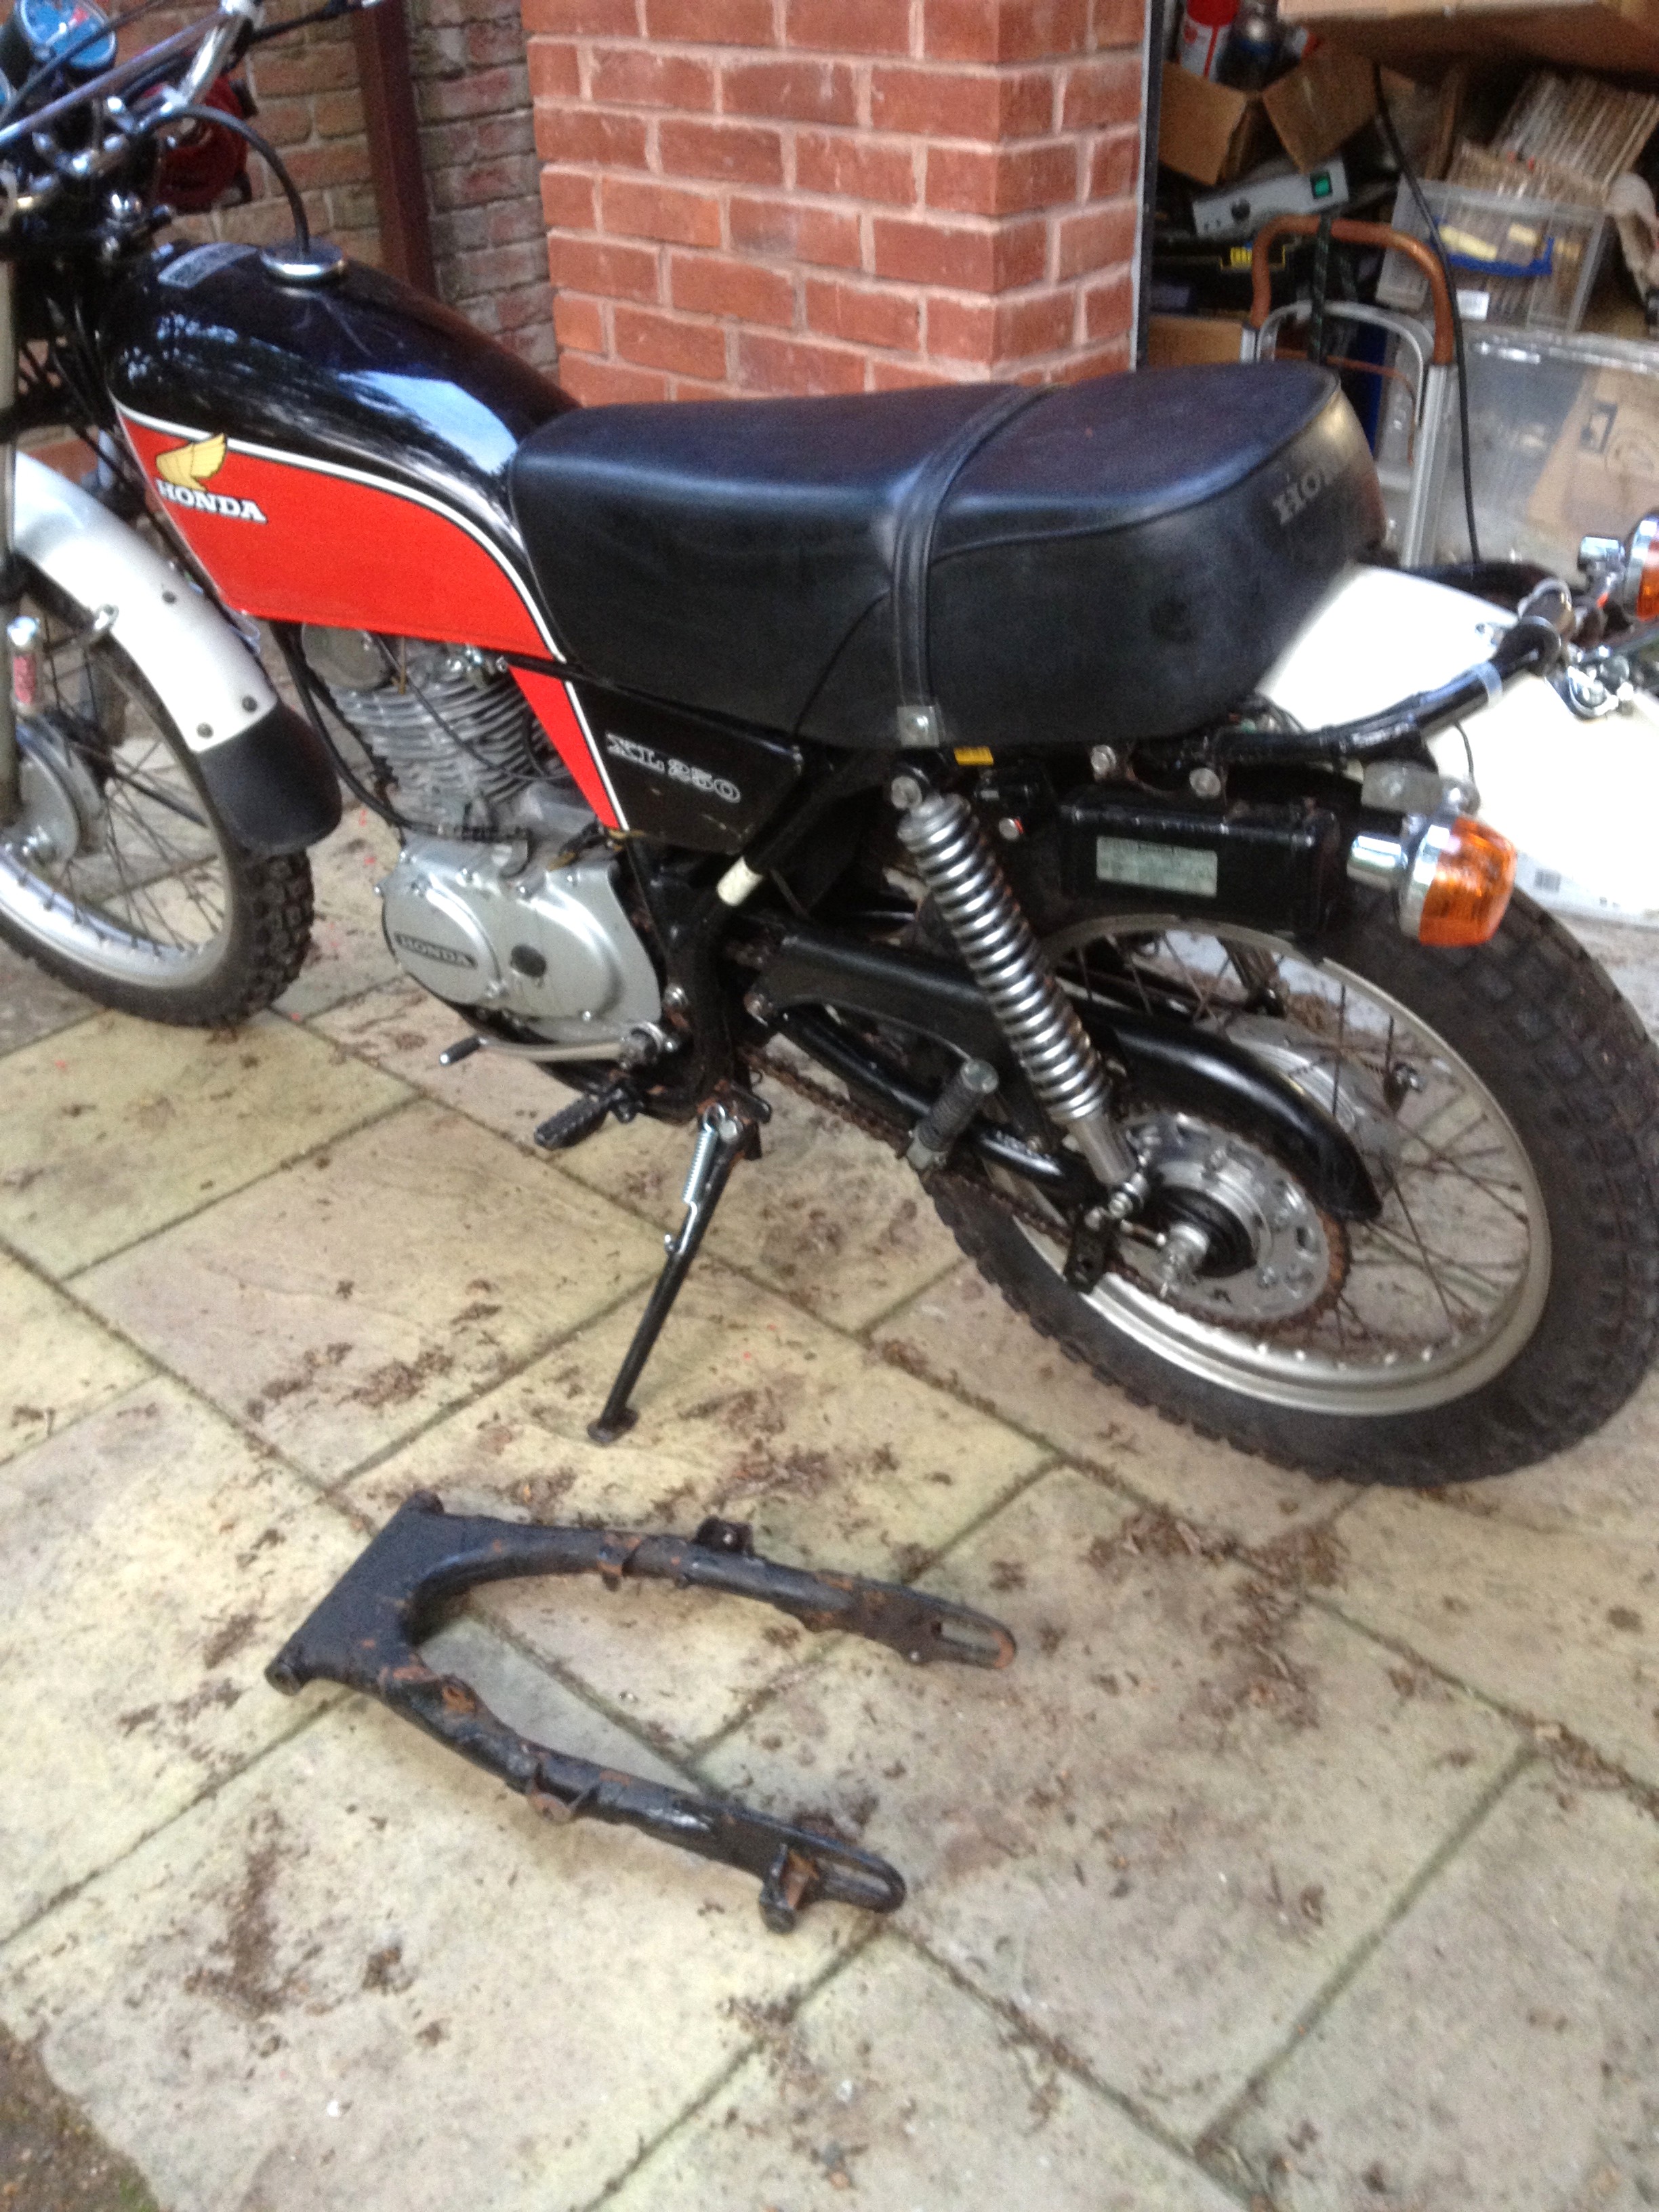
So, today's job is to swop the old swinging arm for the new one!
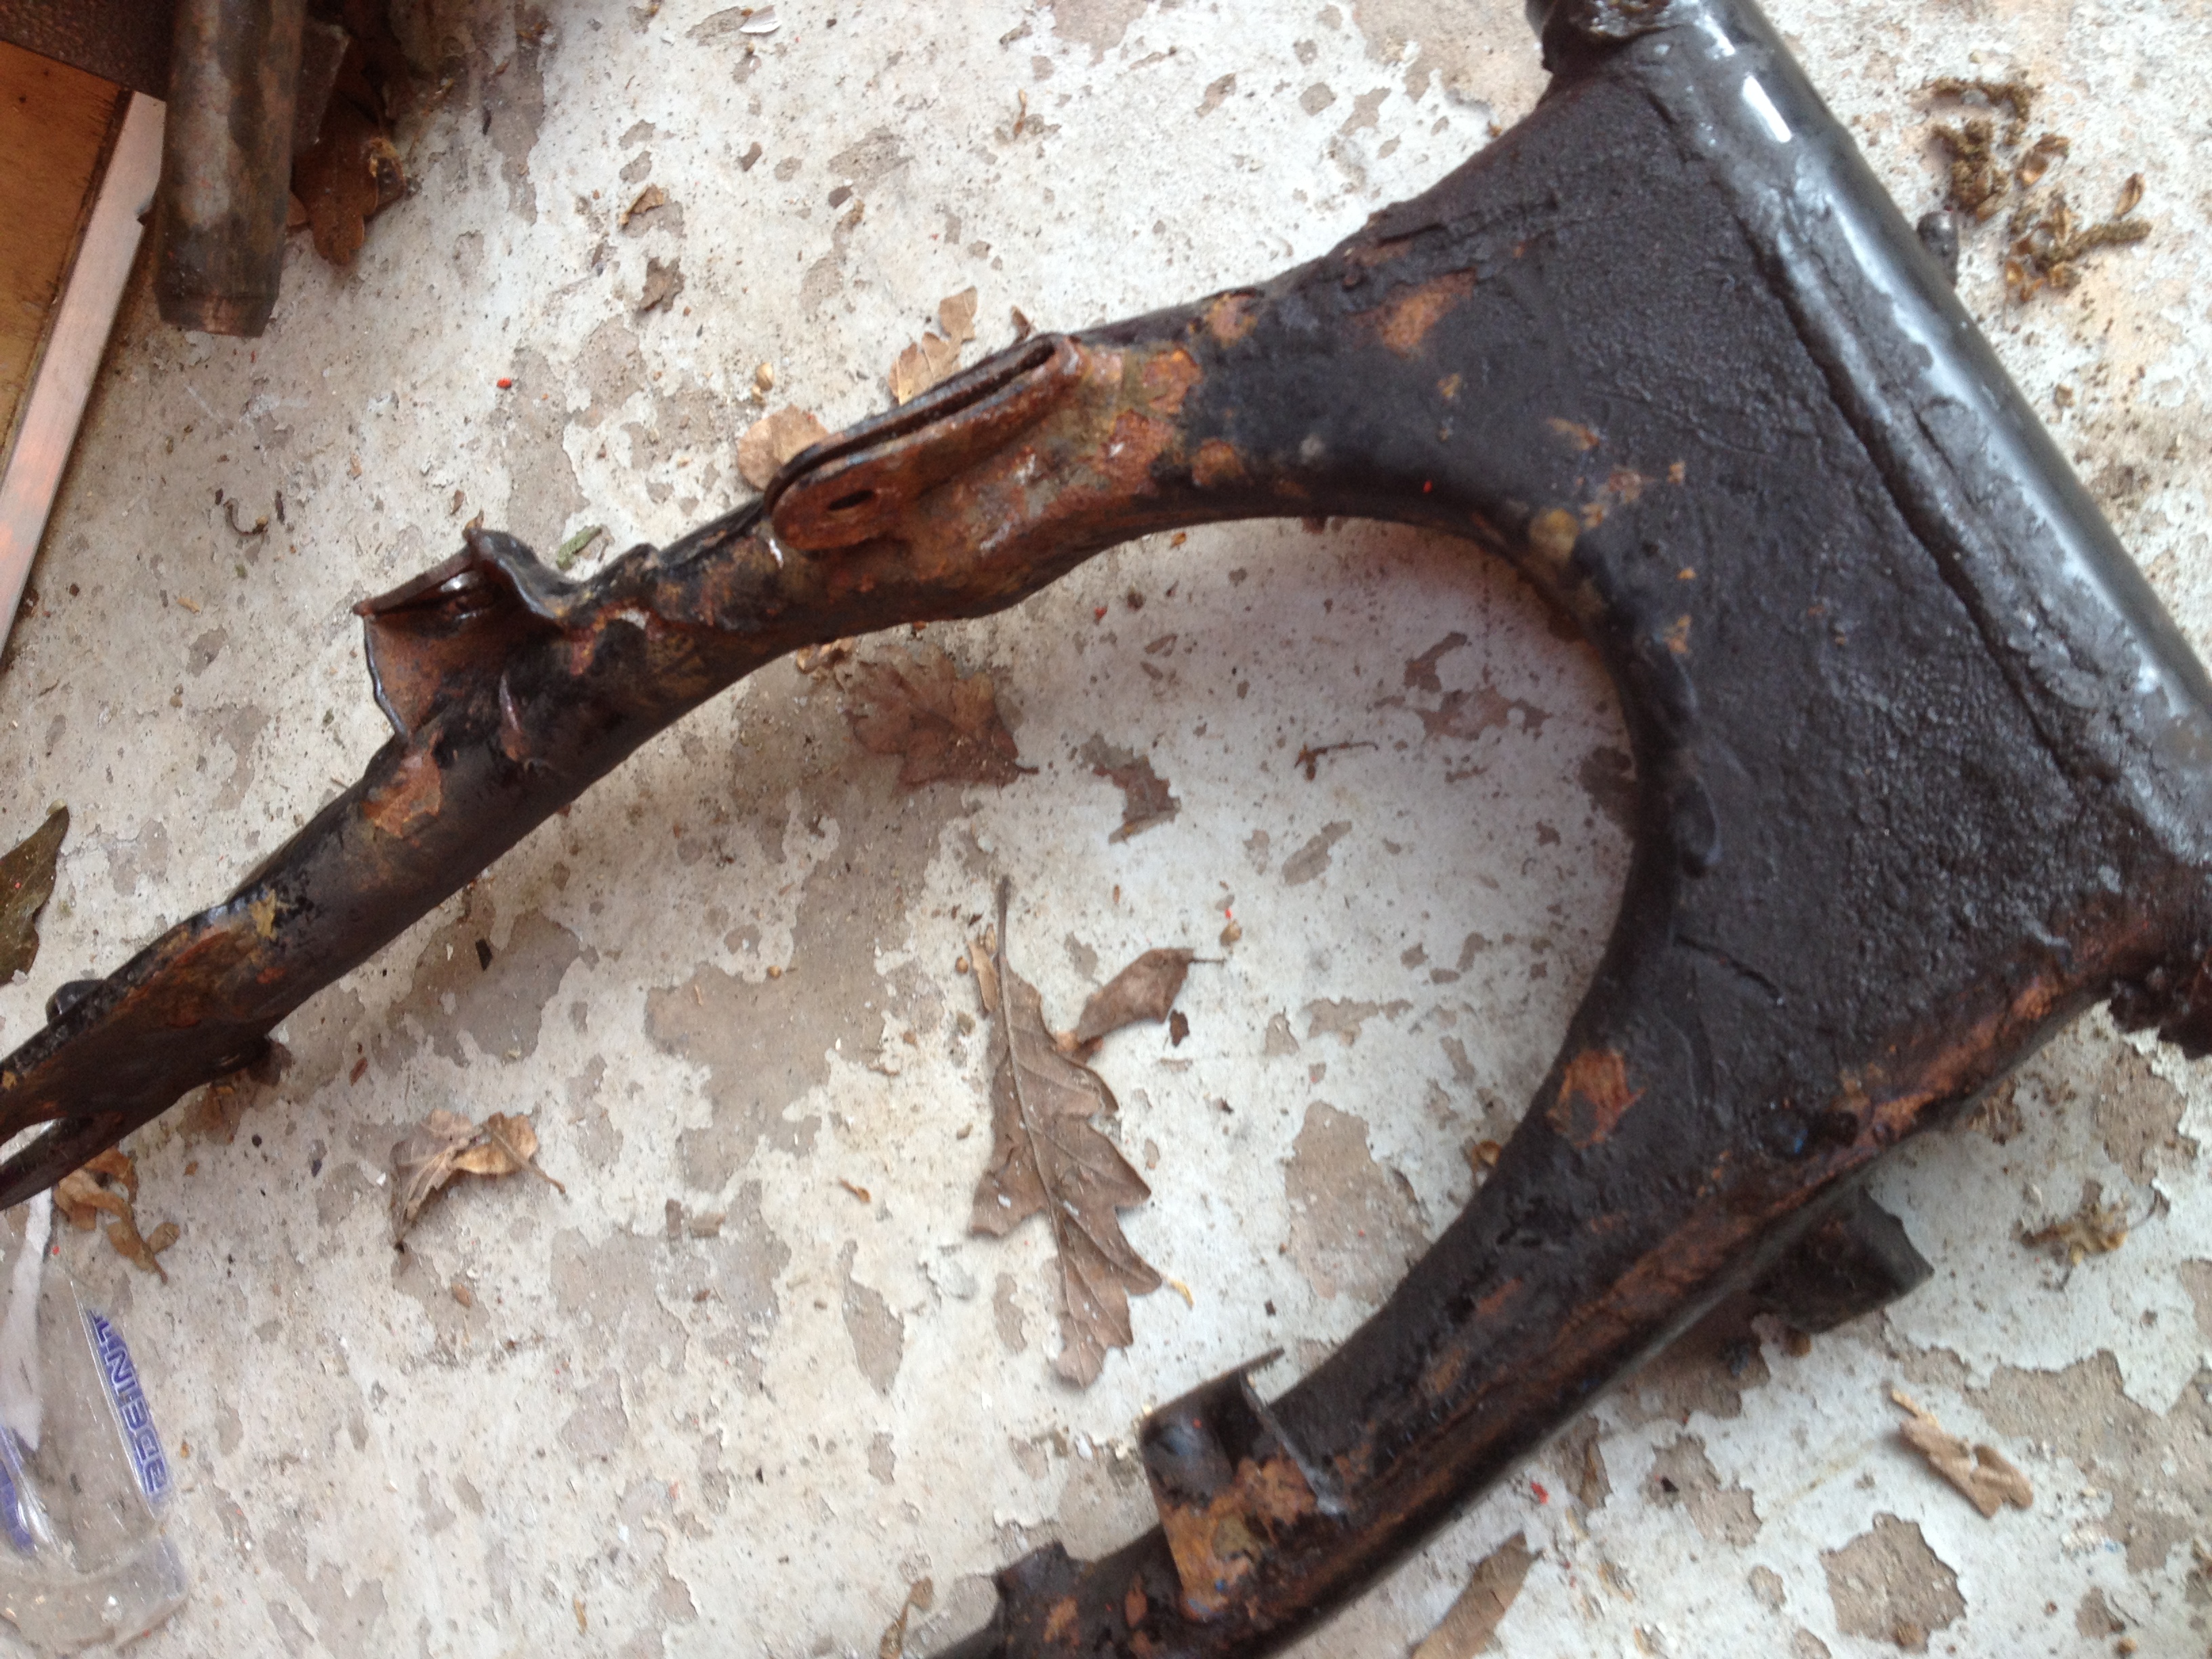
Here is a picture of a typical arm as removed from a bike. They can have a hard life. There is a bit about the bushes if you look at the XL350 project page somewhere on this site. OK it's HERE . Mine had been mended where the rear footrests bolt on and was hand painted and rusty. So, time to fit a better one!
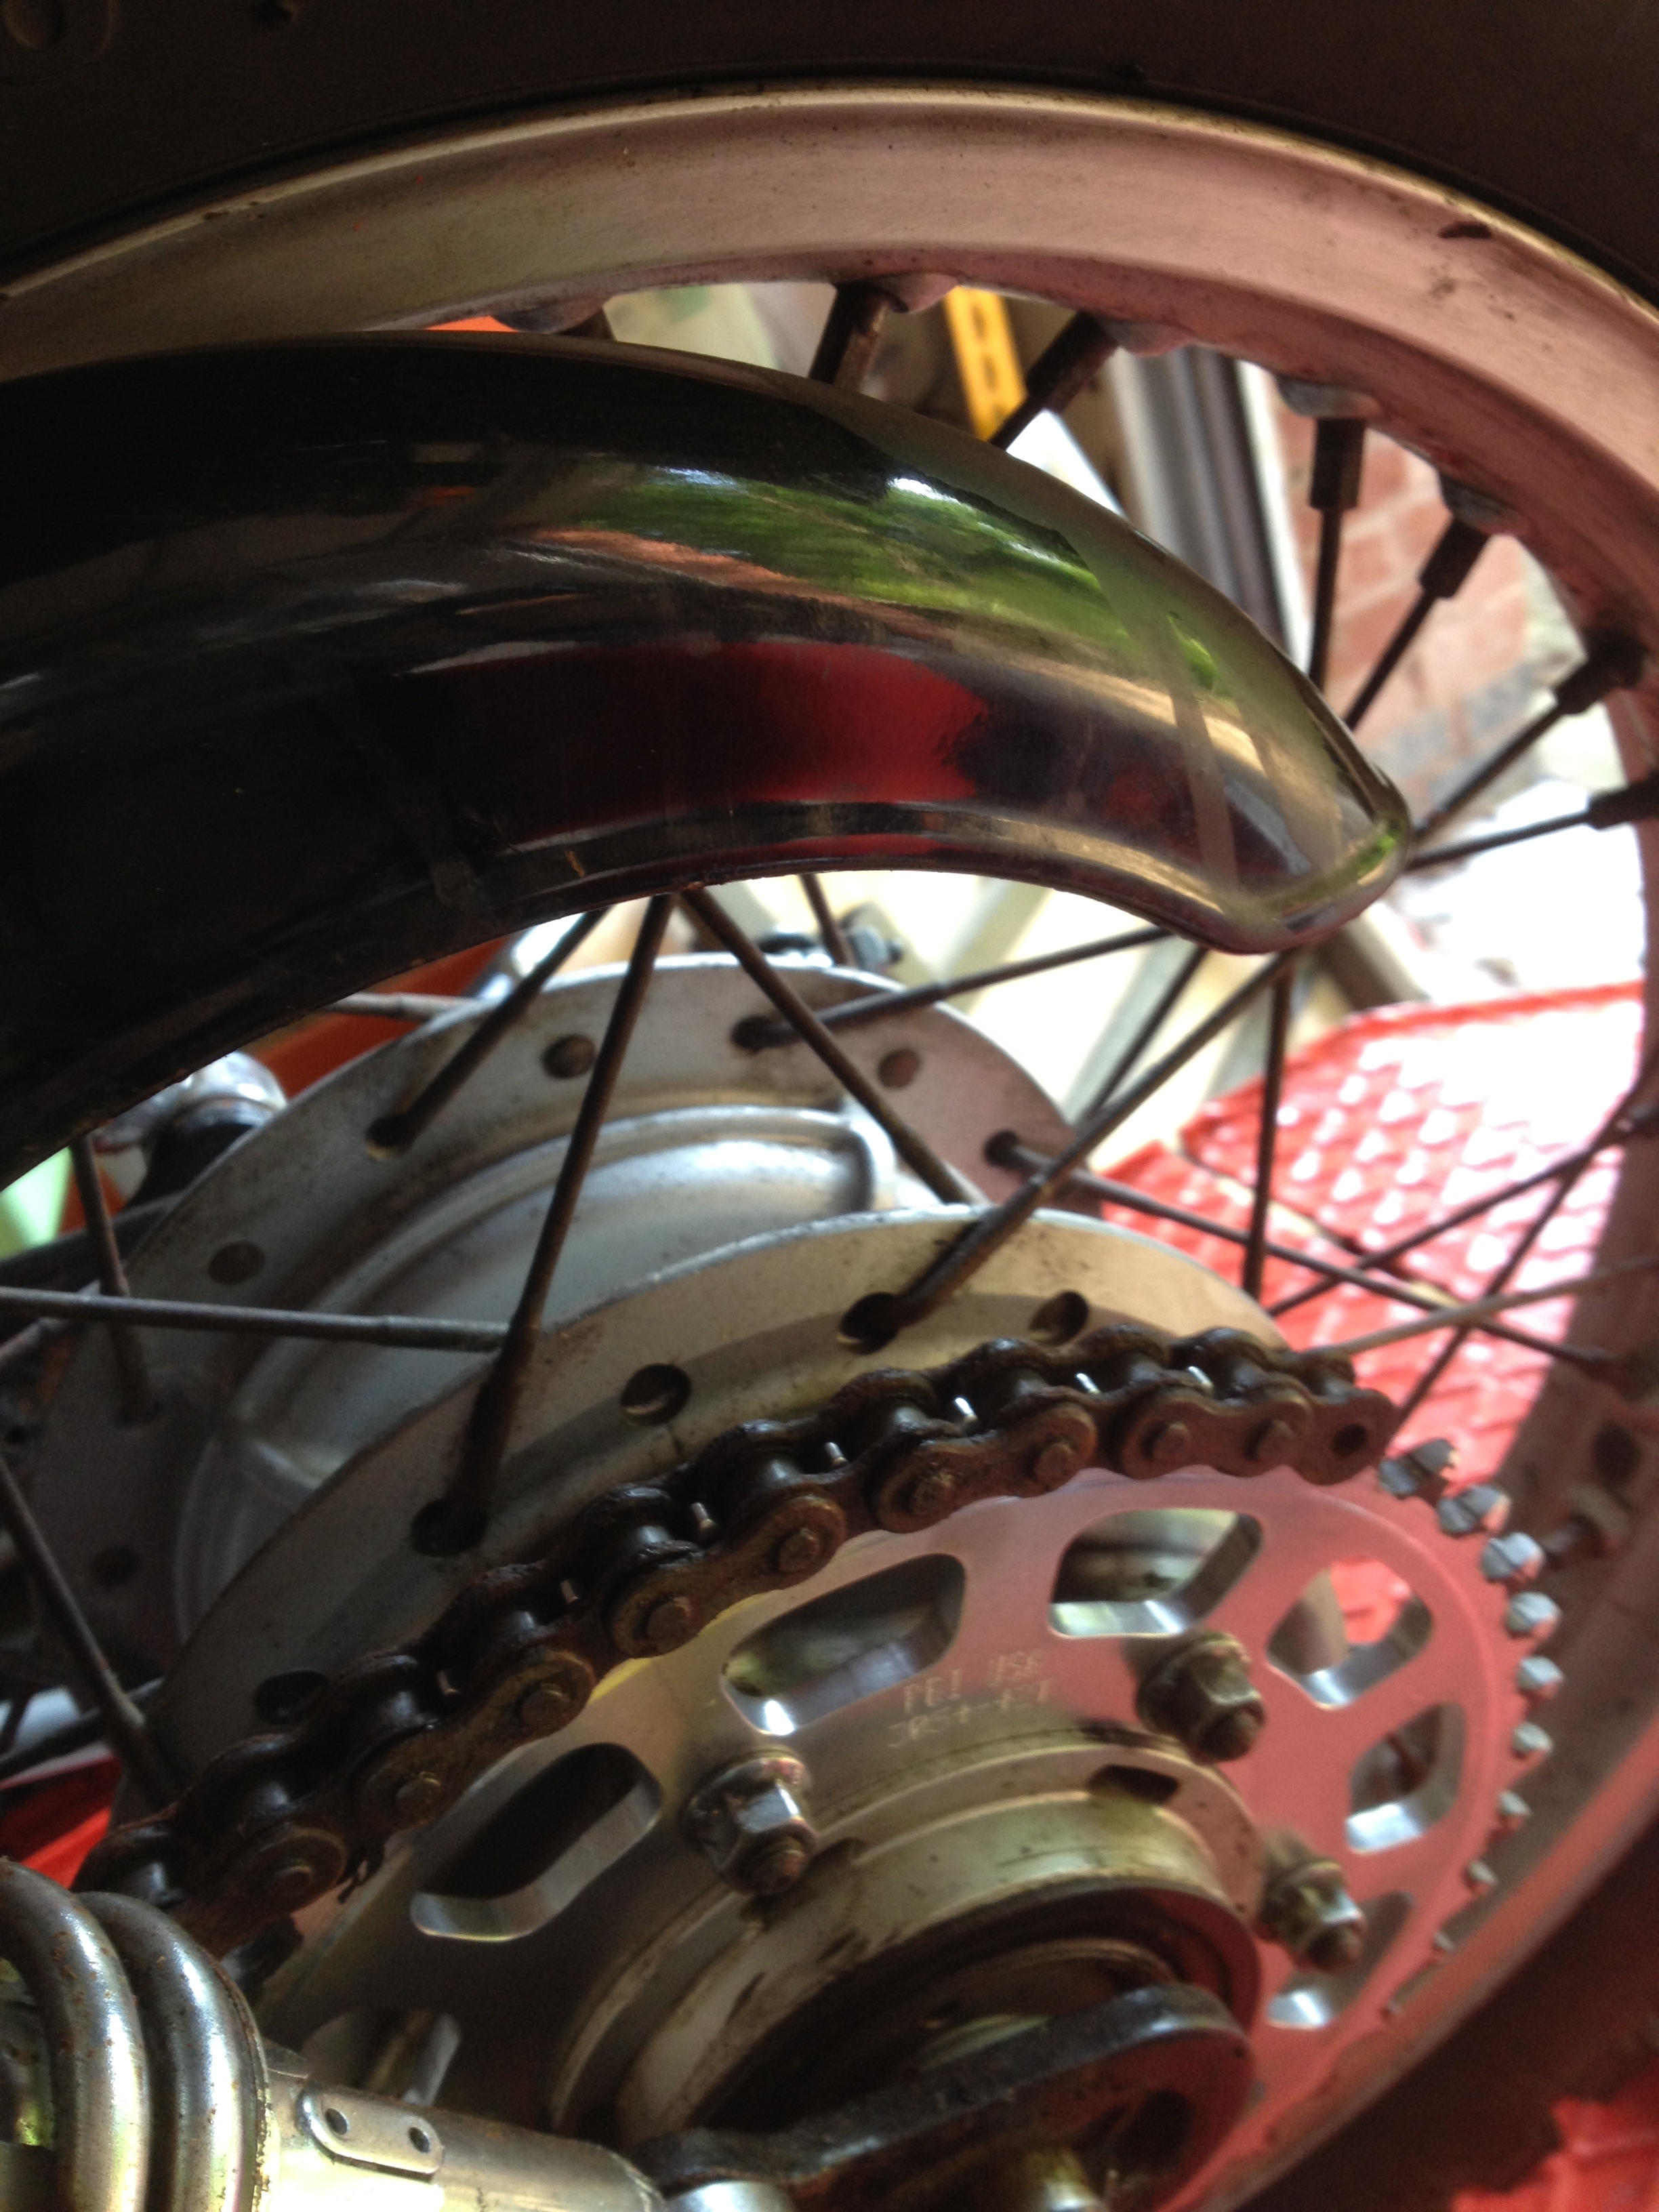
Firstly, I need to remove the rear wheel. This is done by removing the split pin on the rear axle castellated nut. Undo the castellated nut and then fit it back on loosely the wrong way round.
This means that when you hit it with a real hammer (mine is nylon faced so I don't need to do this) you won't damage the nut or threads. You could also use a piece of wood to protect the threads. Use these tips on the swinging arm spindle too (see below).
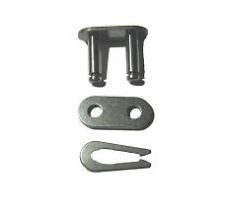
You also need to remove the chain. always move the wheel round until the split link is in the middle of the sprocket when removing or fitting a chain, because it is easier. Remove the split link 'fish' spring and push the remainder of the link out to separate the two ends of the chain.
Remove the two outer chainguard bolts, so the rear end of the chainguard can be hinged up clear of the sprocket to aid rear wheel removal.
If you are swopping the chainguard over onto a replacement swinging arm like I am, you might as well undo all three M6 nuts and remove the chainguard altogether. I also removed the metal chain guide, held on by two M8 x 16 bolts. The front one is easier to get to with the chainguard off. Remember that when re-assembling the parts.
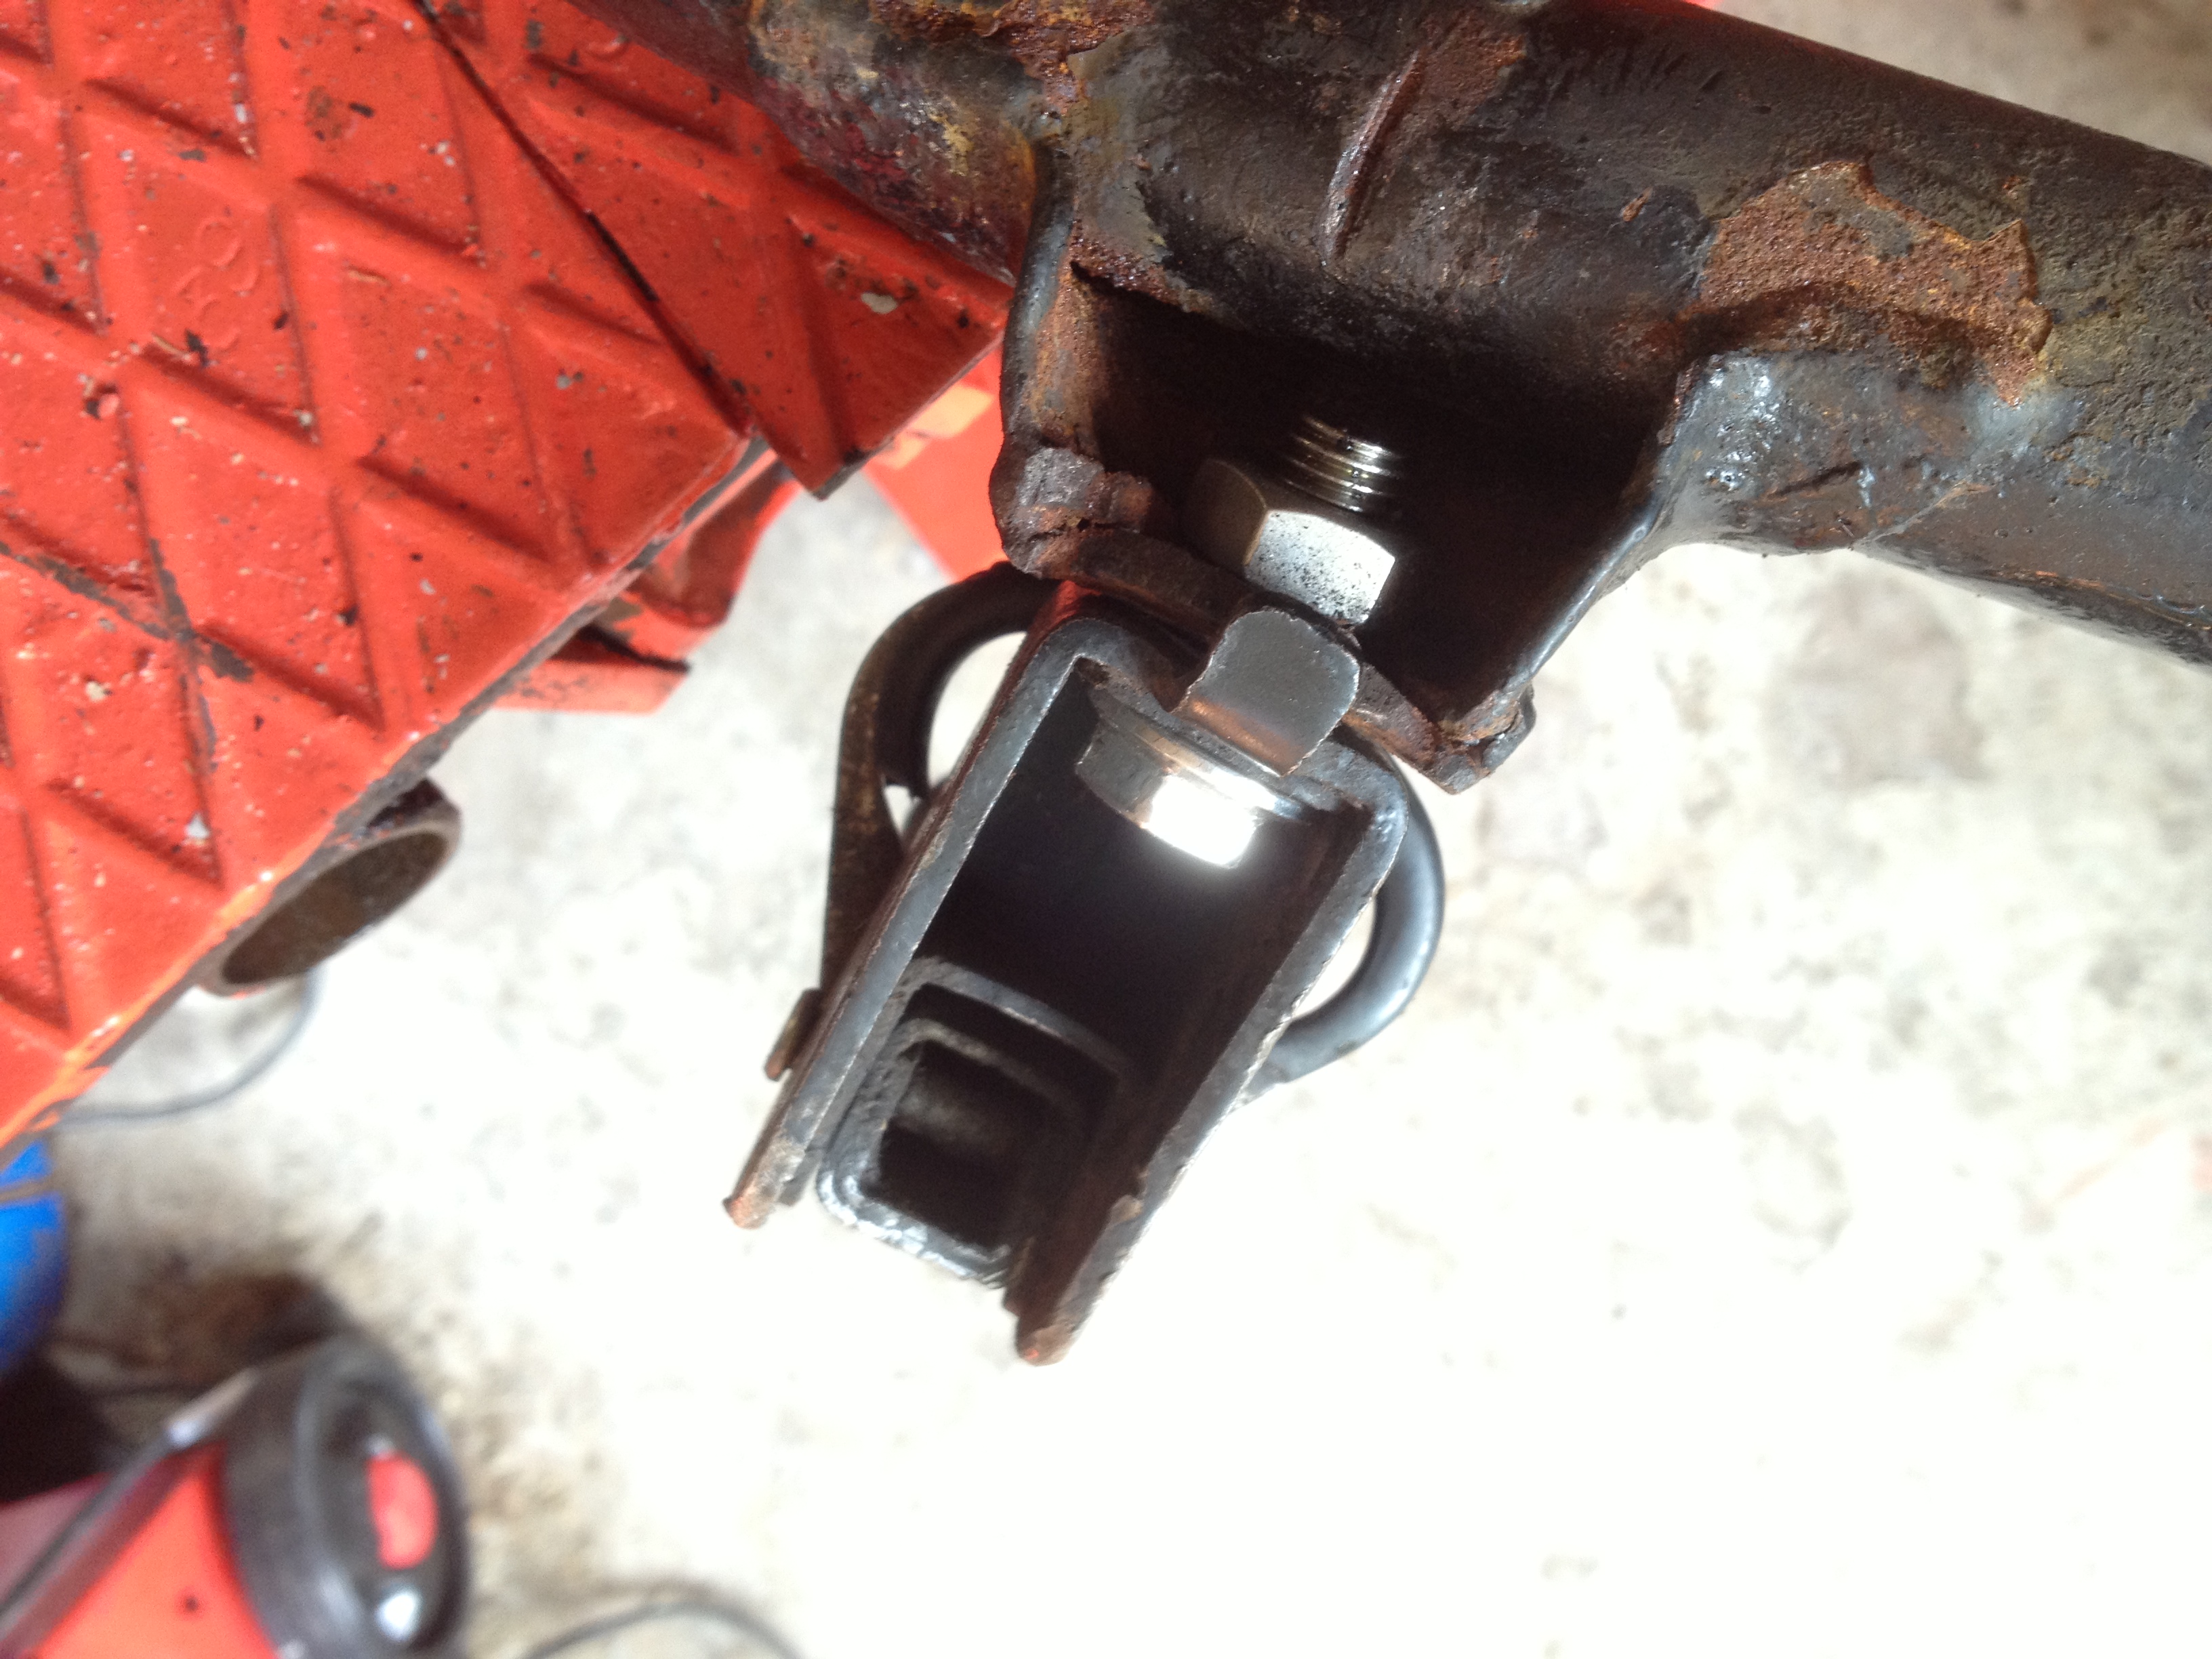
Next move is to disconnect the rear stay, the arm that connects the rear brake hub to the frame,

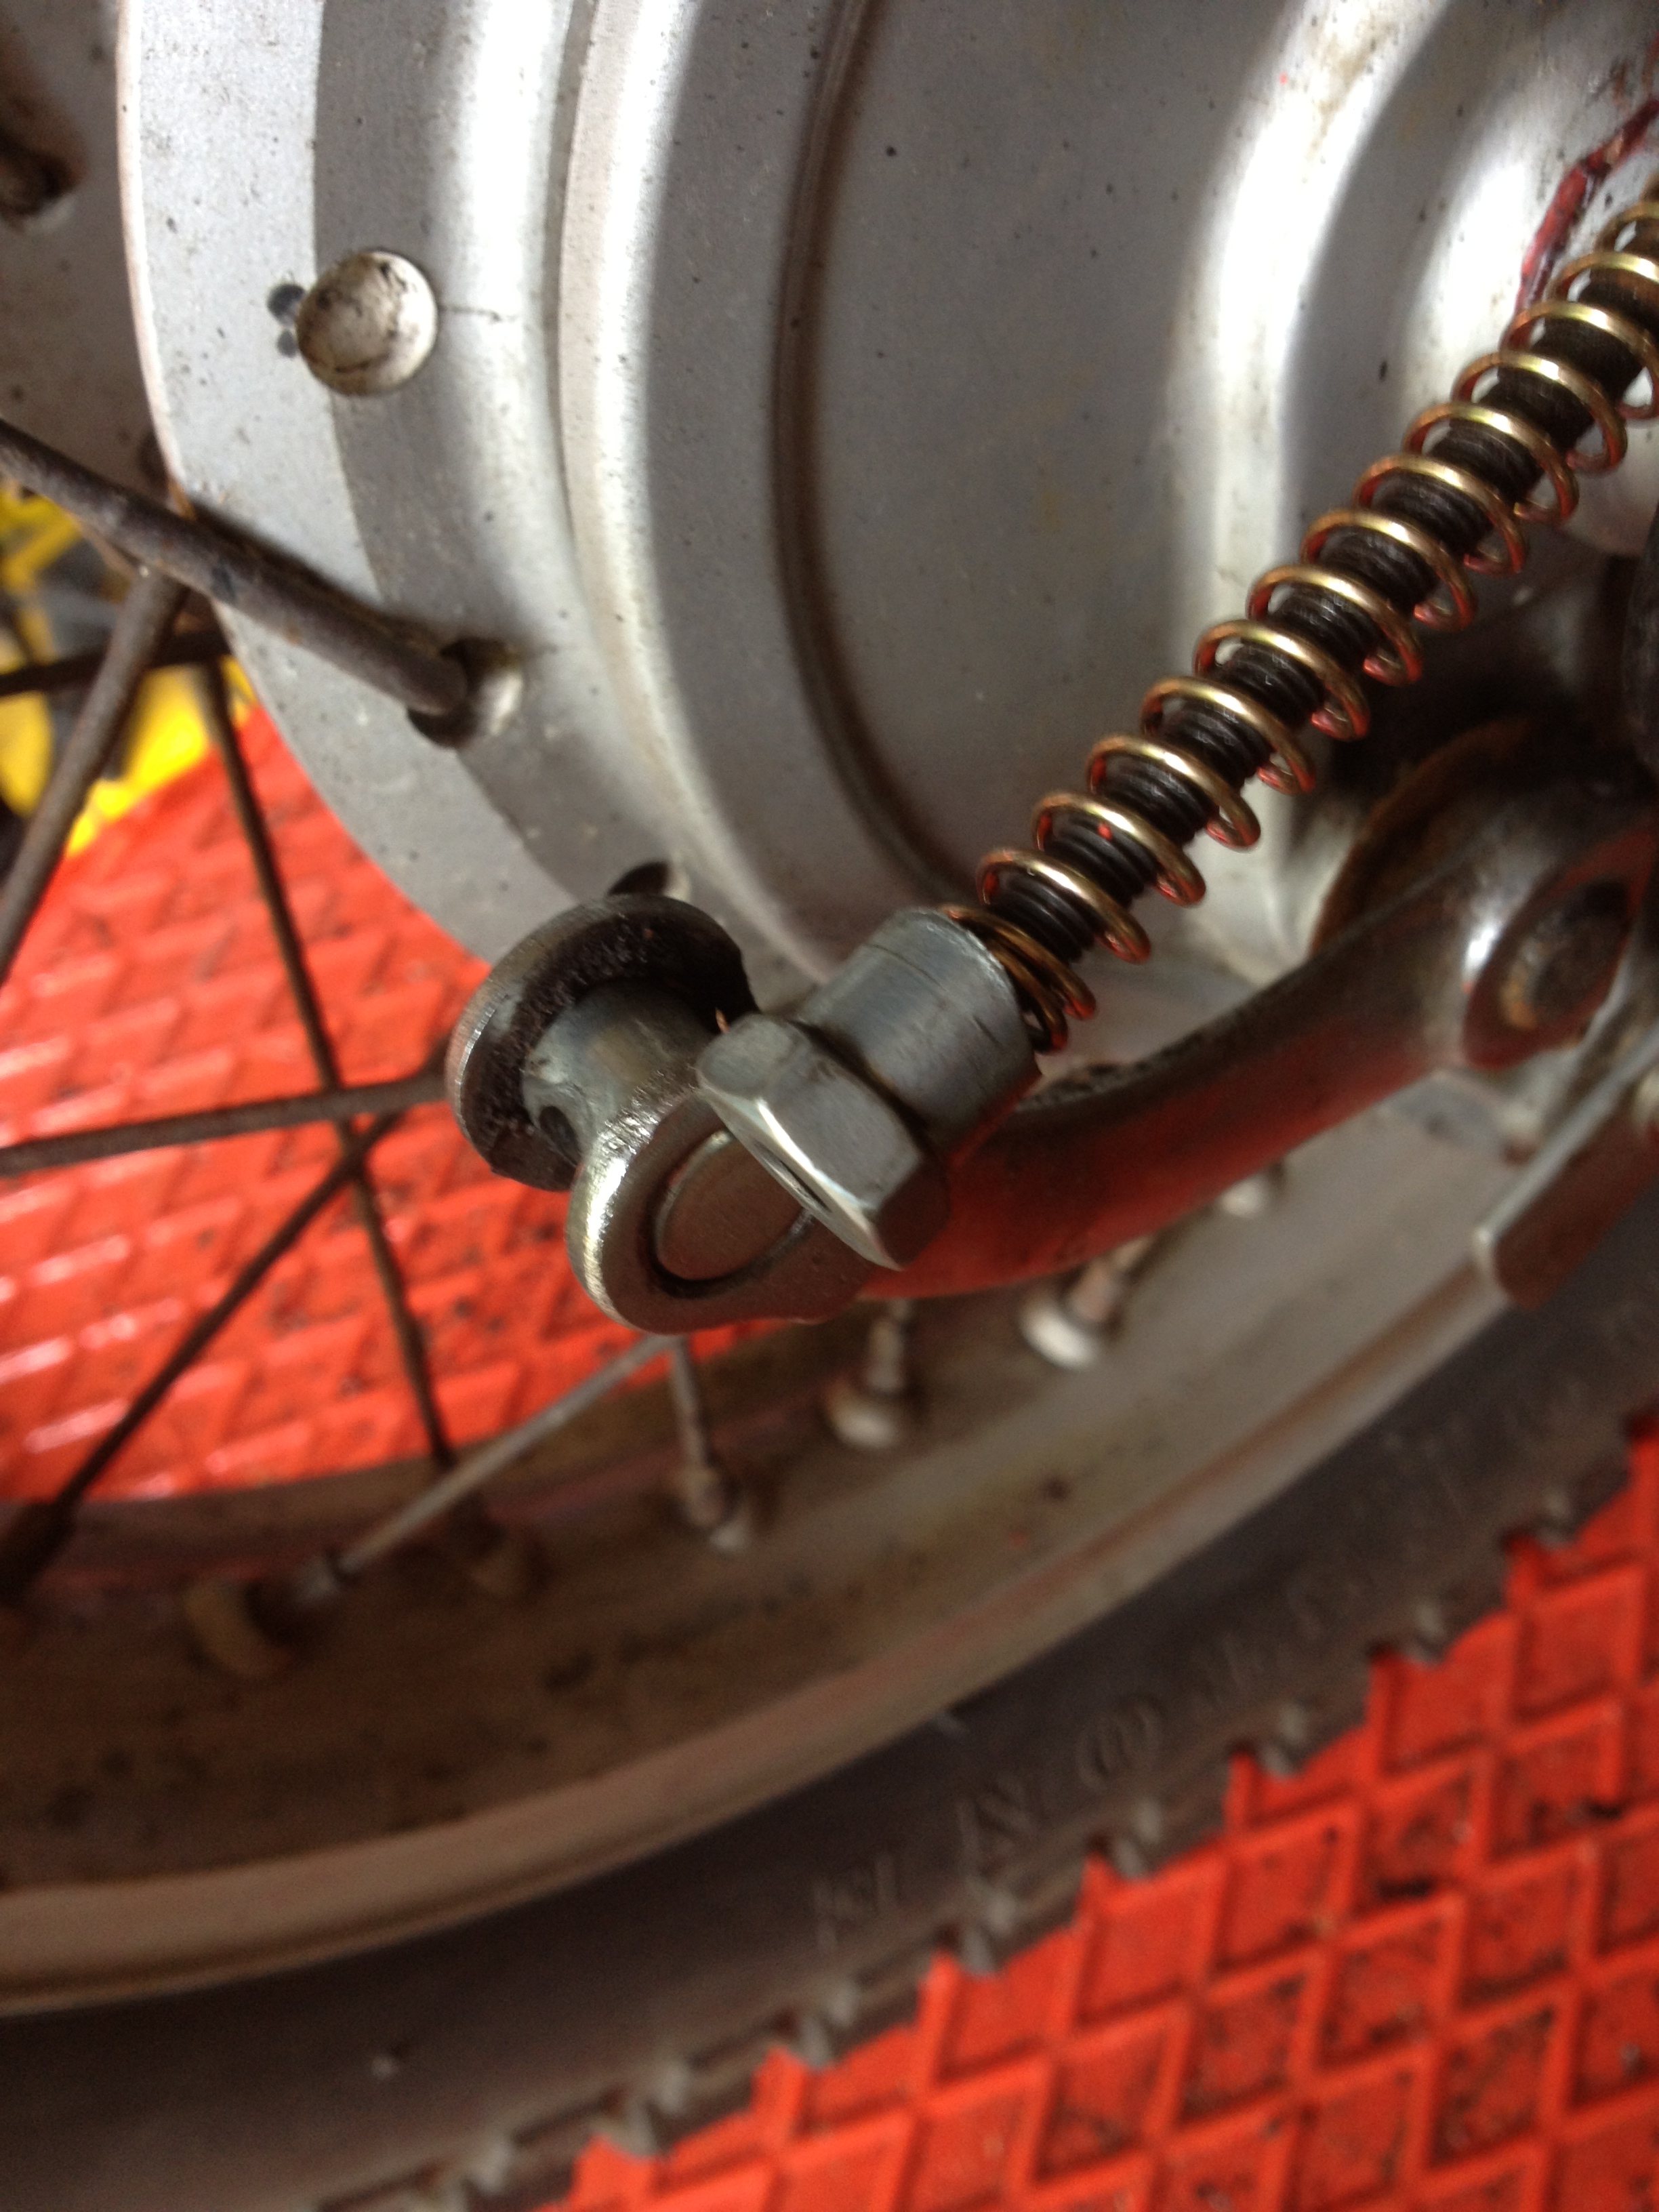
and the rear rear brake cable at the arm.
When the rear spindle is knocked out the rear wheel can be removed. I have removed the wrong-way- round wheel nut as I have a nylon faced mallet. At this point maybe have a small cold beer to refresh yourself.
I put a small trolley jack under the sump with a piece of timber to prevent damage to the sumpguard. My bike ramp has a panel that can be removed to aid rear wheel removal.
. and thus
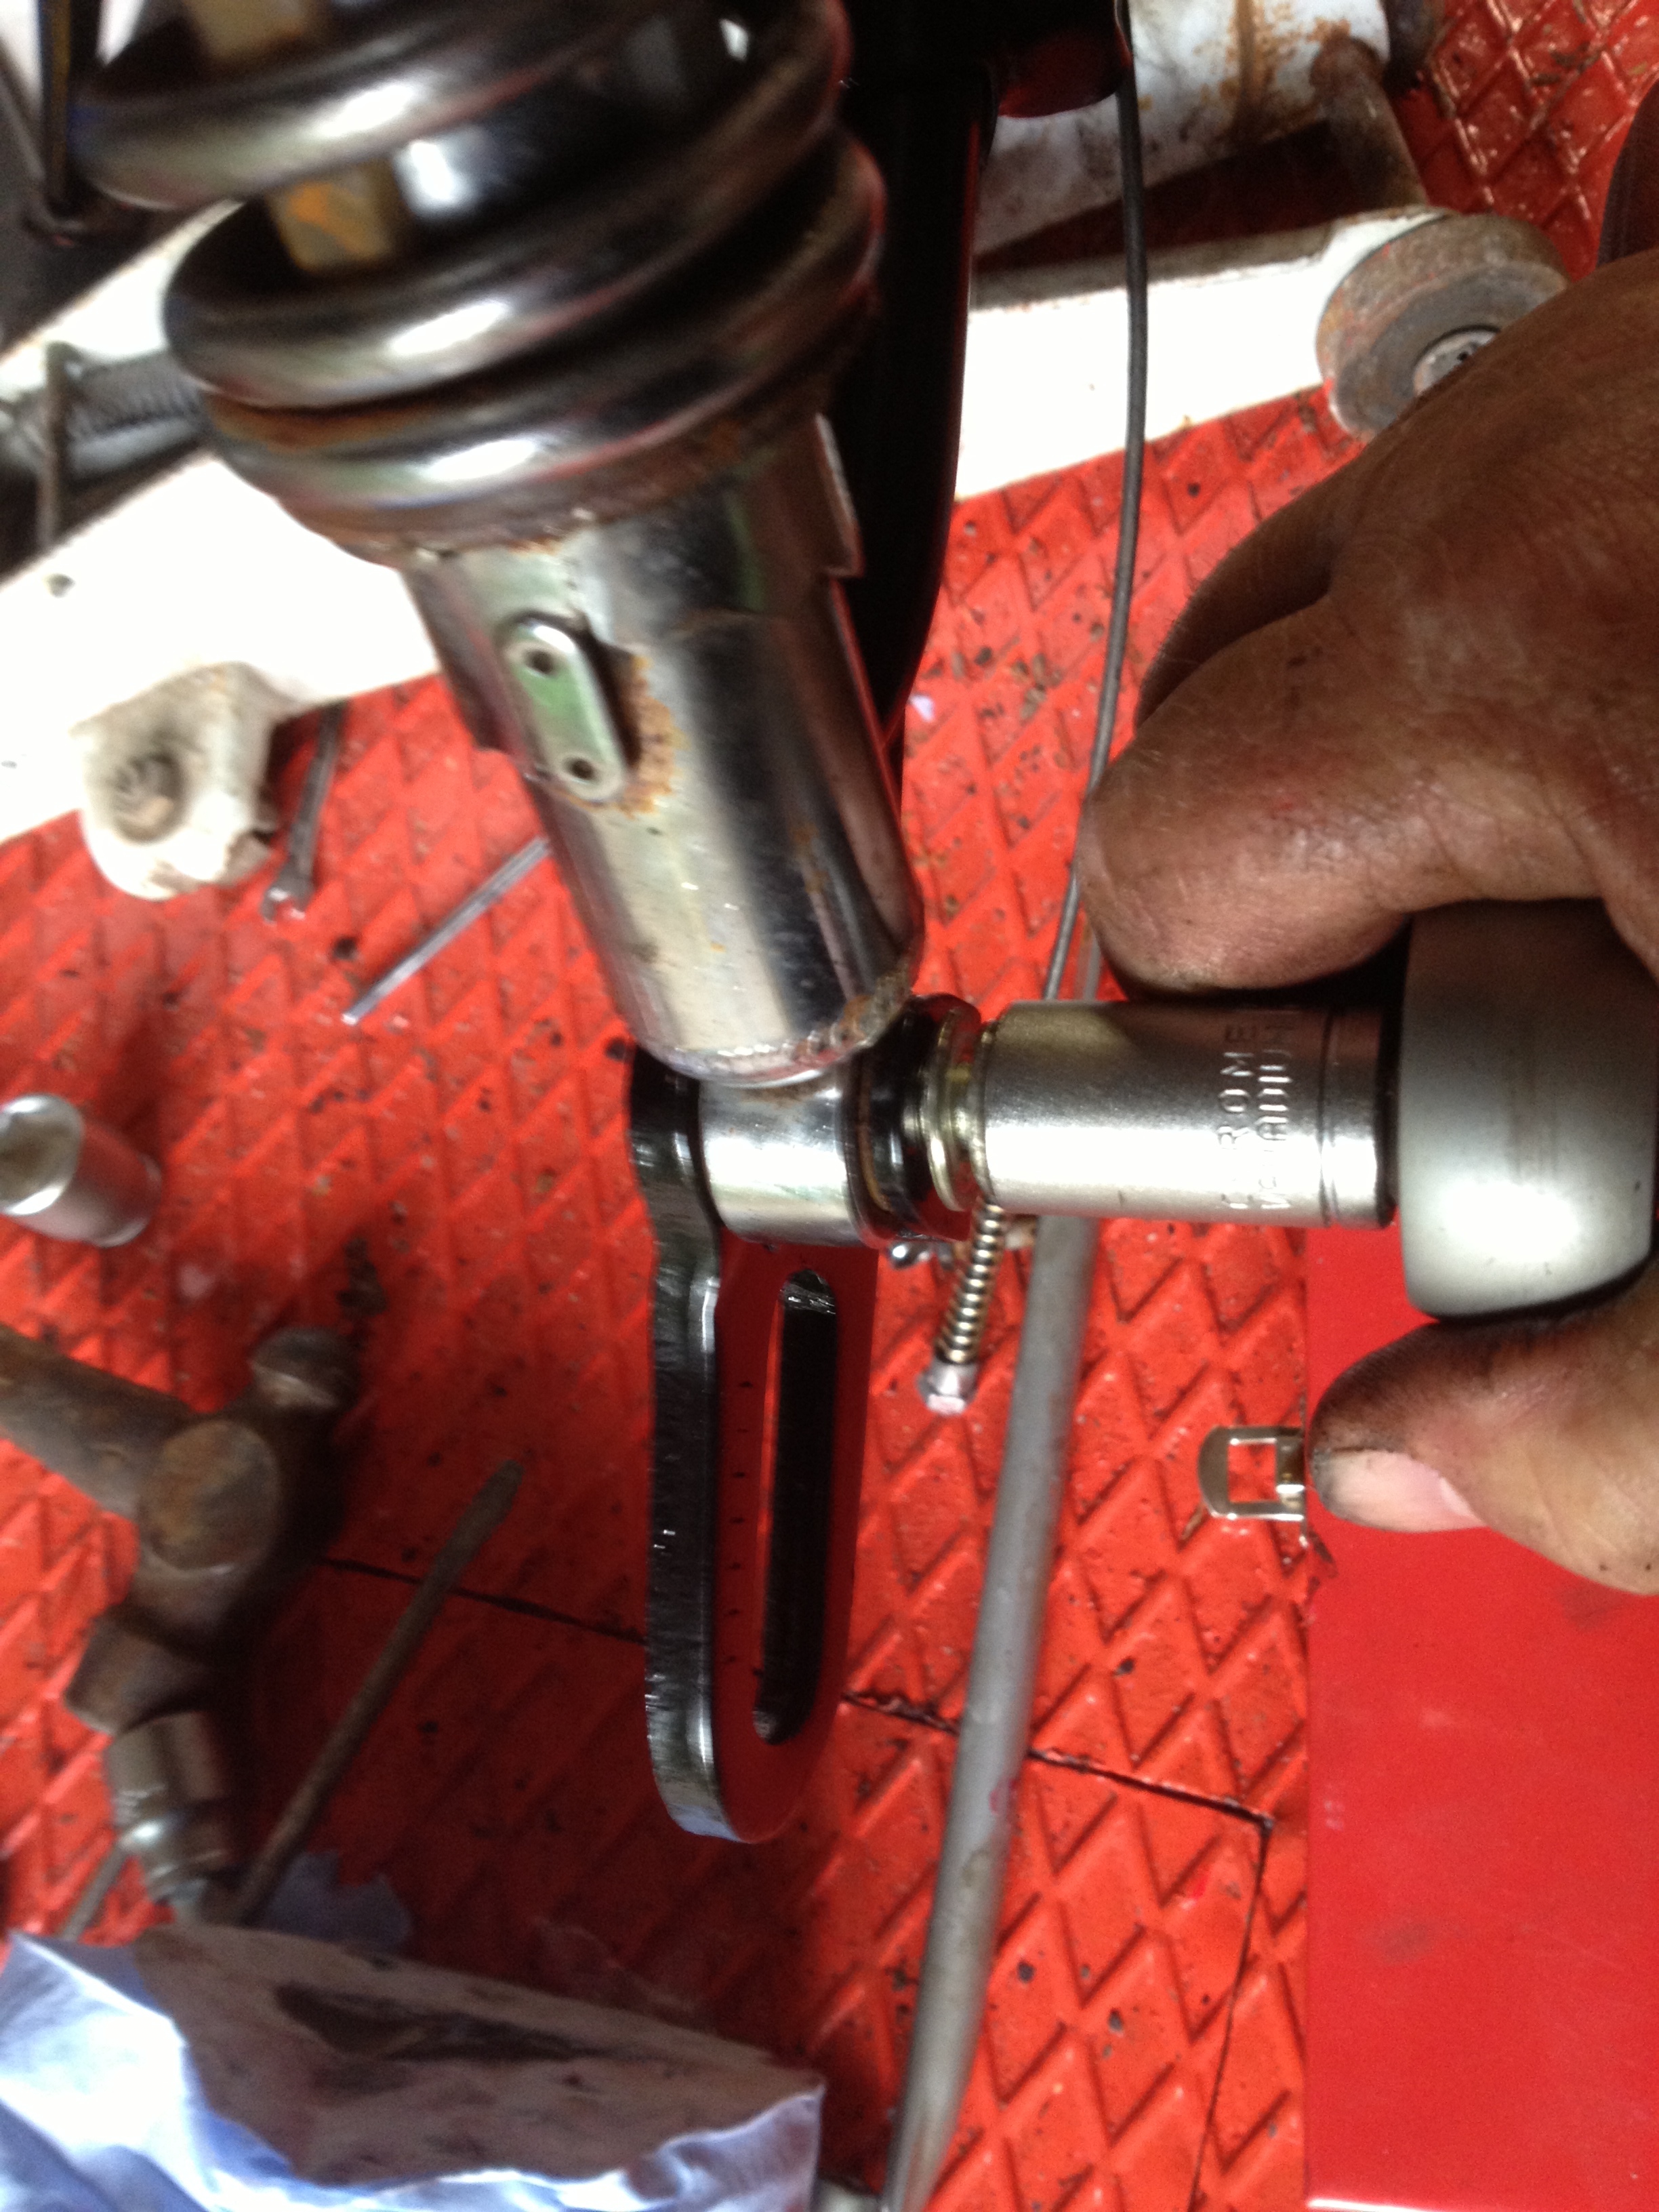
The next step is to undo the two bolts at the bottom of the rear dampers.
When this has been done, you can undo the swinging arm spindle bolt on the left side, and knock the spindle out.
You will have to stop the other end from spinning (thanks Chris) and it helps to undo the rear brake light switch to get at this.
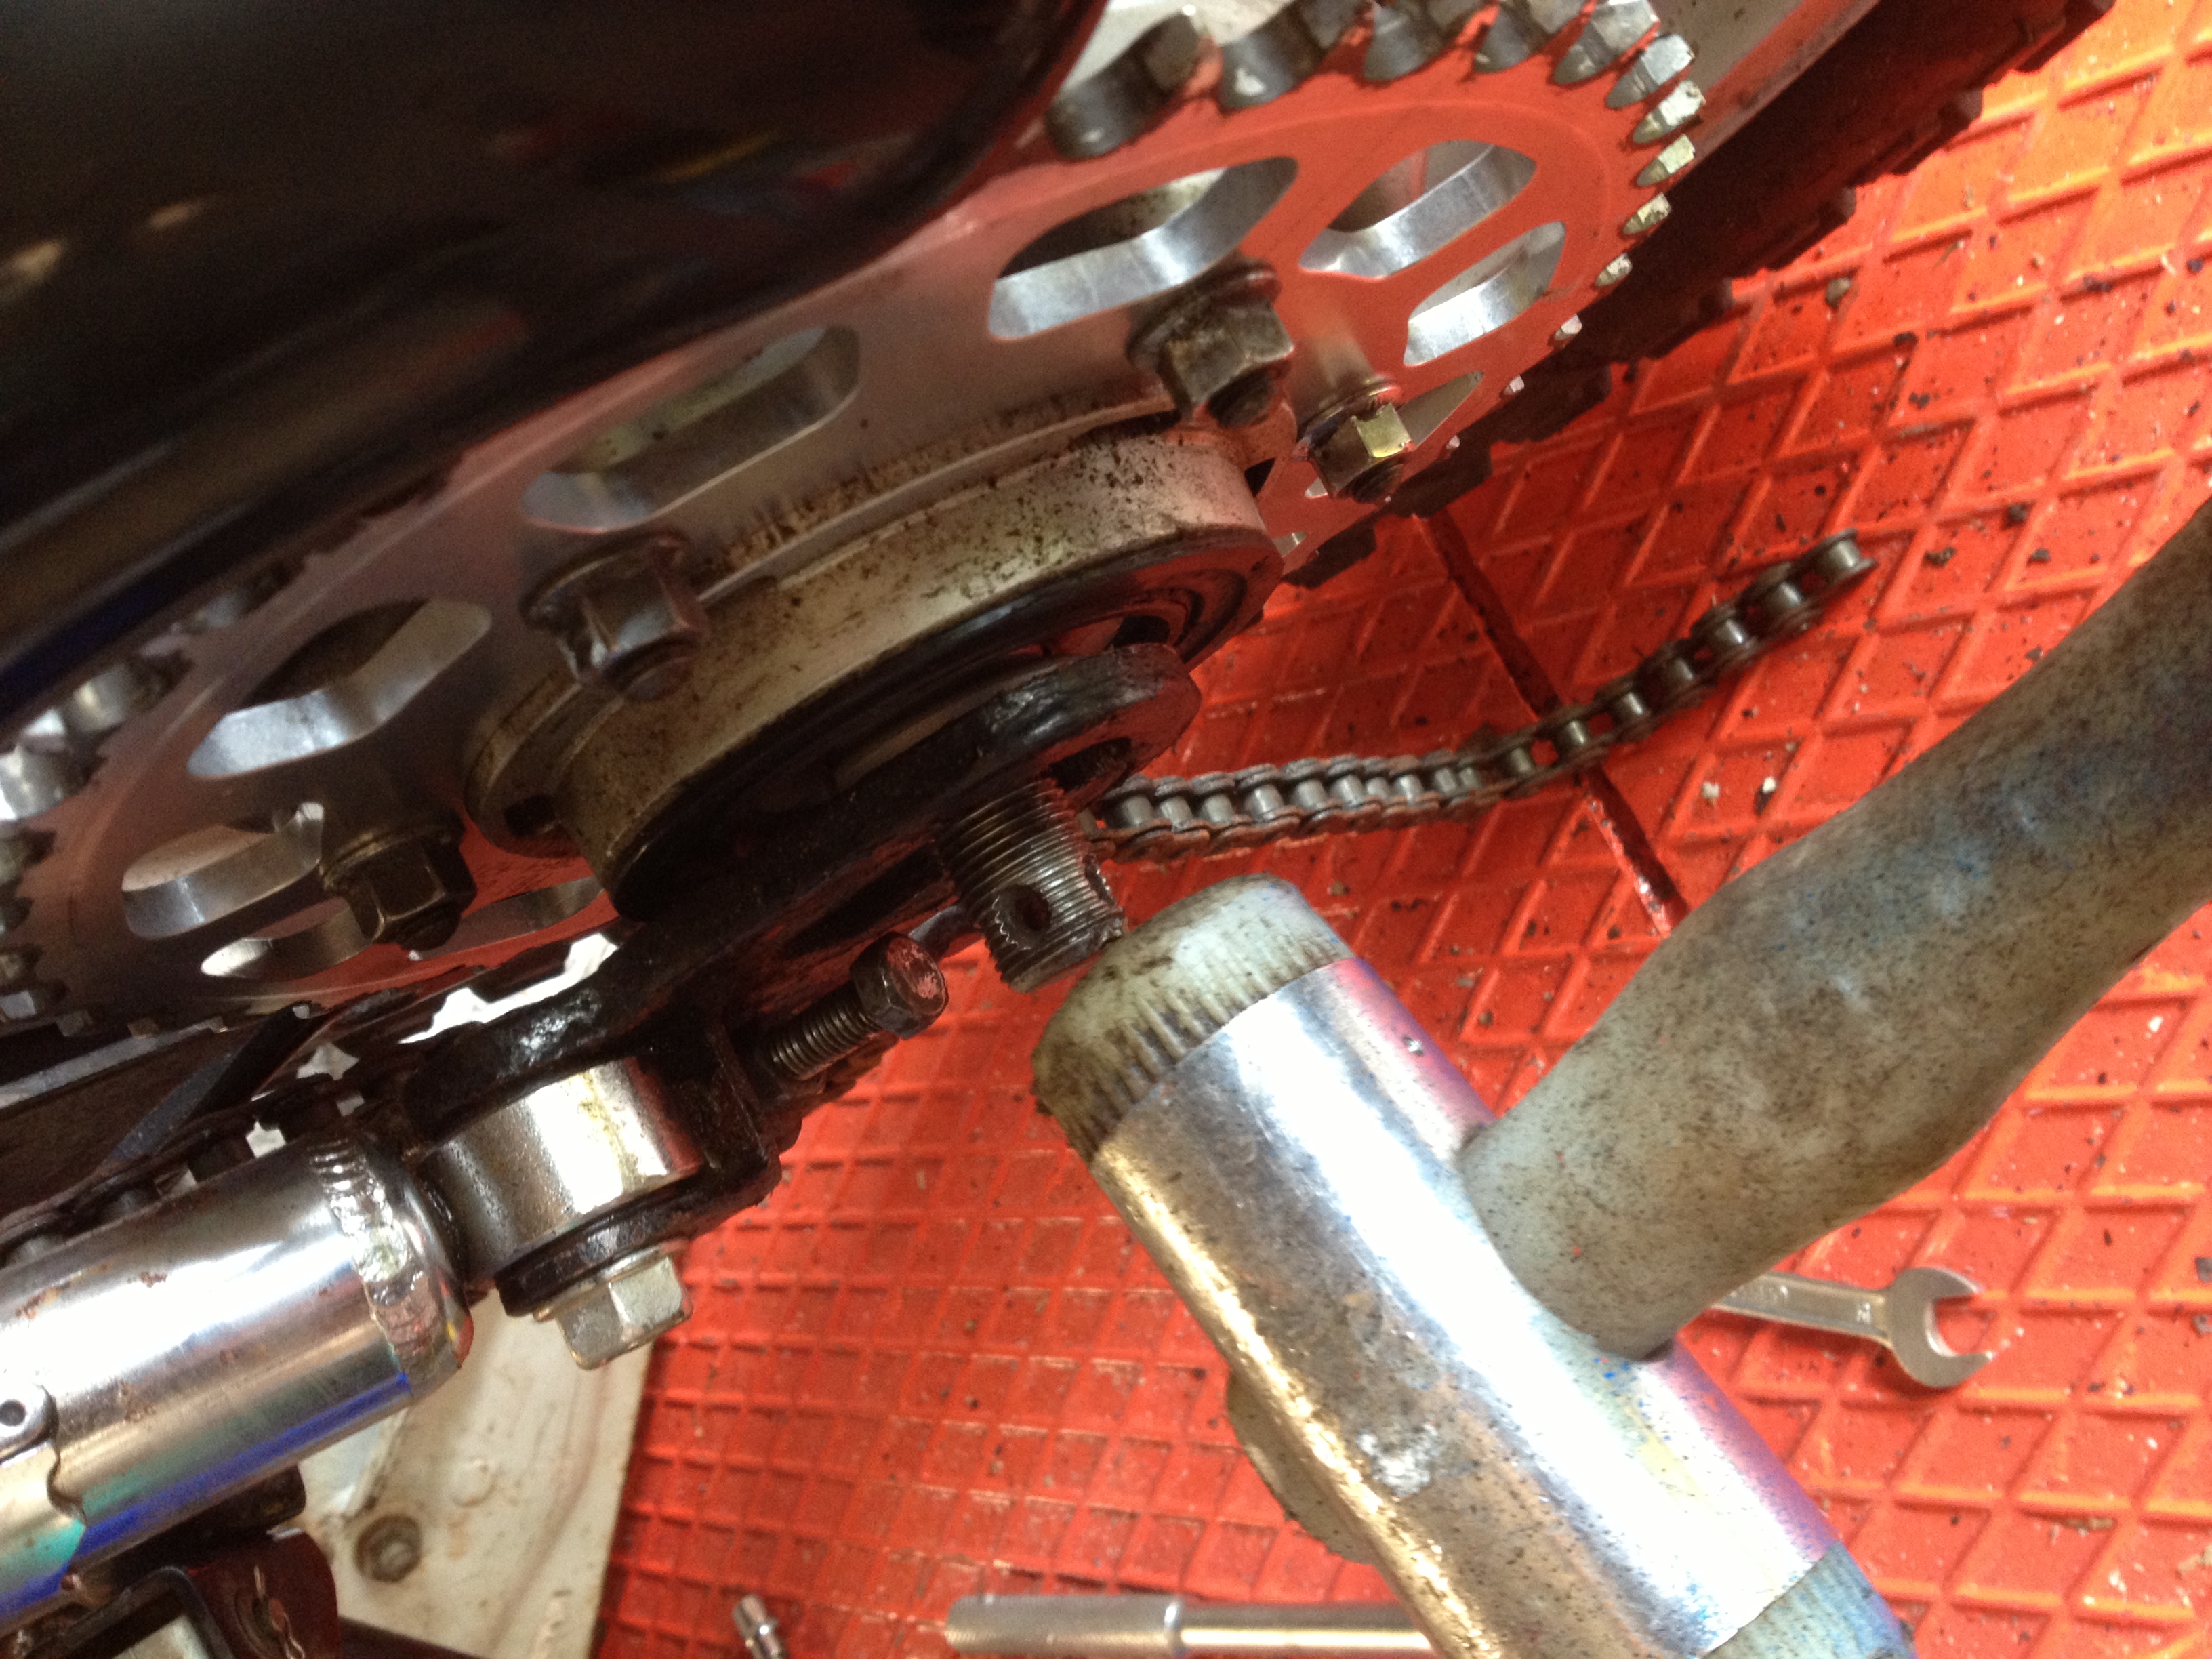
I then removed the chain guide, as access to the inner bolt is easier with no wheel in place. I also removed the footrests and set them aside.
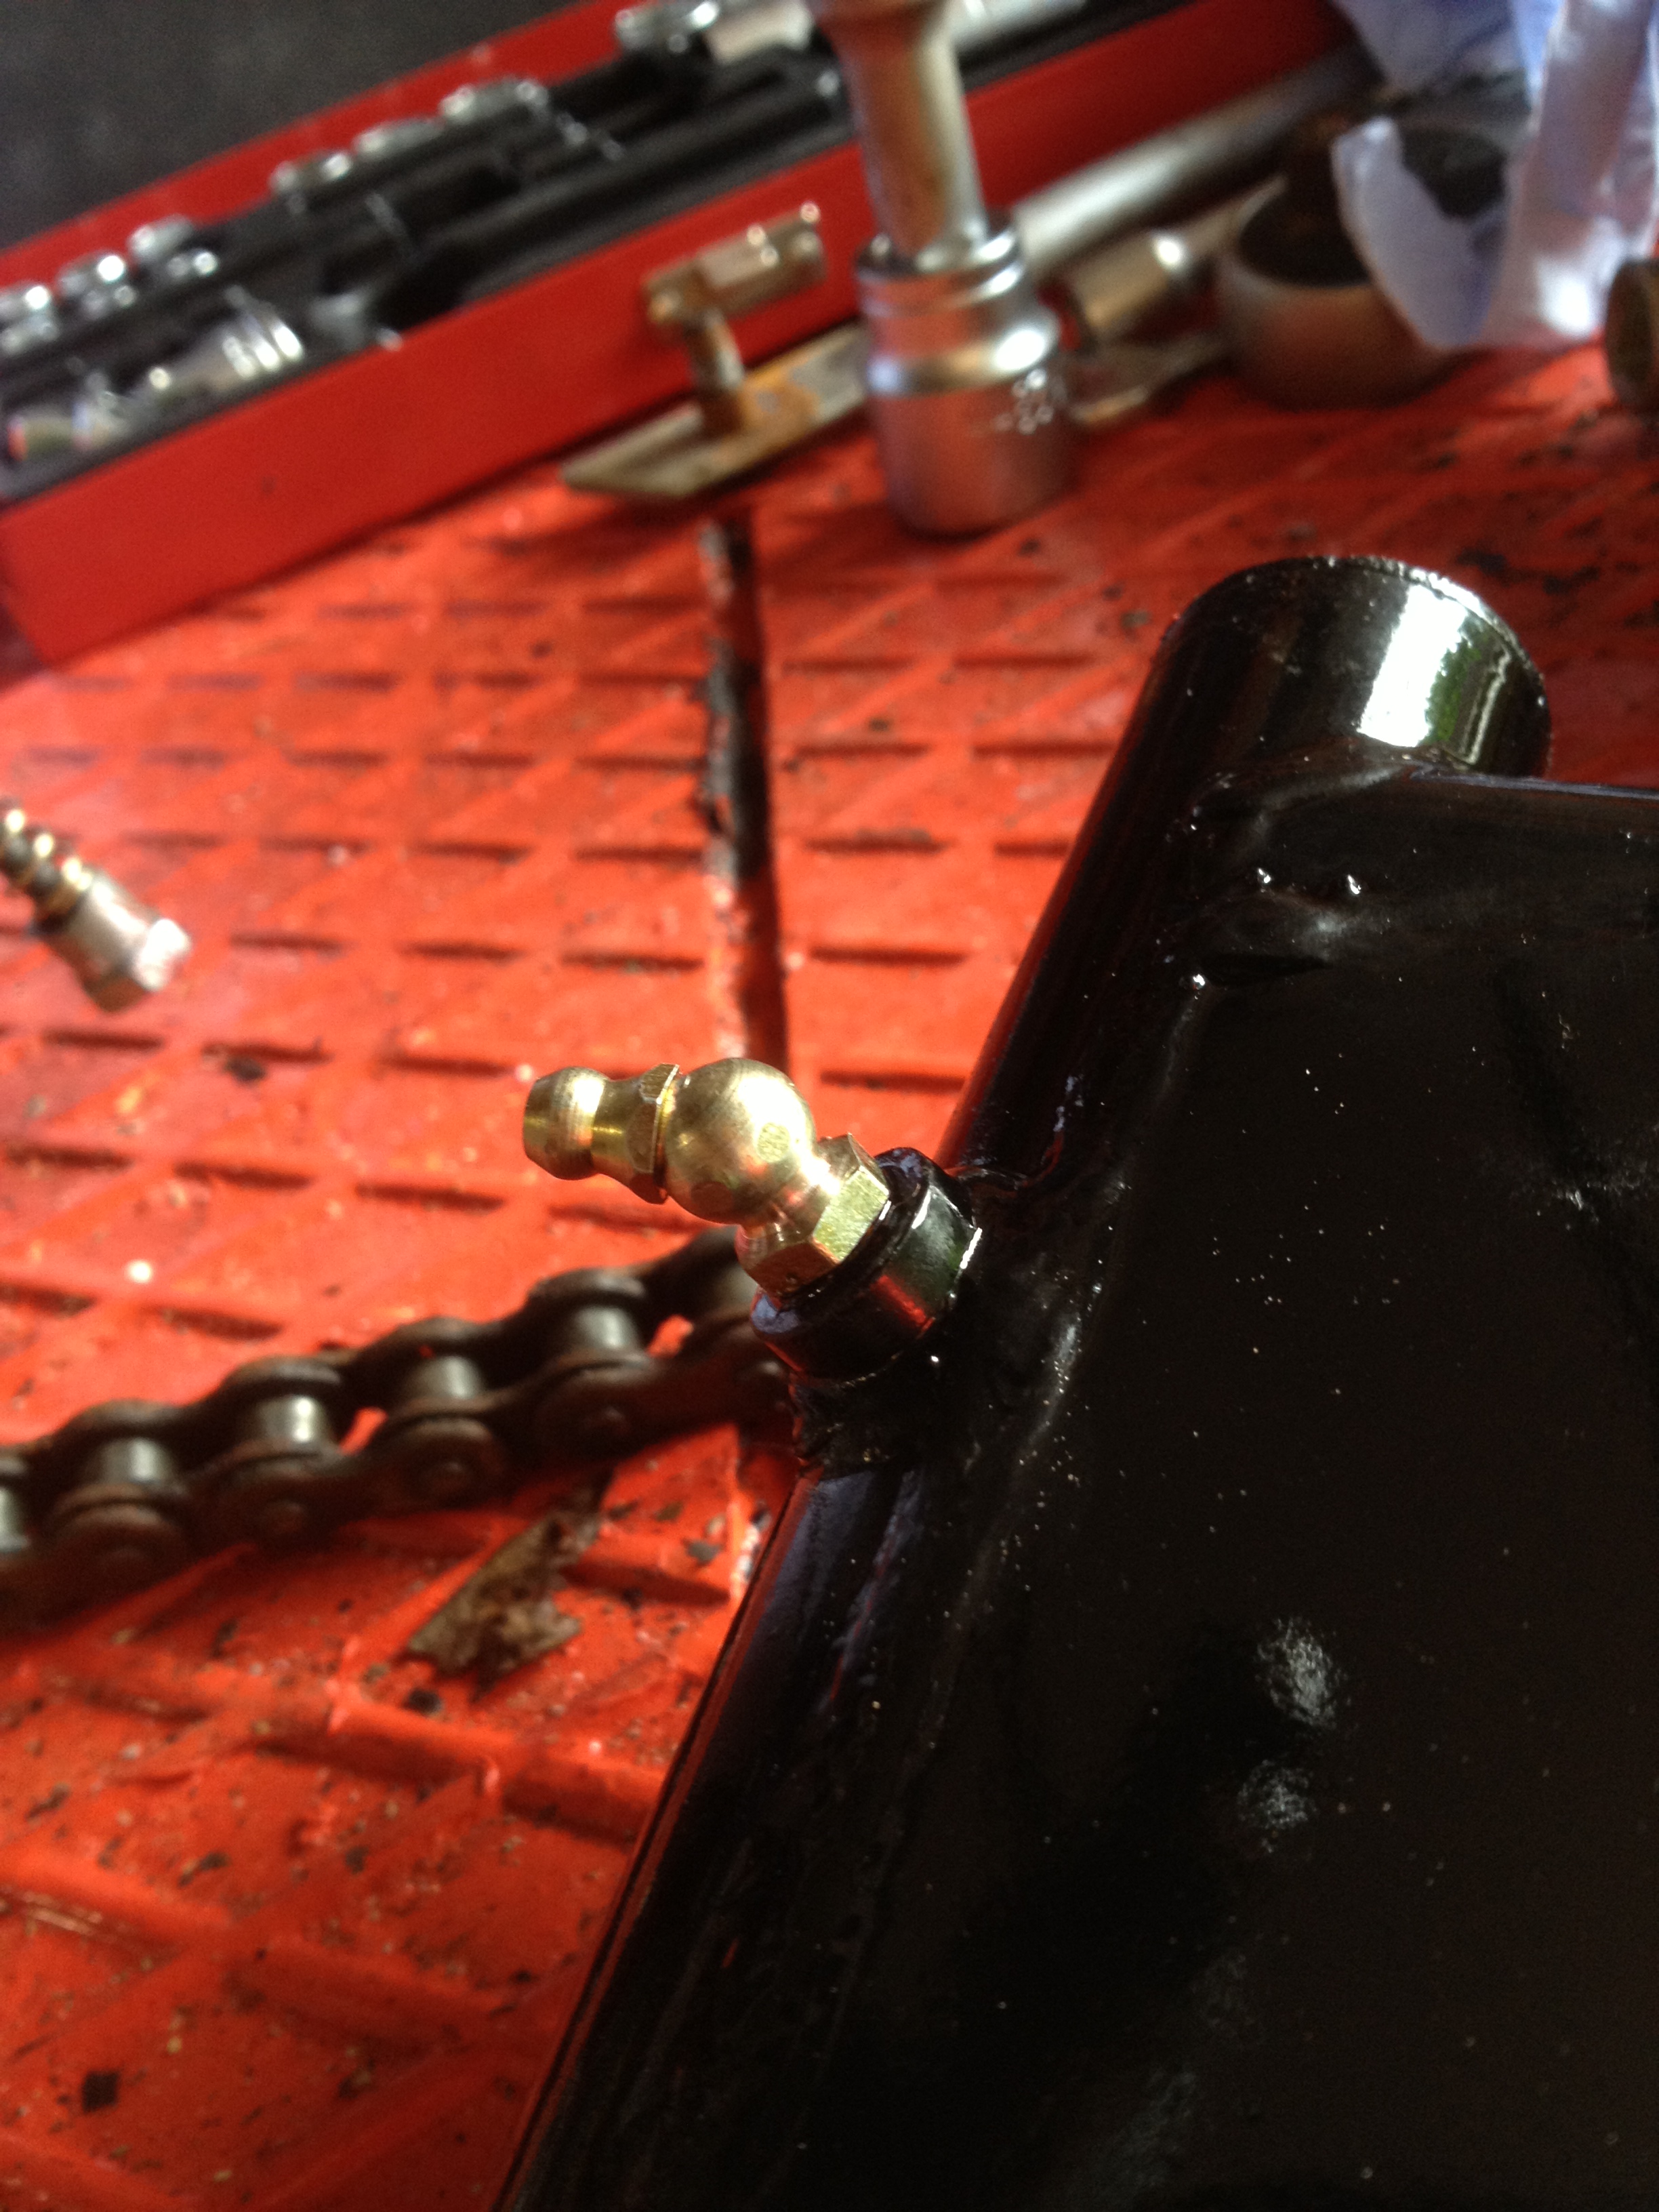
With a wiggle the swinging arm can be removed. There are two seals, one each end of the bearing part of the arm. I cleaned these in the parts washer, and gave them a quick coat of primer and satin black.I fitted a new grease nipple, but alas! when trying to remove the old one it broke in two so I had to drill it out and re-tap the M6 hole first. Ever wondered why you have a 9mm spanner in a spanner set? It fits the grease nipple that's why.
Refitting is the reverse of the above, refitting the chain guide, the rear footrests, and the spindle. Then I refitted the two bolts at the bottom of the dampers.
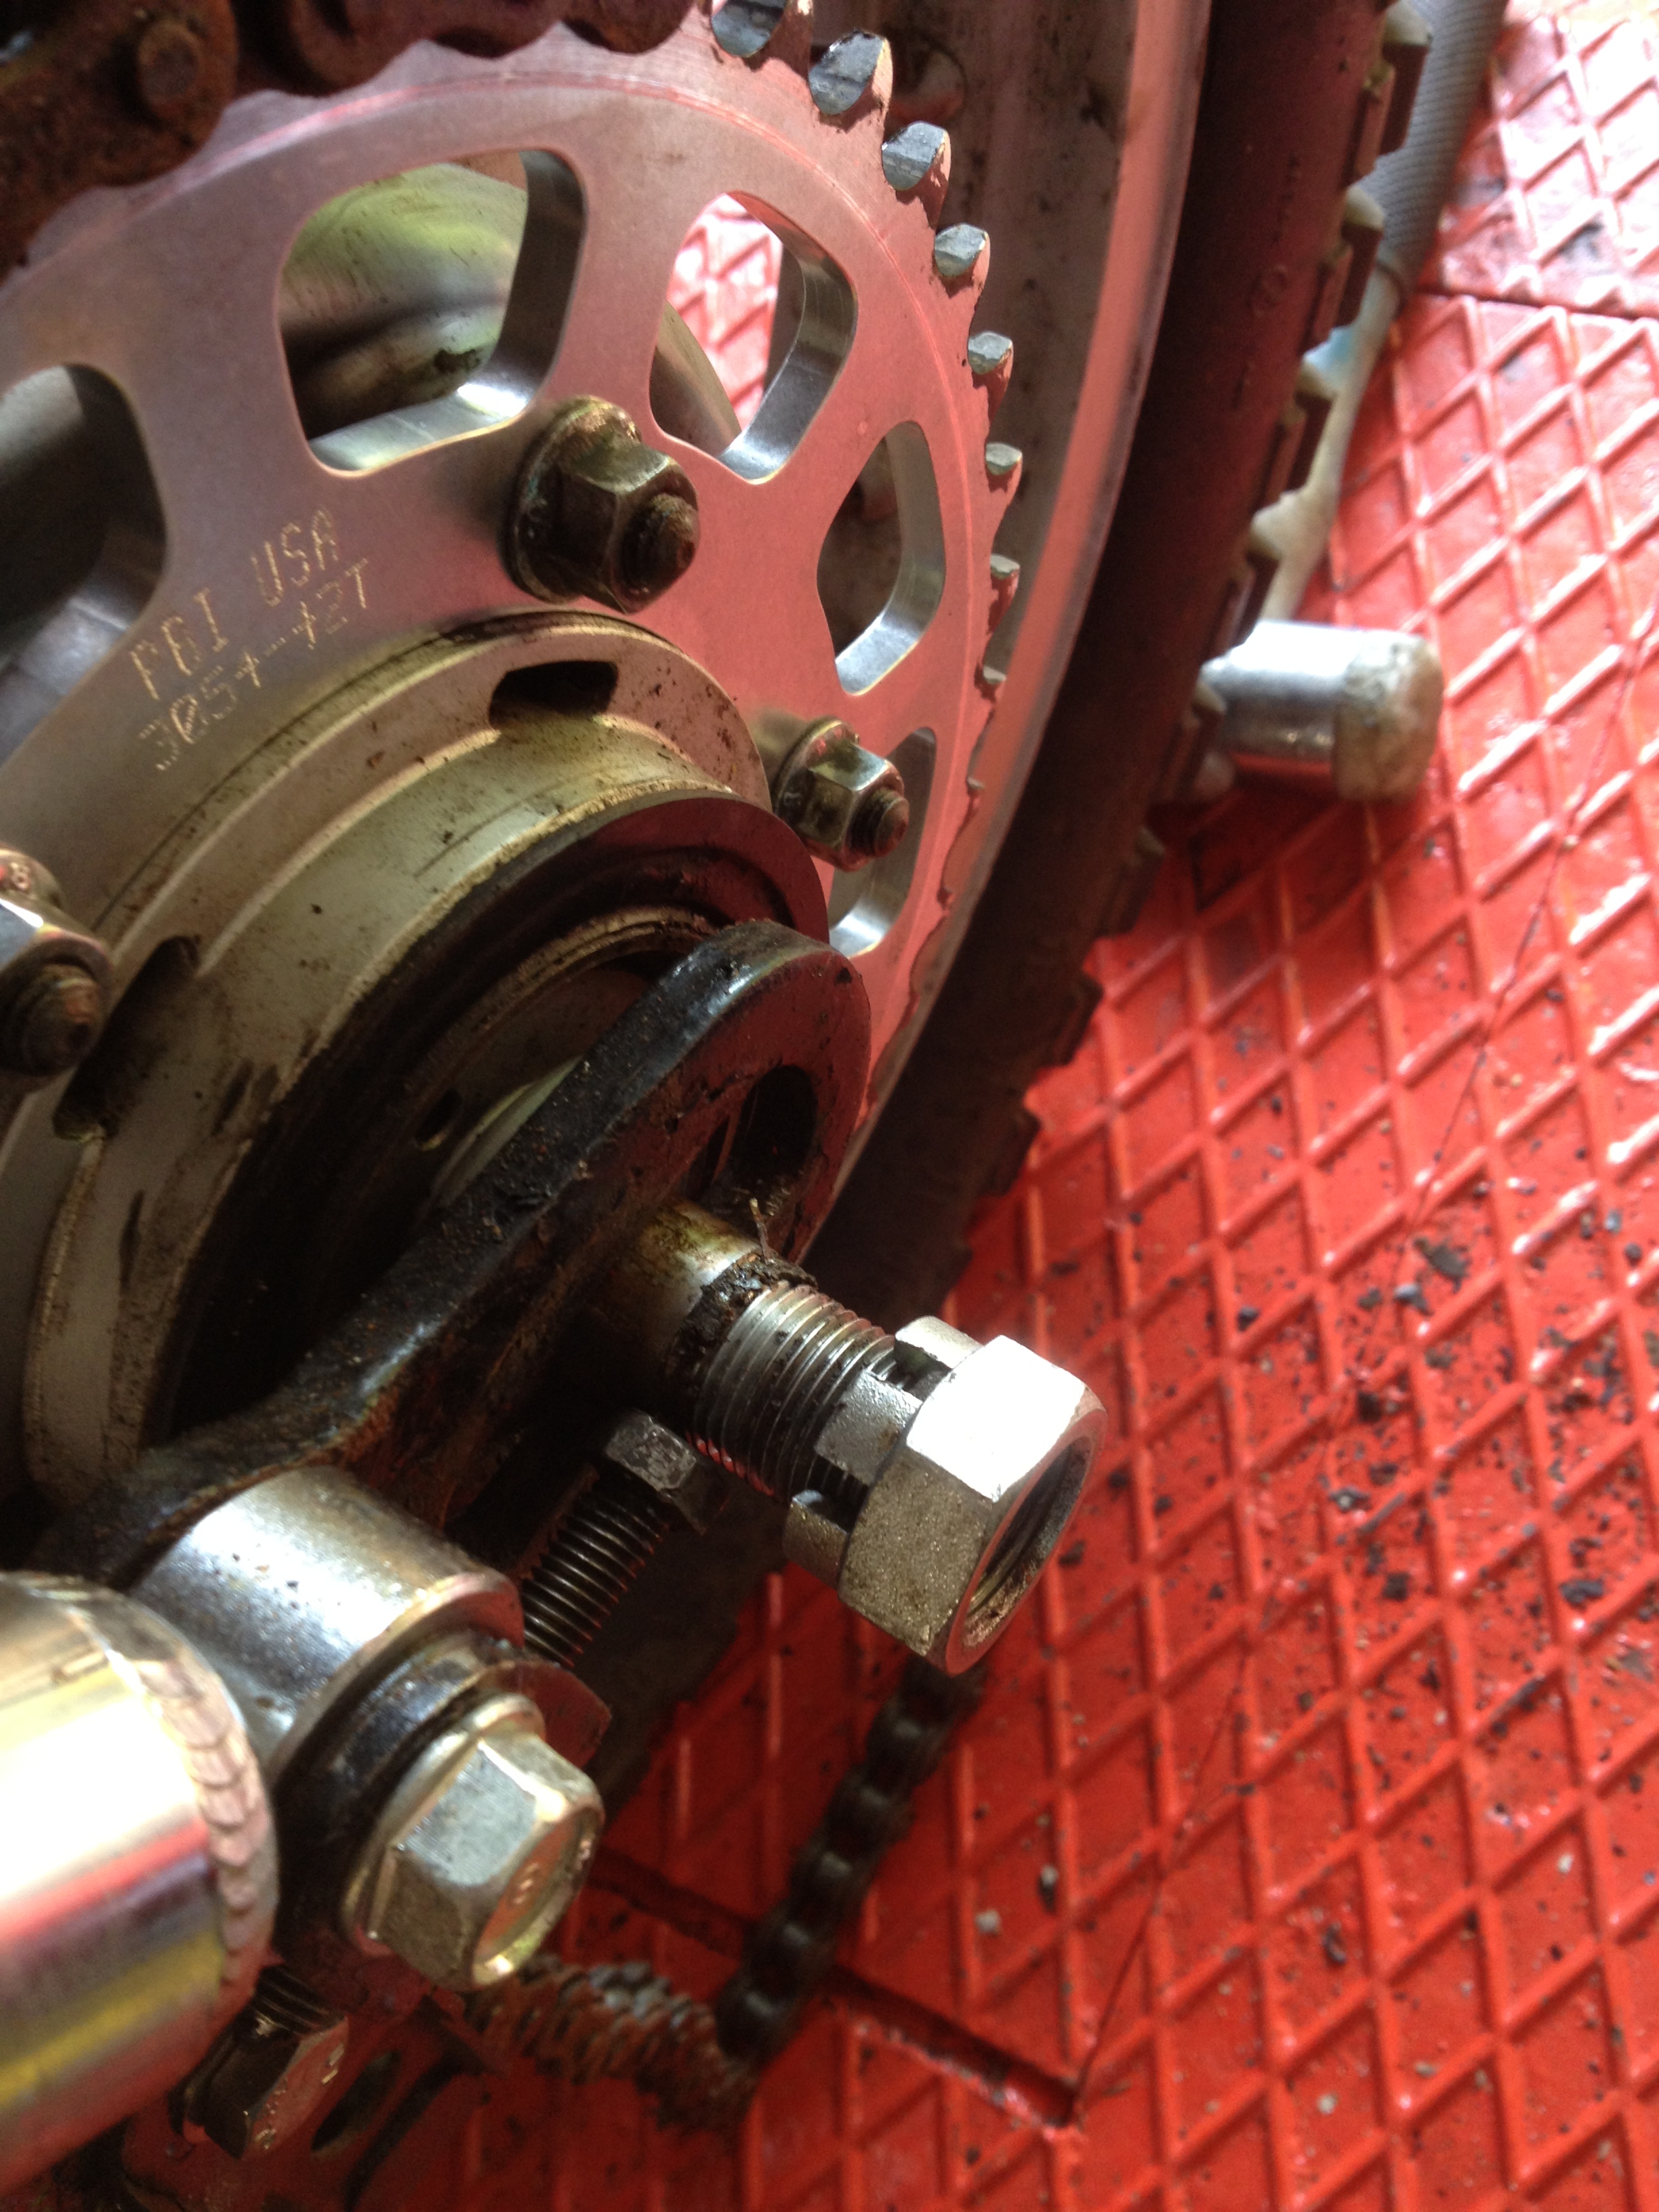
Lastly I refitted the rear wheel, and spindle. I swopped over the chain adjusting bolts and replaced the rusty 8mm flanged nuts that lock the adjusters with new ones, but the new ones obtained from Newark Autojumble are not JIS, so I will replace them when the new ones arrive from CMSL.
I refitted the chain ensuring the fish spring swims in the direction the chain travels, oddly enough when I bought this bike the split link was indeed fitted wrongly, with the spring circlip (the fish spring) facing head down. I carry a spare link in the toolbox they only cost £2.50 and it can save a long walk. Been there, done that. Size for an XL250 is 520, for an XL350 it's 530.
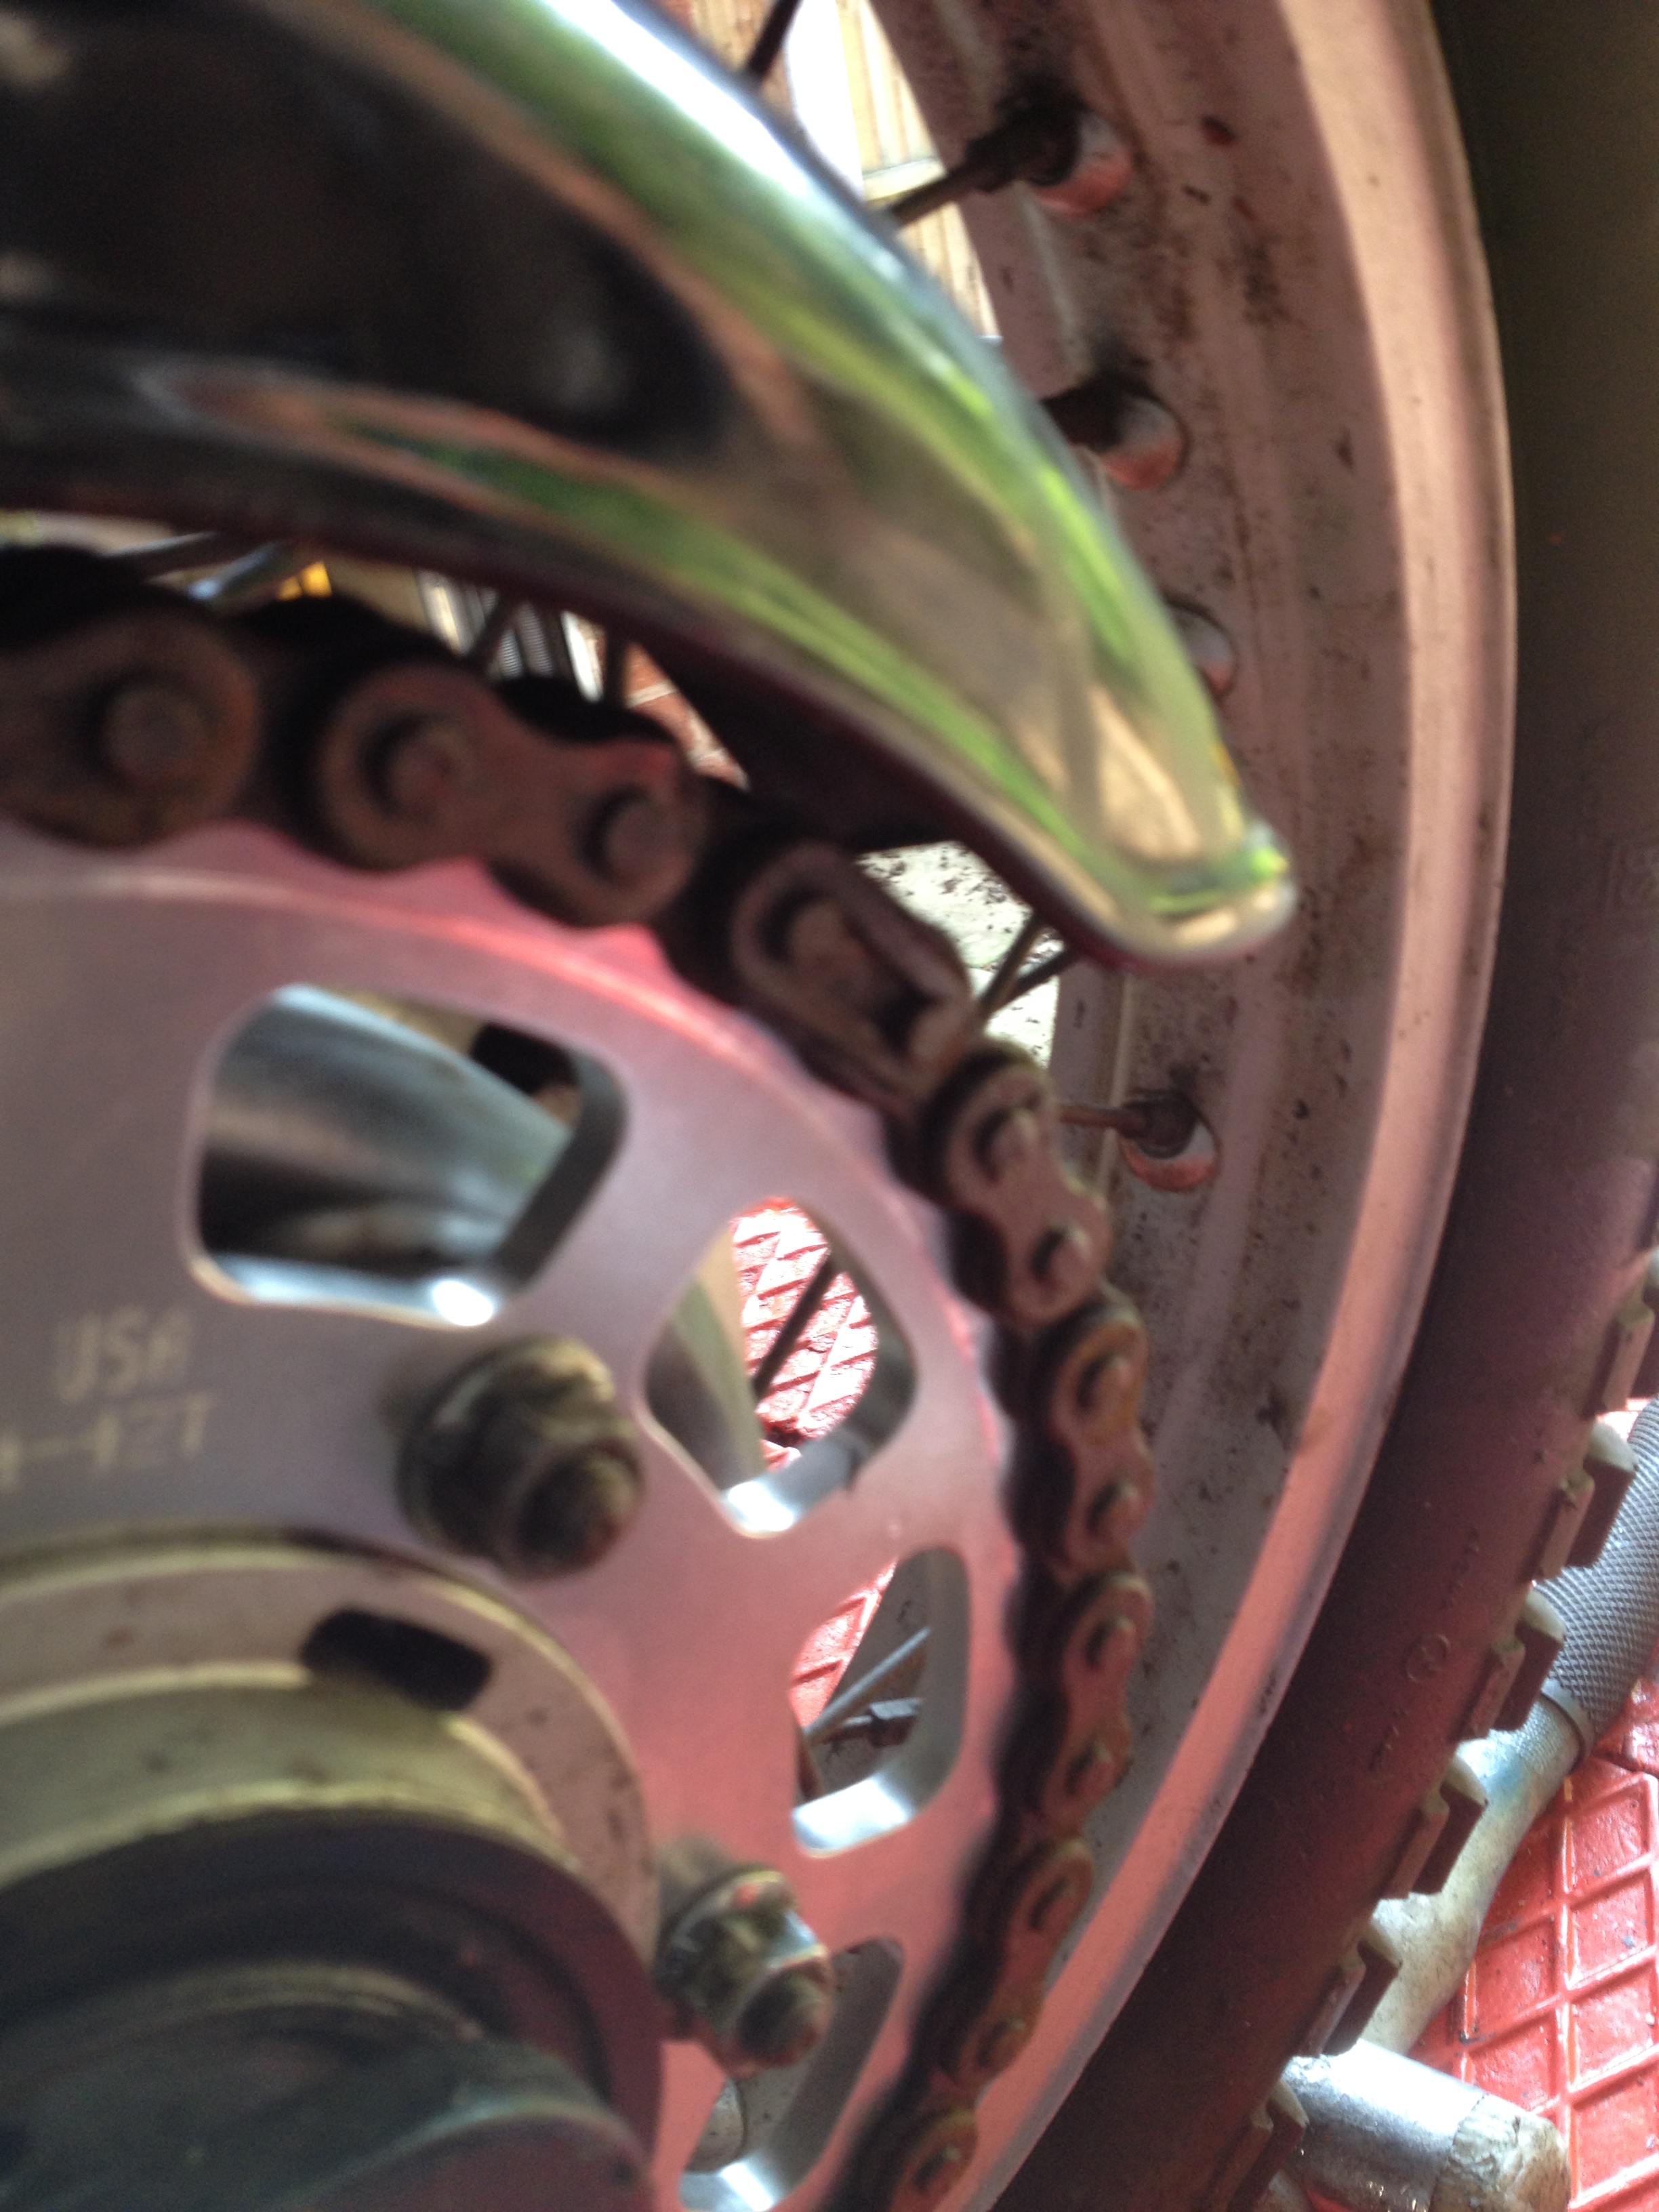
 correct way is this:
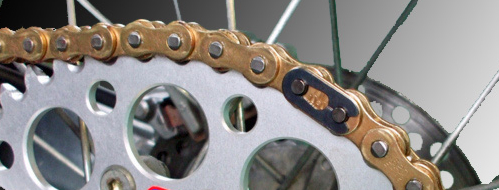
I then adjusted the chain tension making sure the wheel was central in the swinging arm, and then refitted the chainguard with its 3 M6 chainguard bolts (with Loctite), swopped over the brake stay to the new swinging arm and refitted the rear brake cable. I then adjusted the brake pedal travel.
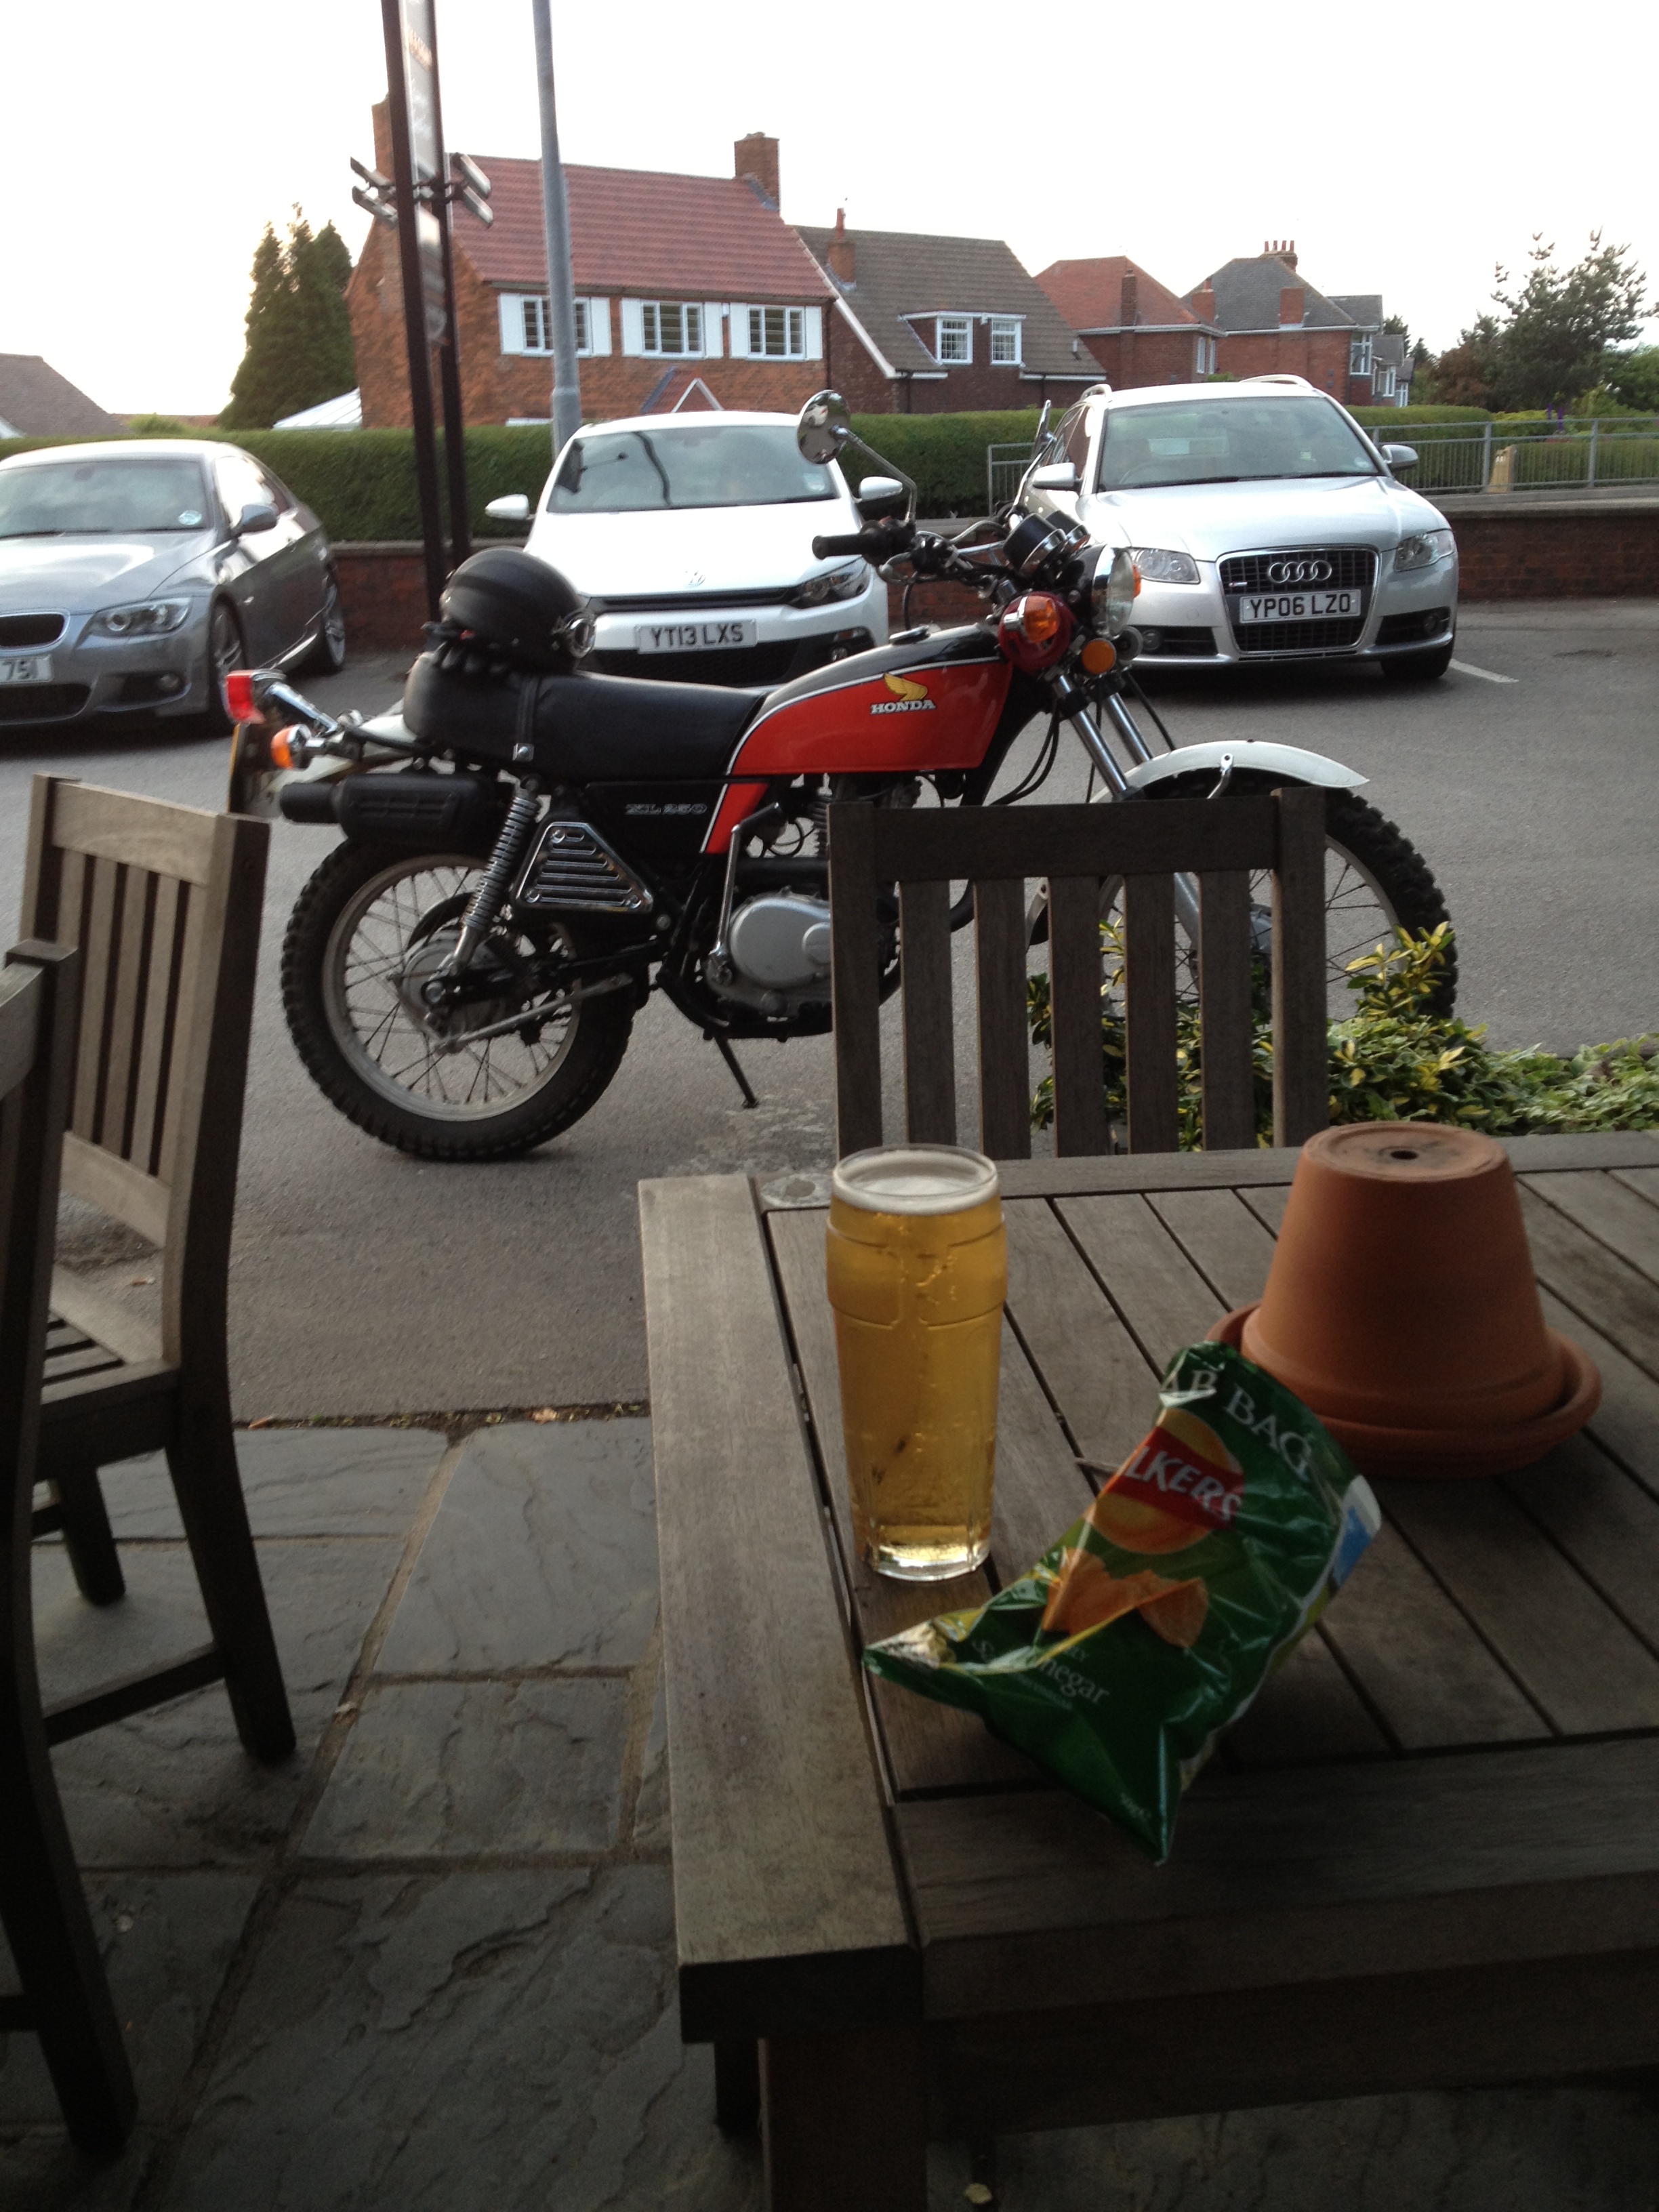
Finally I fitted the split pin in the rear spindle castellated nut, and took the bike for a test ride to the Fox and Crown. I had a packet of crisps and a cold pint of lager shandy. I deserved it.
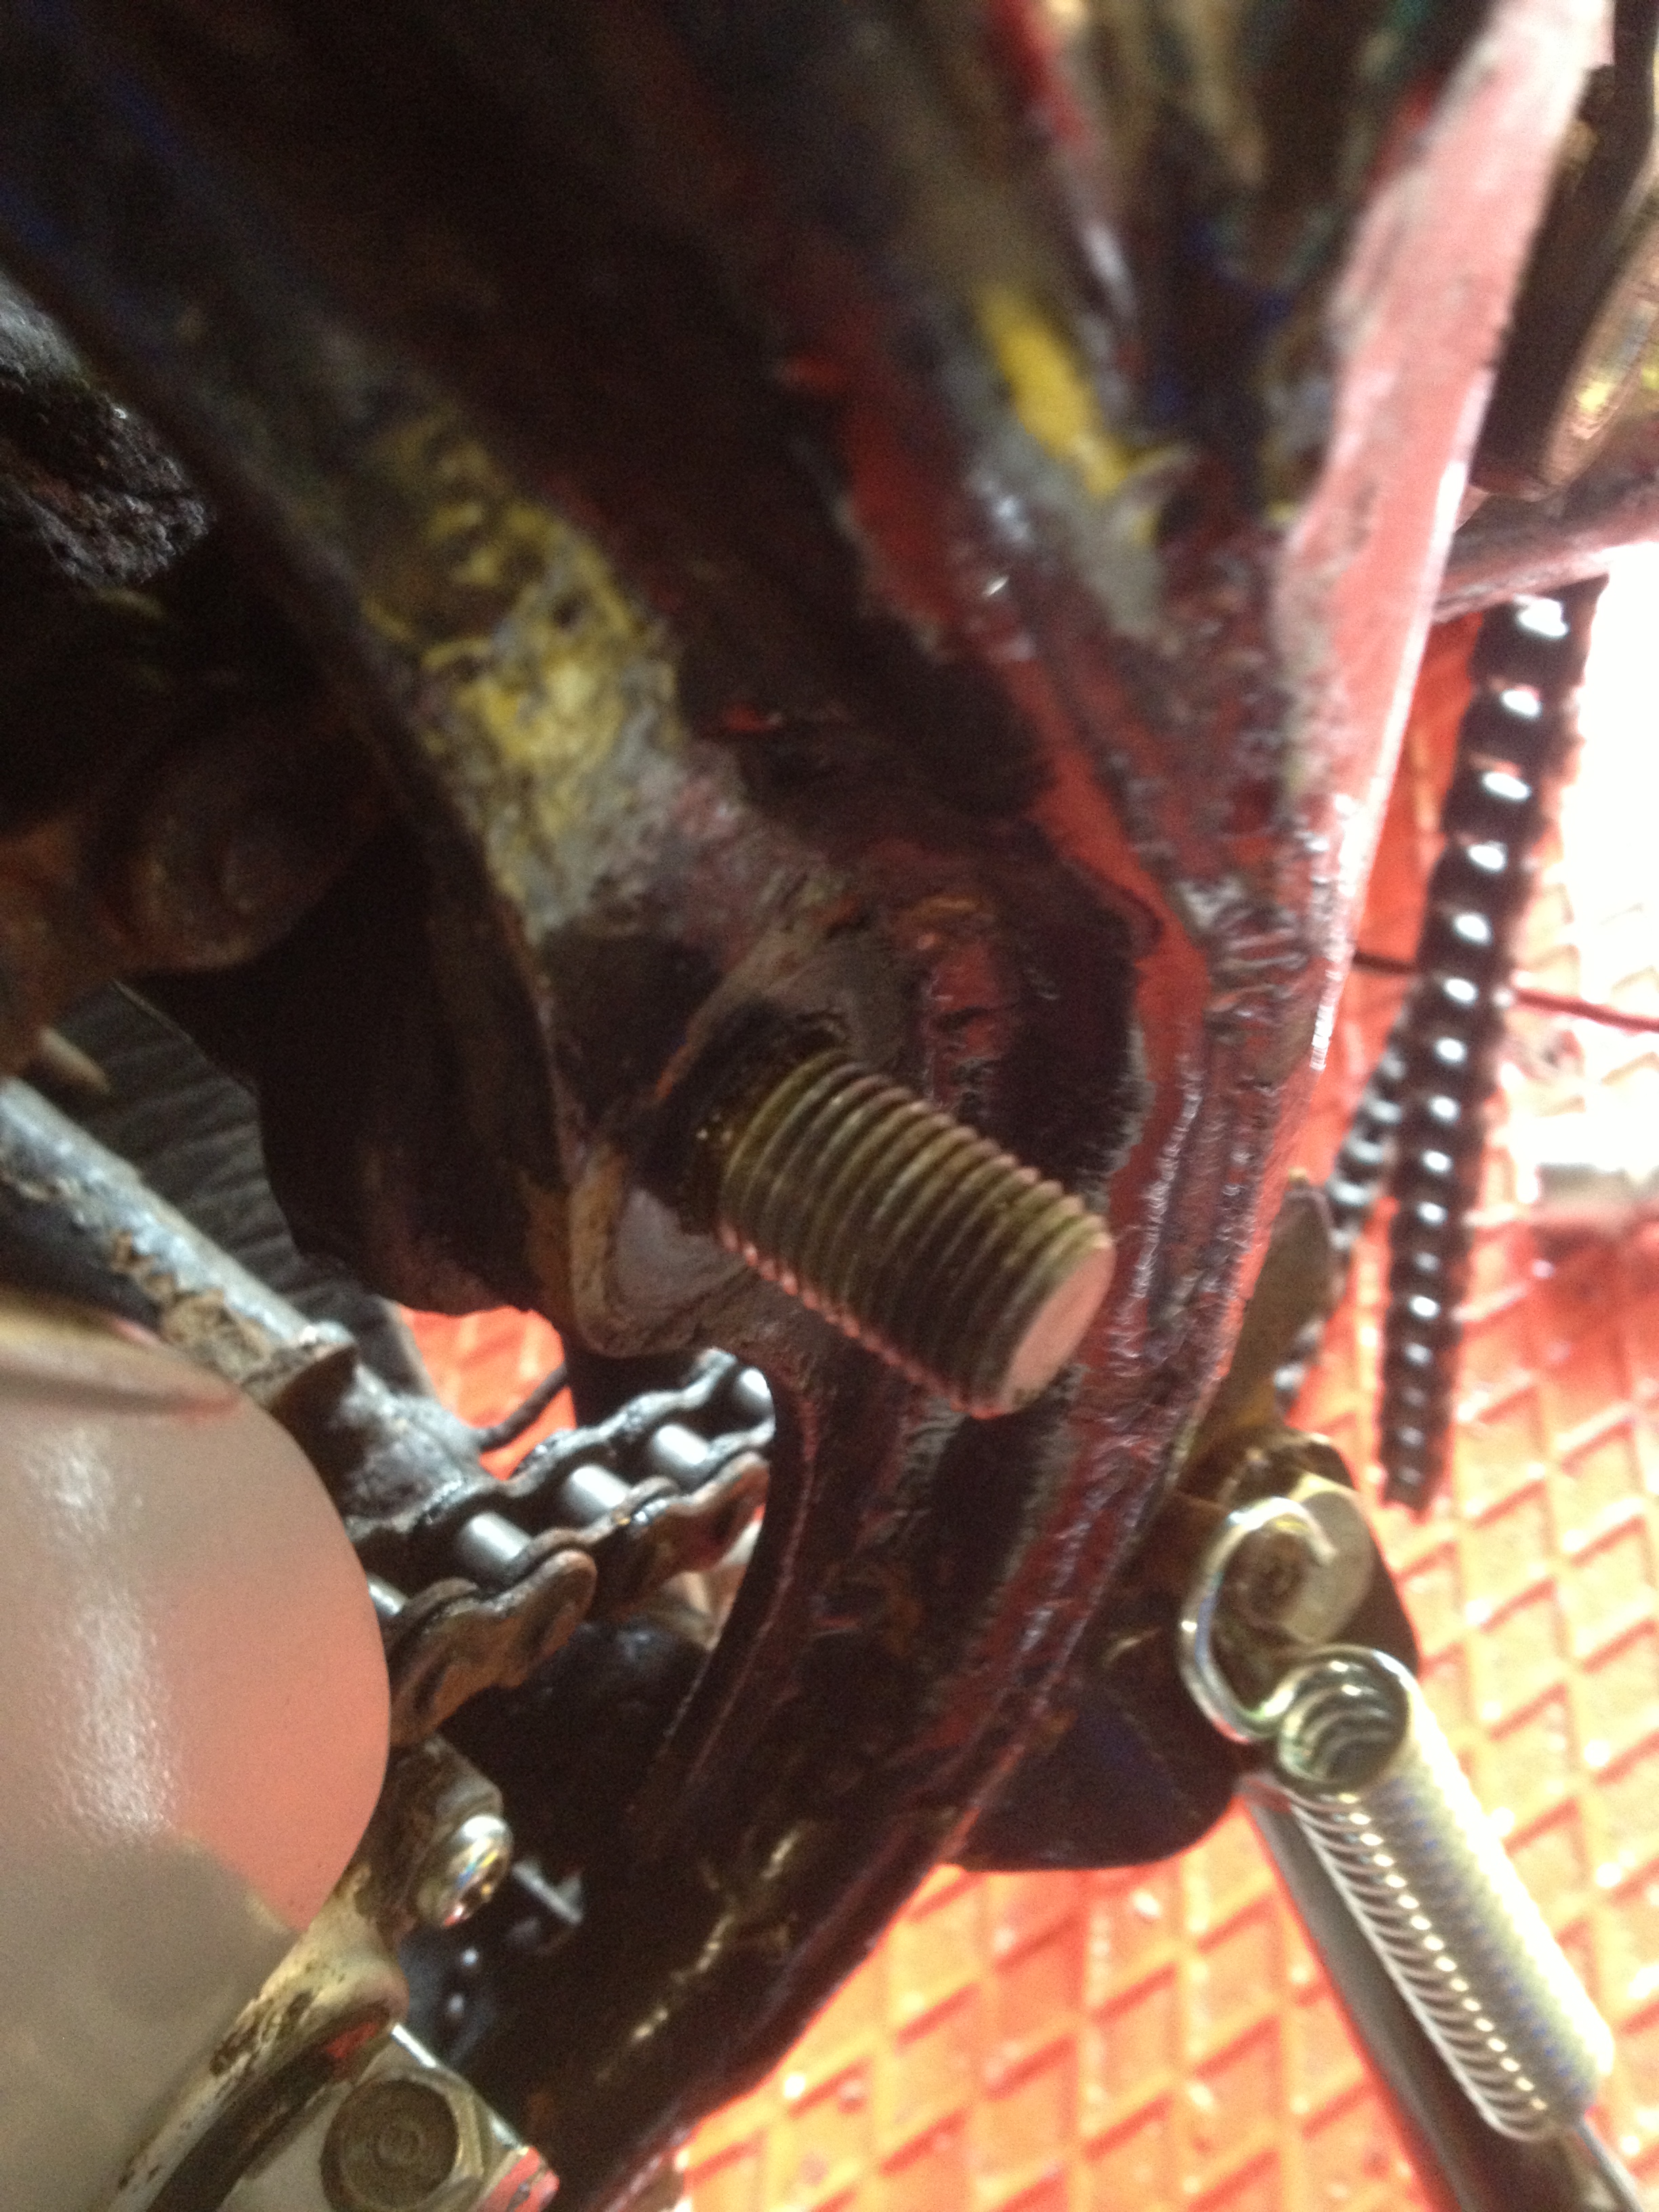
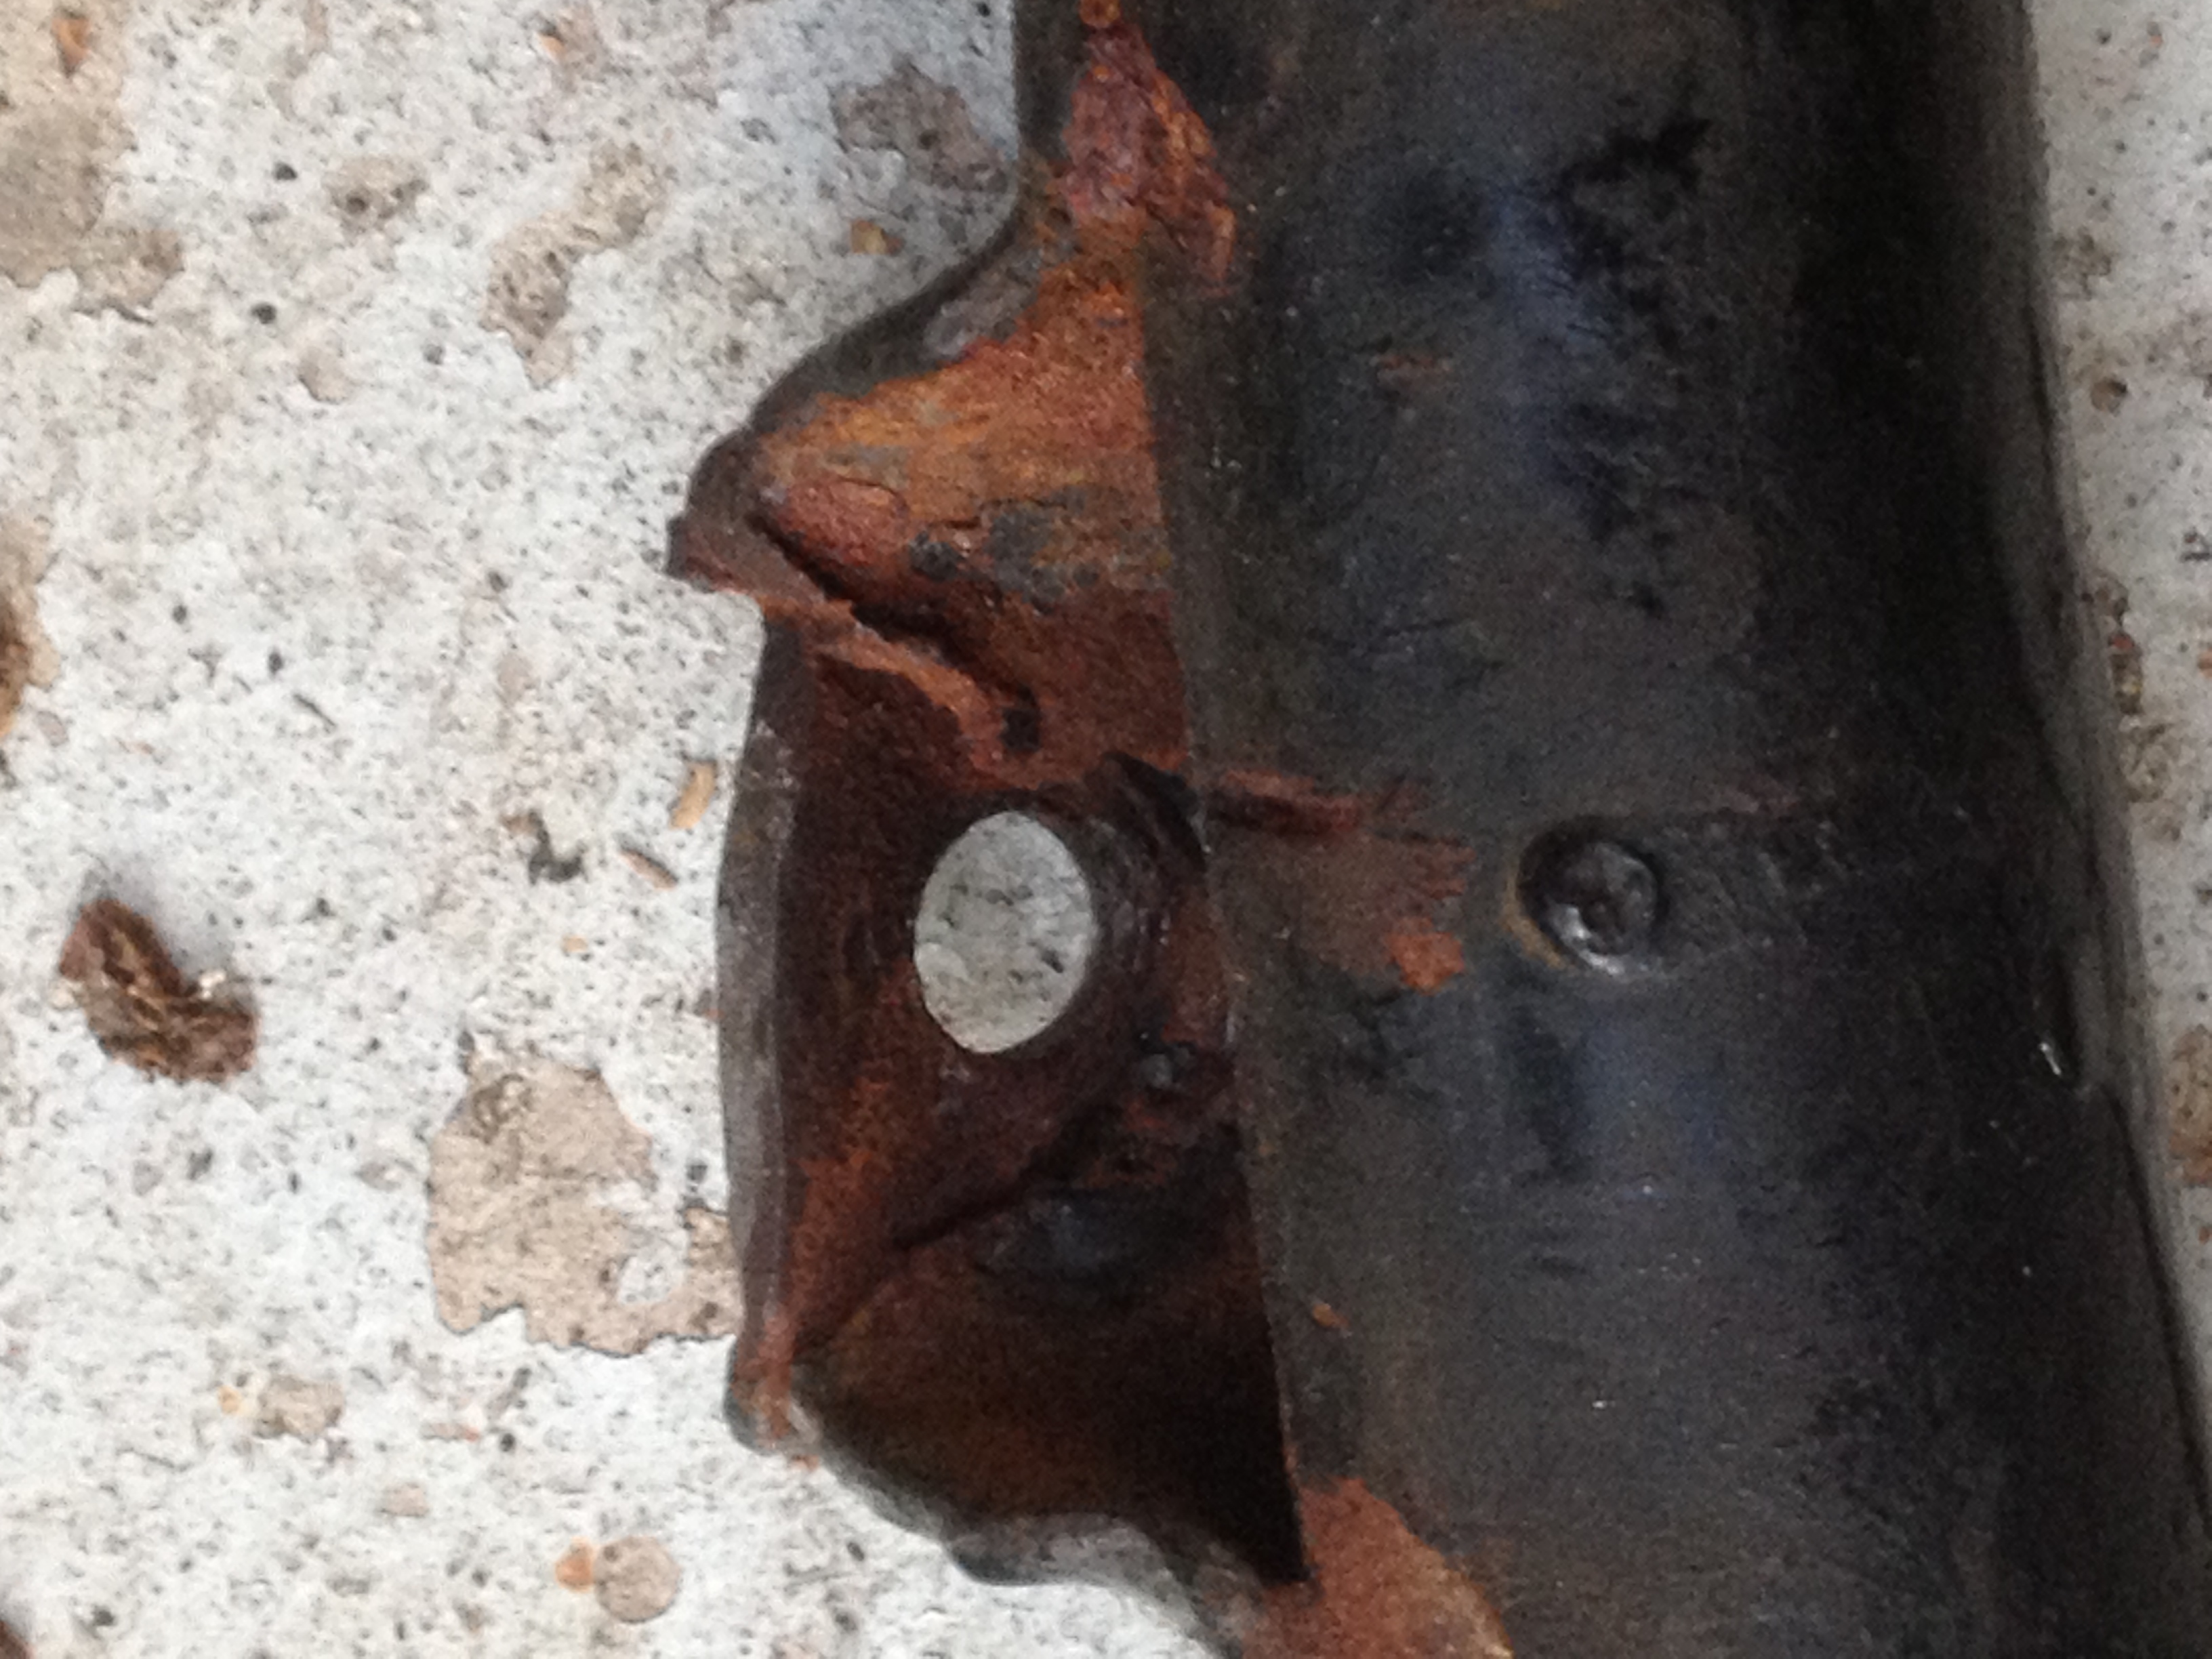
This photo shows why I was bothered to do all this, you can see the old repair to the arm where there is no M10 (fine) captive nut and welding with a simple hole for a bolt. This is Not Good Enough.
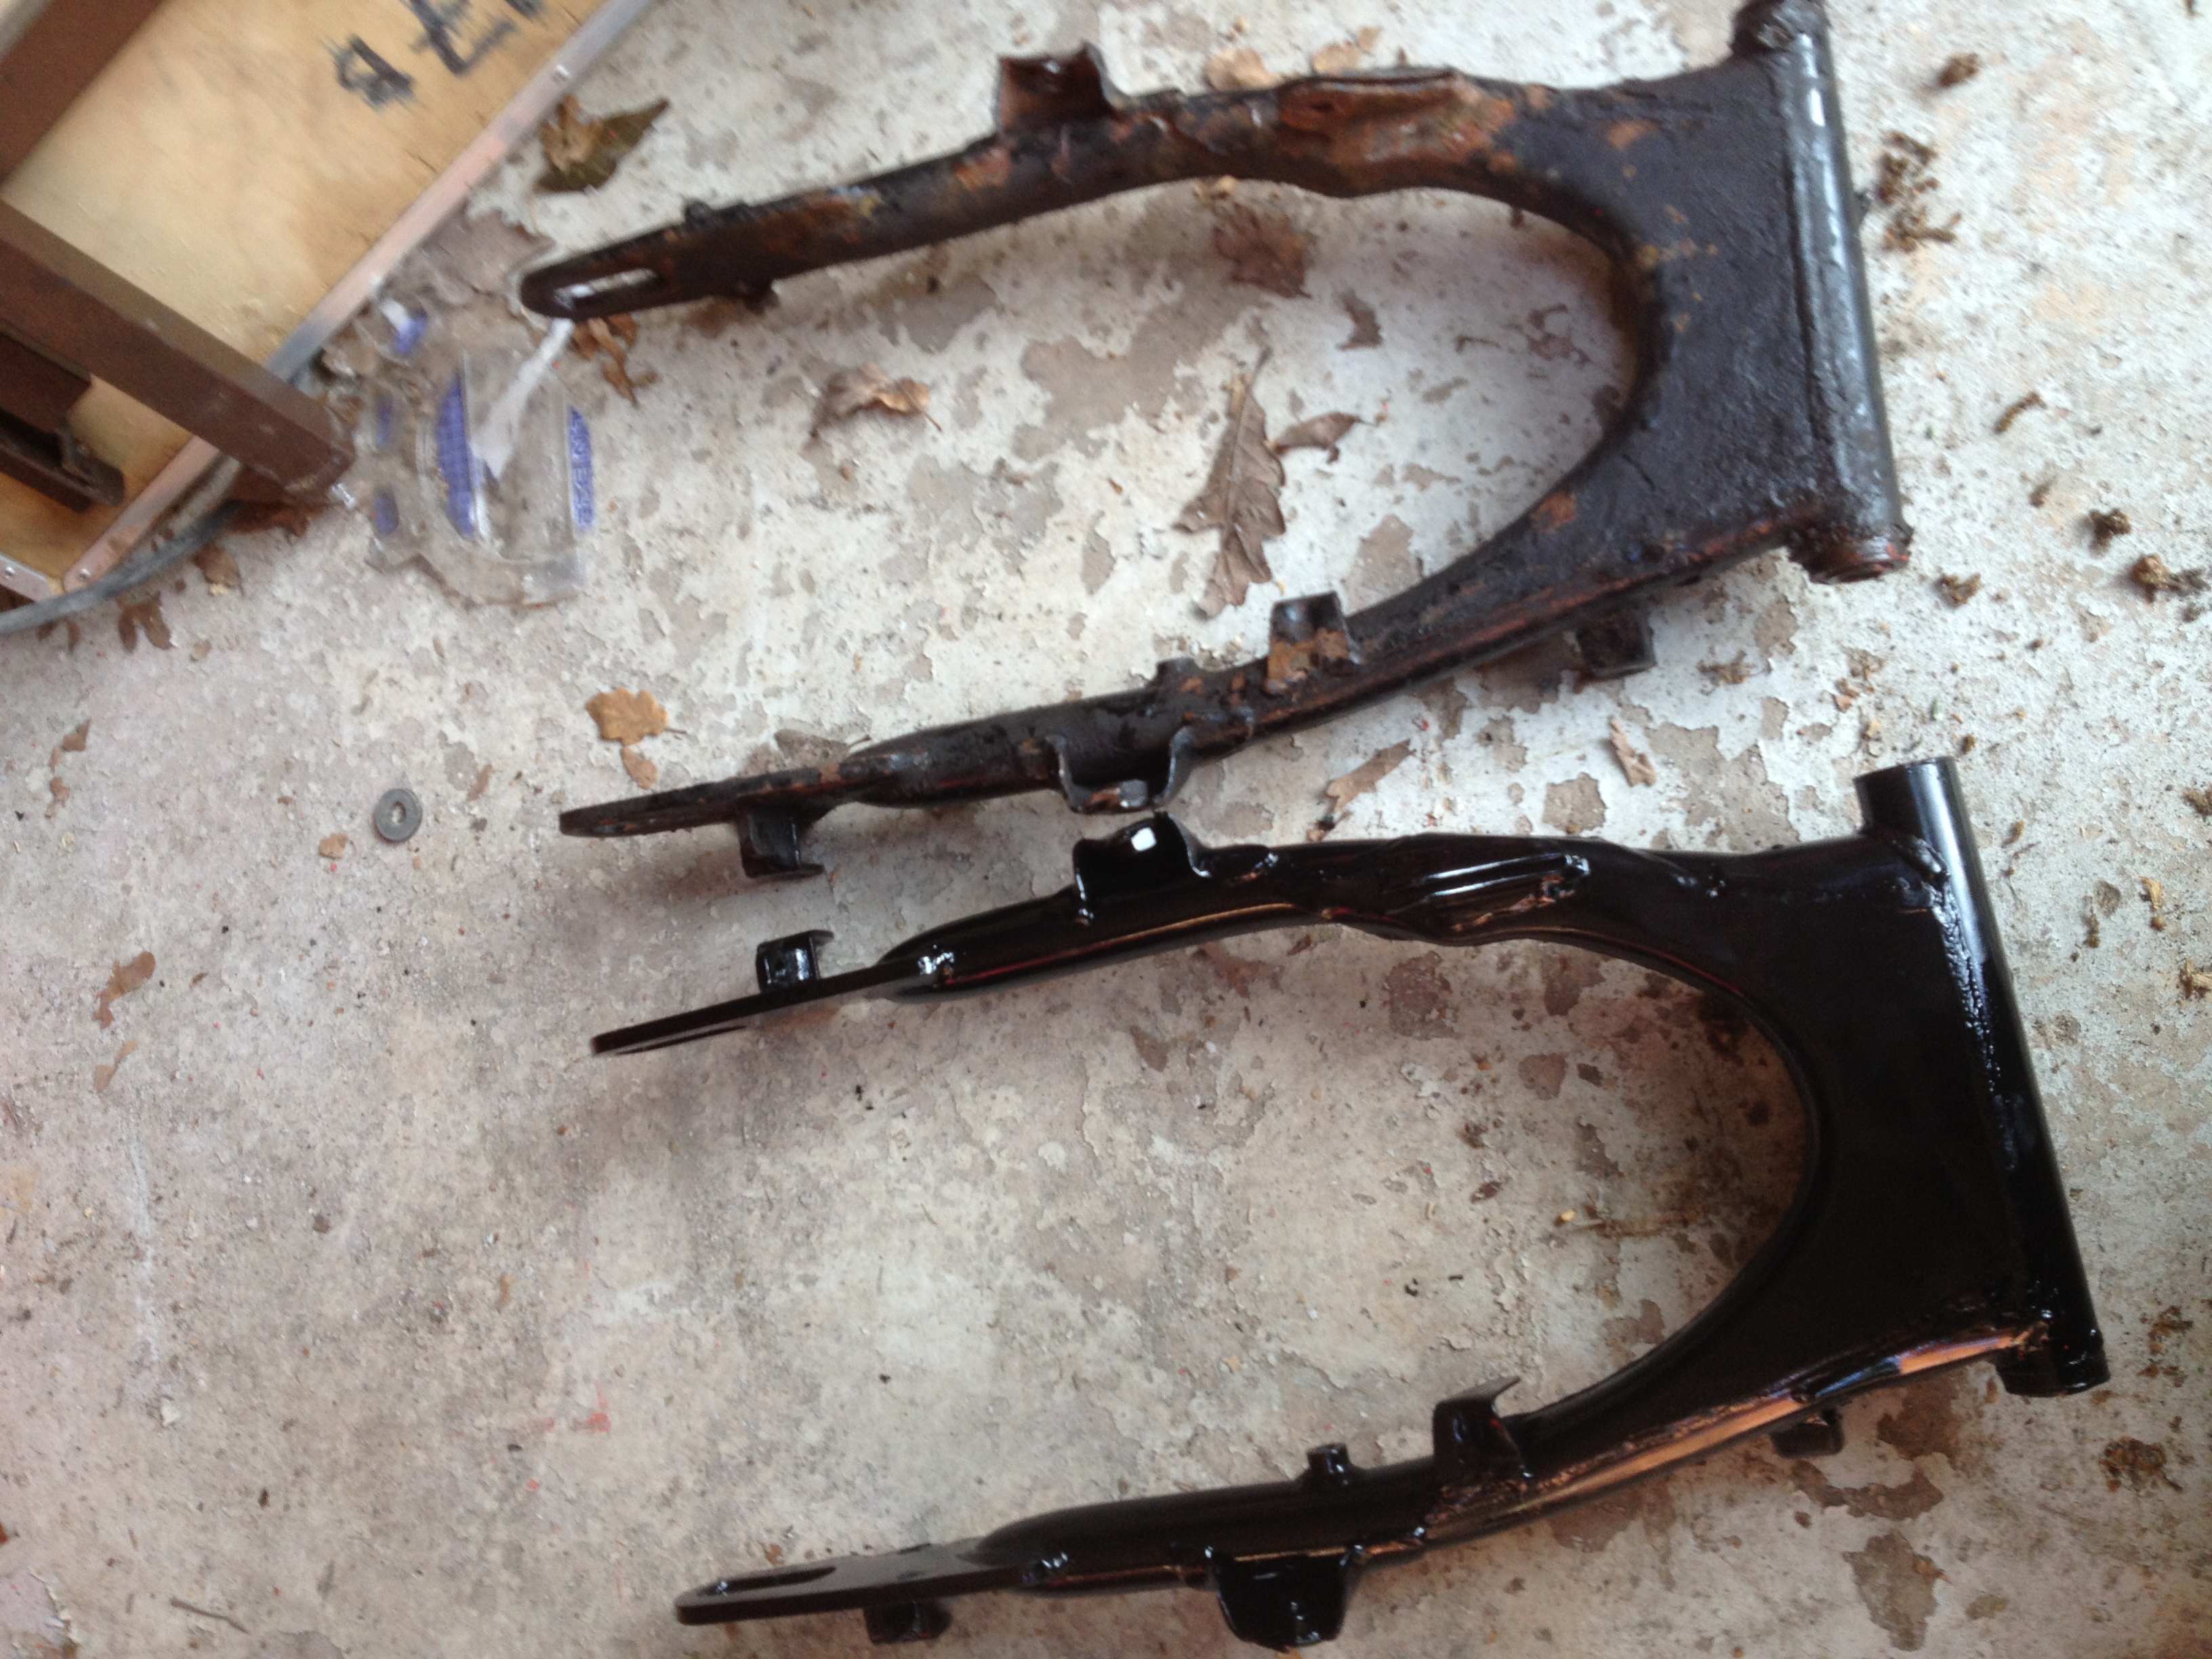
Looking now at the old swinging arm, it was a bit sorry, especially underneath so I am pleased to have upgraded it. It only took an hour and a bit.
When I put them side by side I am glad to report they were identical, though the new one came off an XL350.
This shows the bolted right side rear footrest from below before I removed it.
I saved the swinging arm bush from the old one then threw the old swinging arm in the bin. The recycling bin of course. I hope that is alright?
The end.