 and
and  they are both about the same really good stuff, and refitted it when the time came.
 So Today's special value is.......
Sorting the rear brake lever!!
Click a picture for a bigger one.
When I adjusted the rear brake switch, the plastic adjusting nut was split and it didn't adjust very well, the nut would slip off the threads and the switch would move downwards, so time for a new switch.
I also have a much better rear brake spring and it's lever (still yellow from the passivated zinc plating) and a brand new unused main rear brake lever, from my wife's last USA visit, so why not fit them all? The old brake lever was bent at the serrated part, and there was a scoop out of metal on the the side made by being a bit bent and being hit by the kickstart.
First the switch, disconnect the spring, swop the unit and two wires and it's done. Re-used the spring. A very simple job.
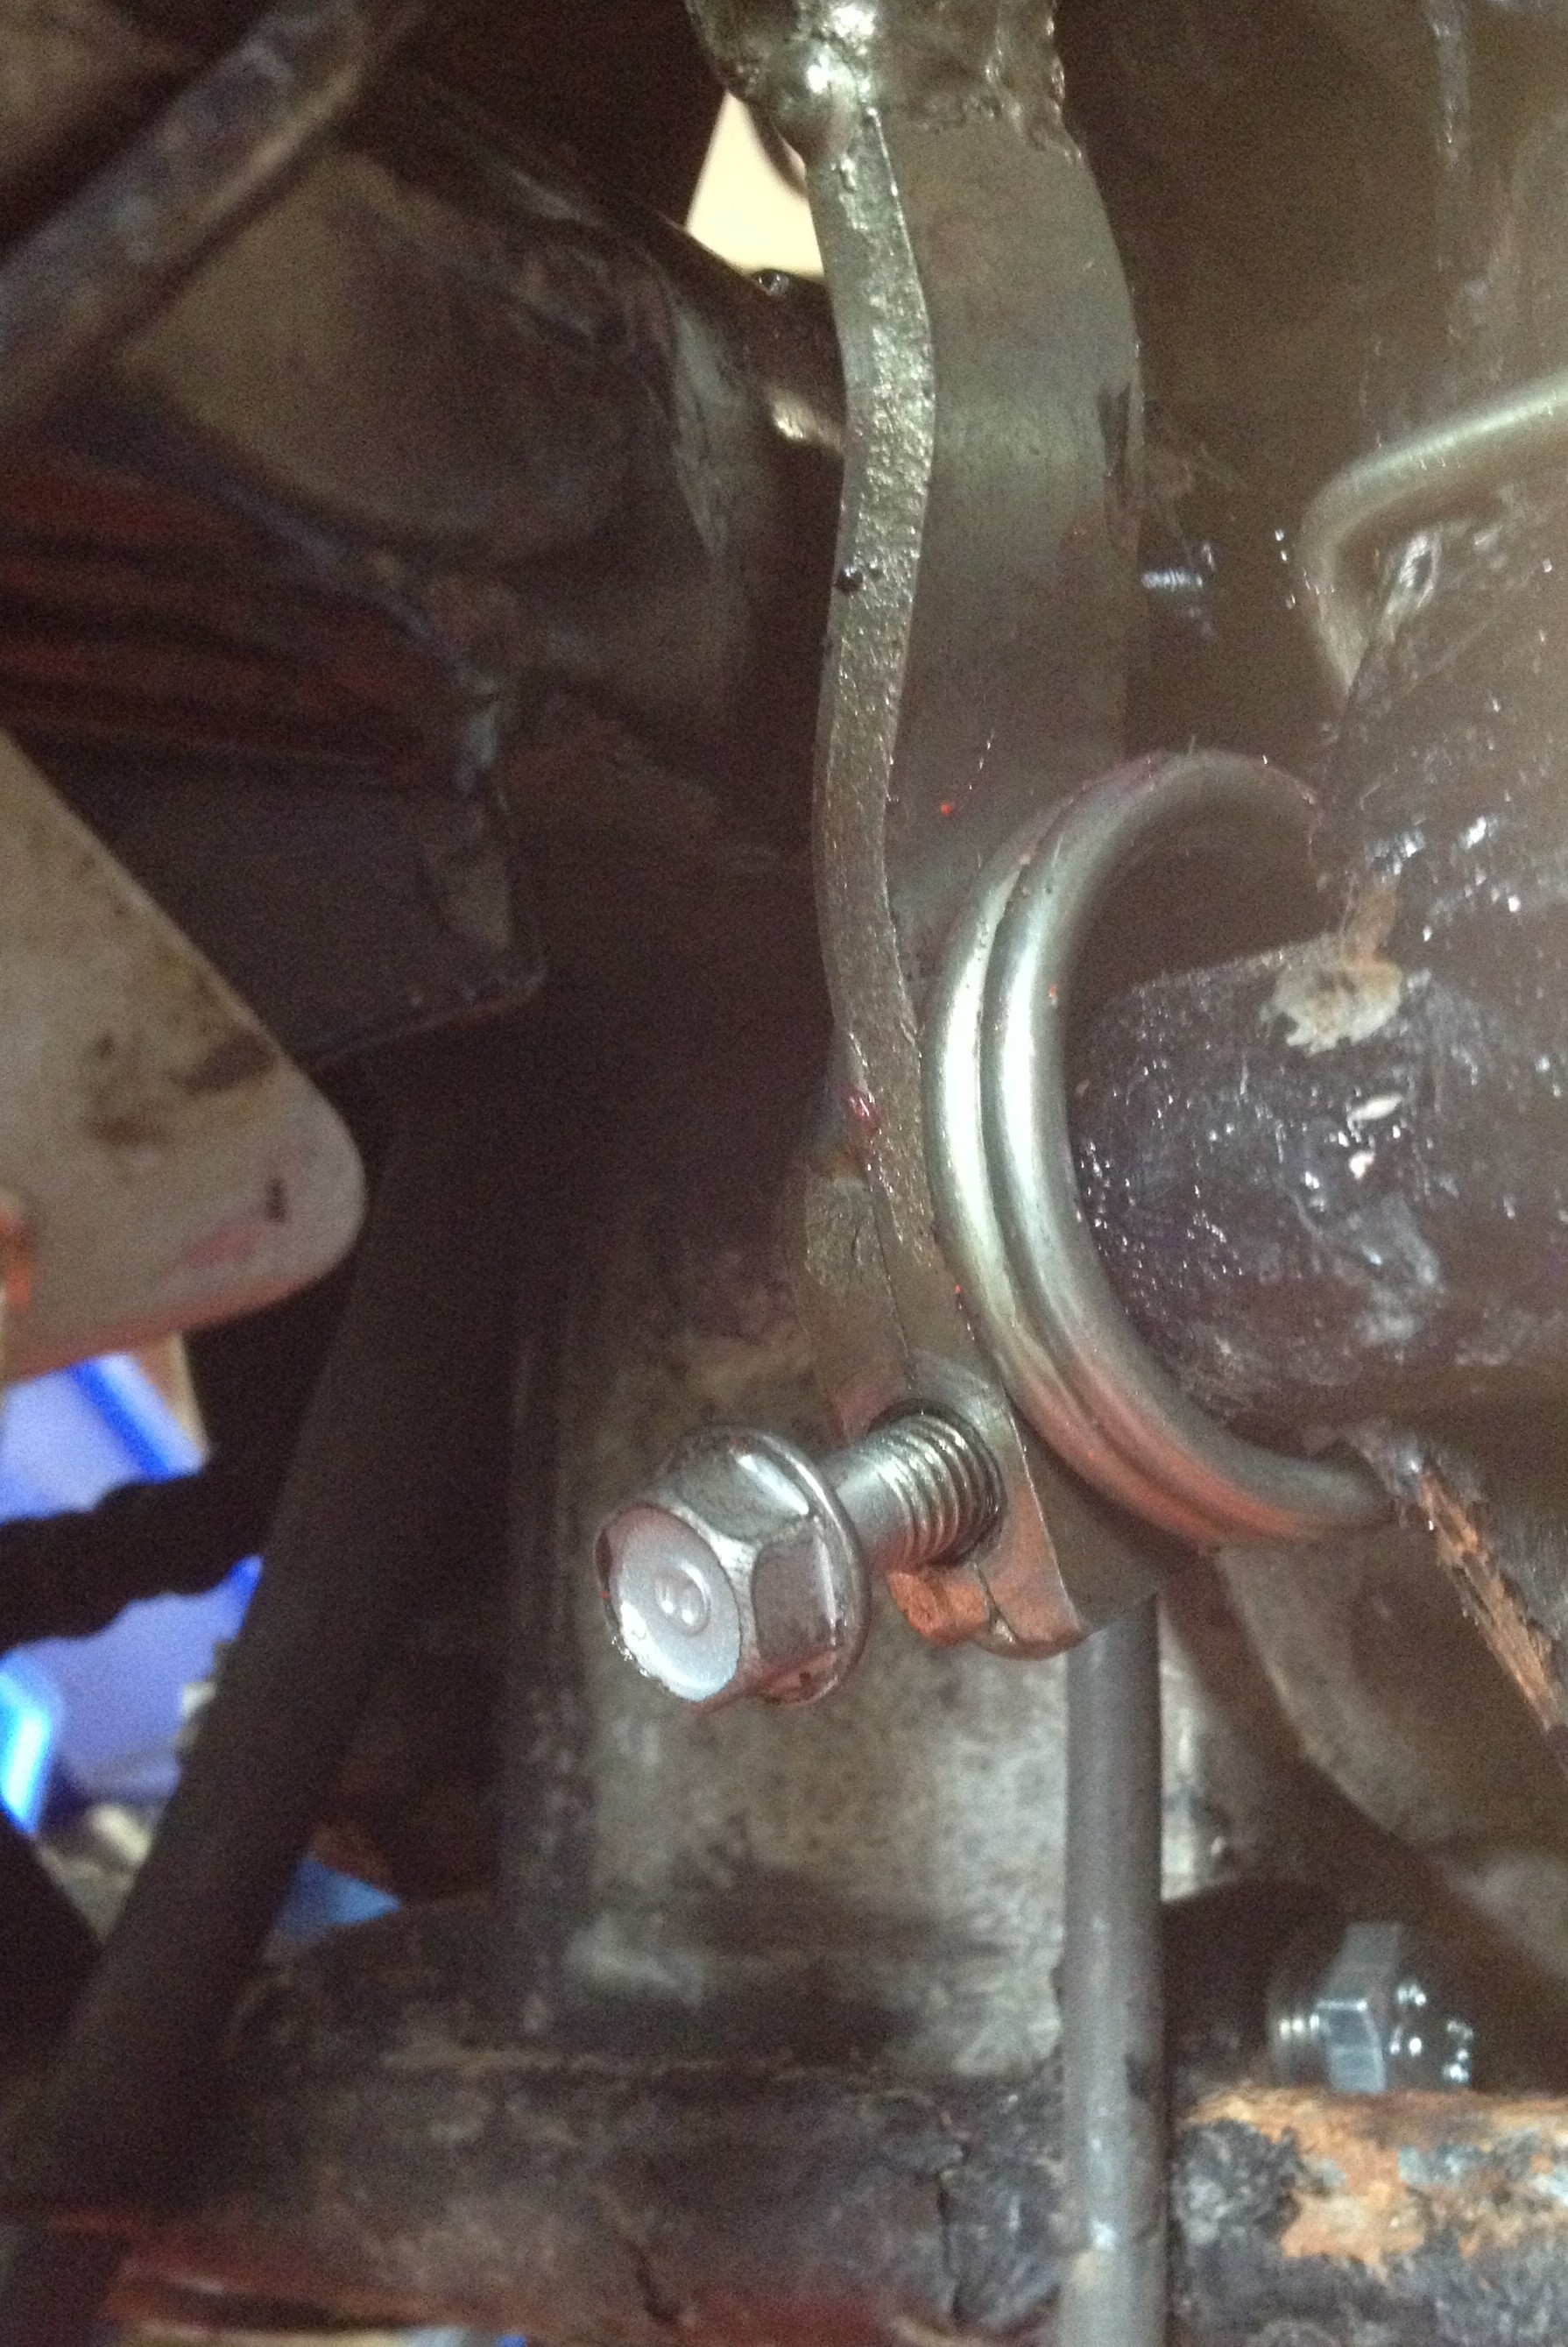
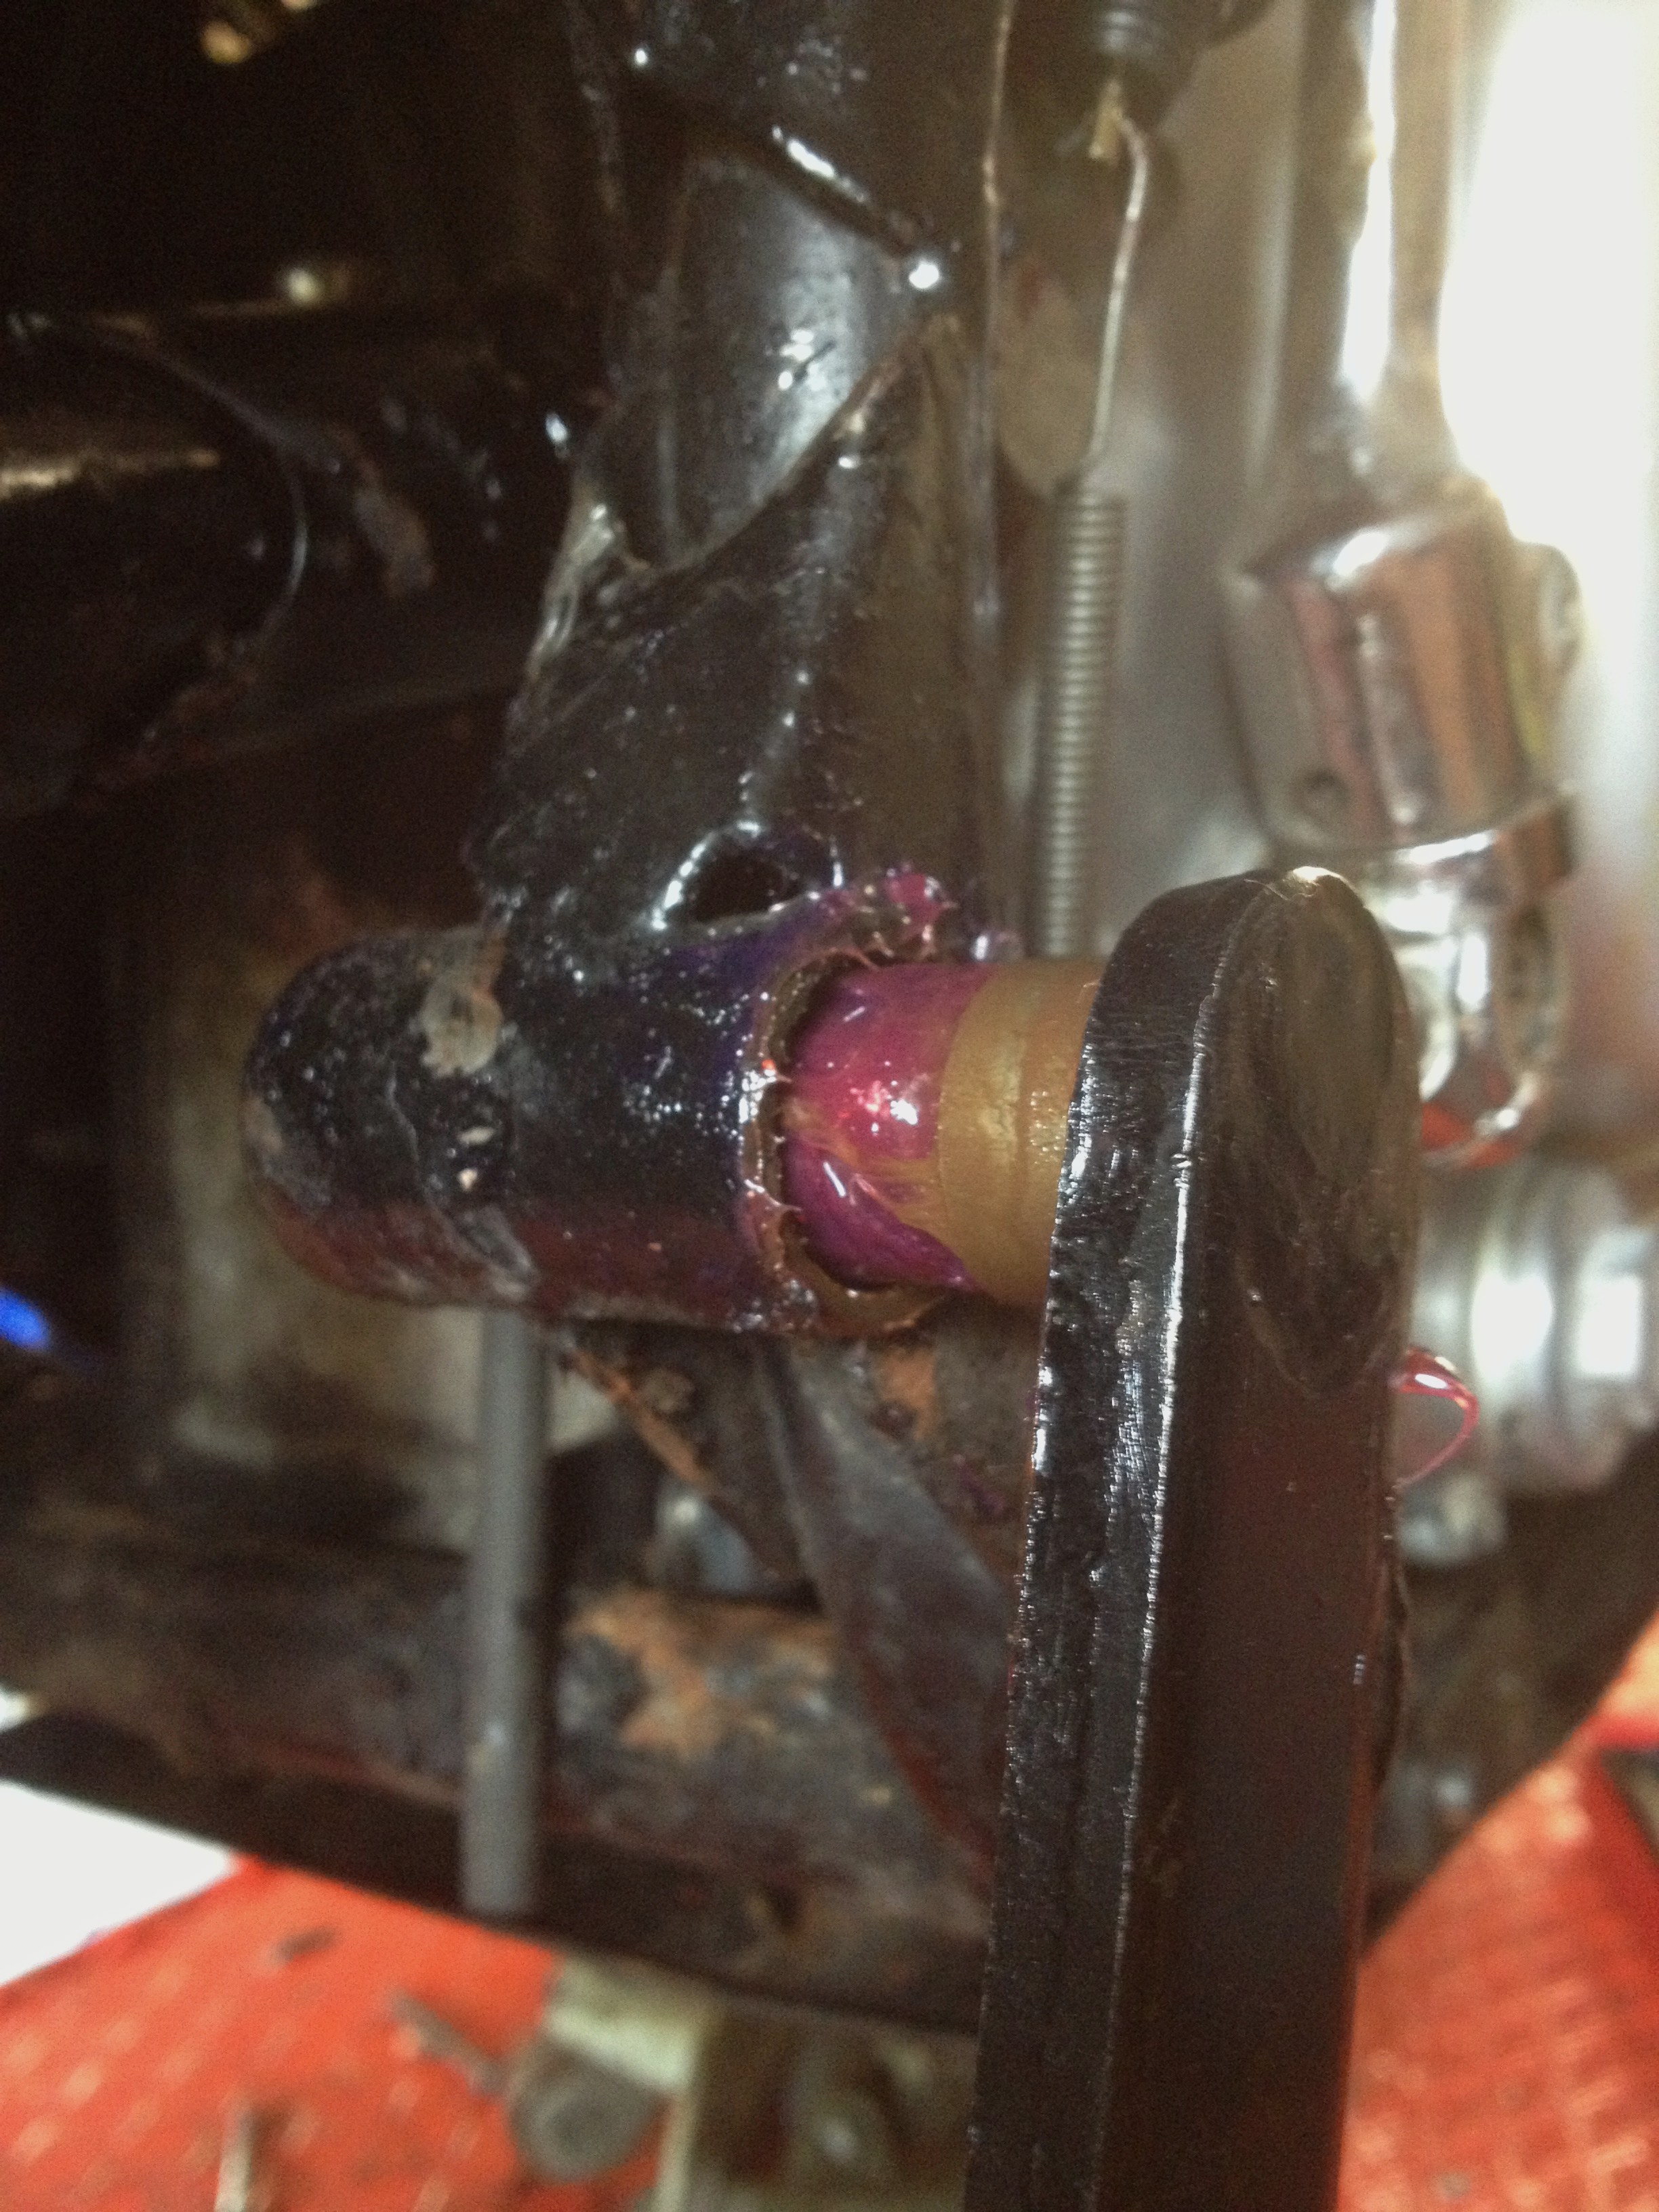
Next the other bits. I started off by disconnecting the rear brake cable at the rear brake arm, then undid and removed the bolt holding the inner front arm onto the brake lever. The inner arm was painted black on the outside by a previous owner, and was also cruddy and rusty.
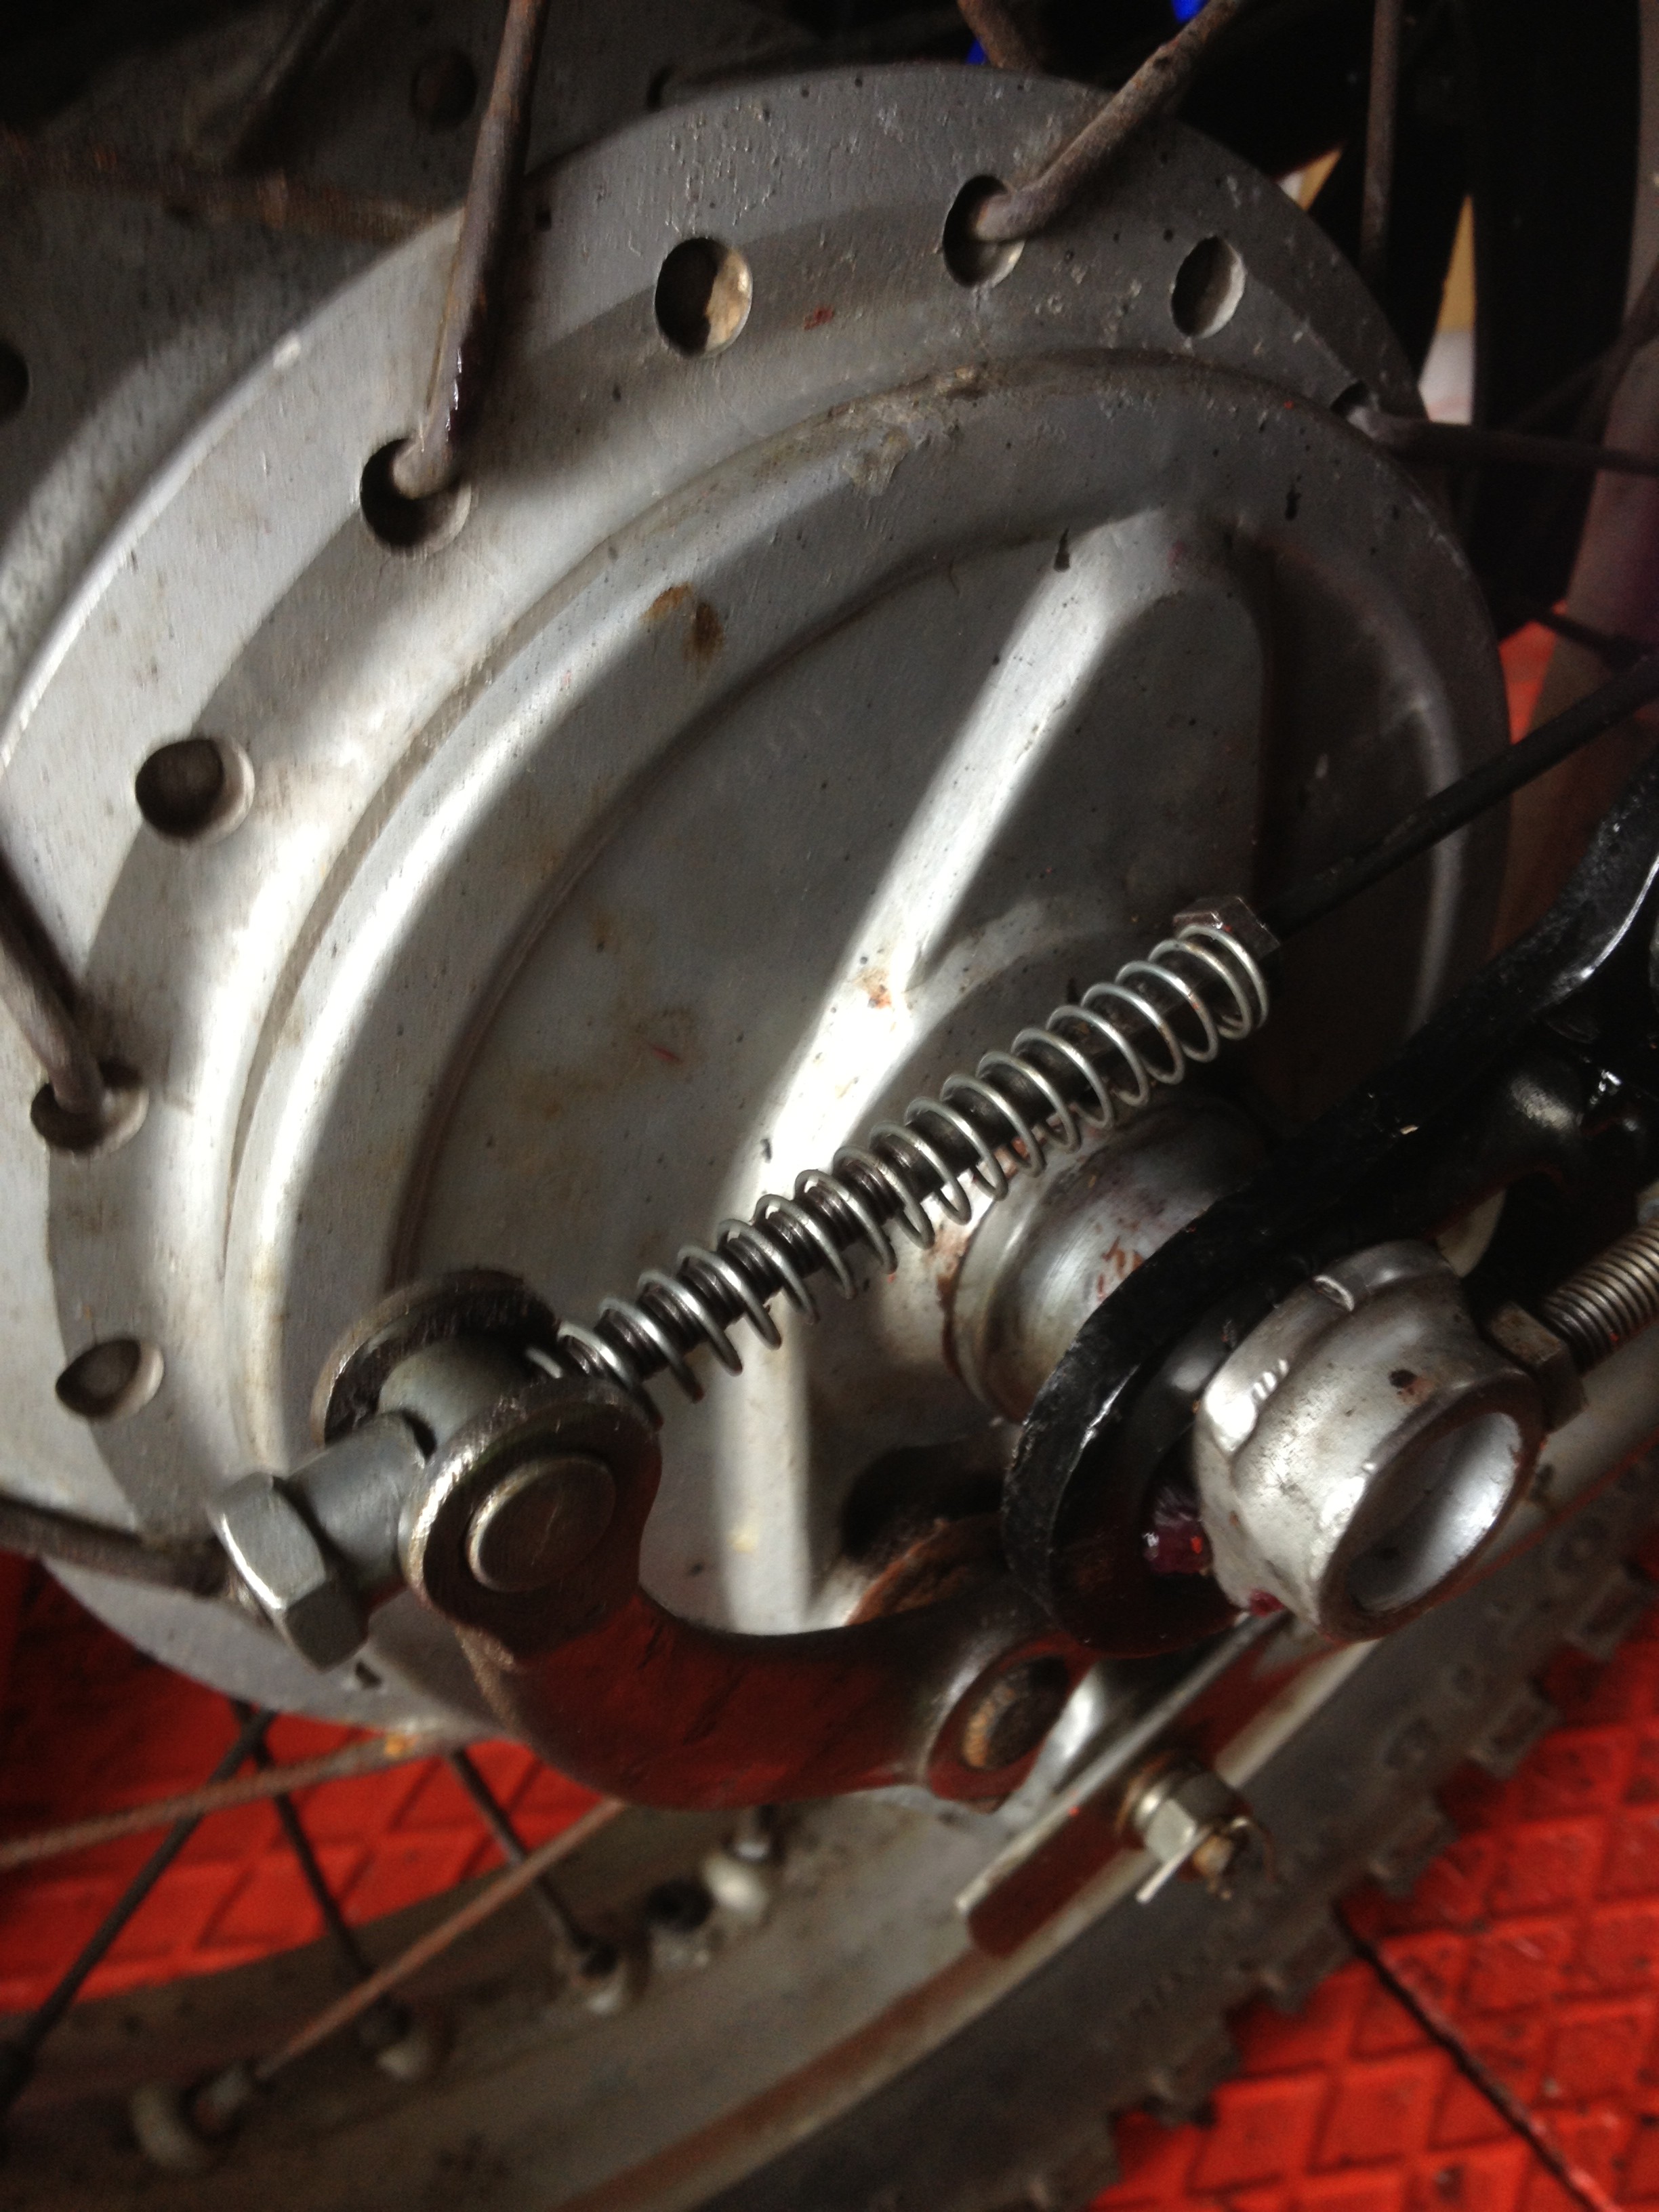
Now you can't just knock the inner lever off, as it just hits the swinging arm, so you need to knock the brake arm shaft off from the left side with a drift (I used a large pozi screwdriver). The inner arm kinda stays put with its spring and the big black brake lever pushes out to the right. You can then remove the inner arm and spring.
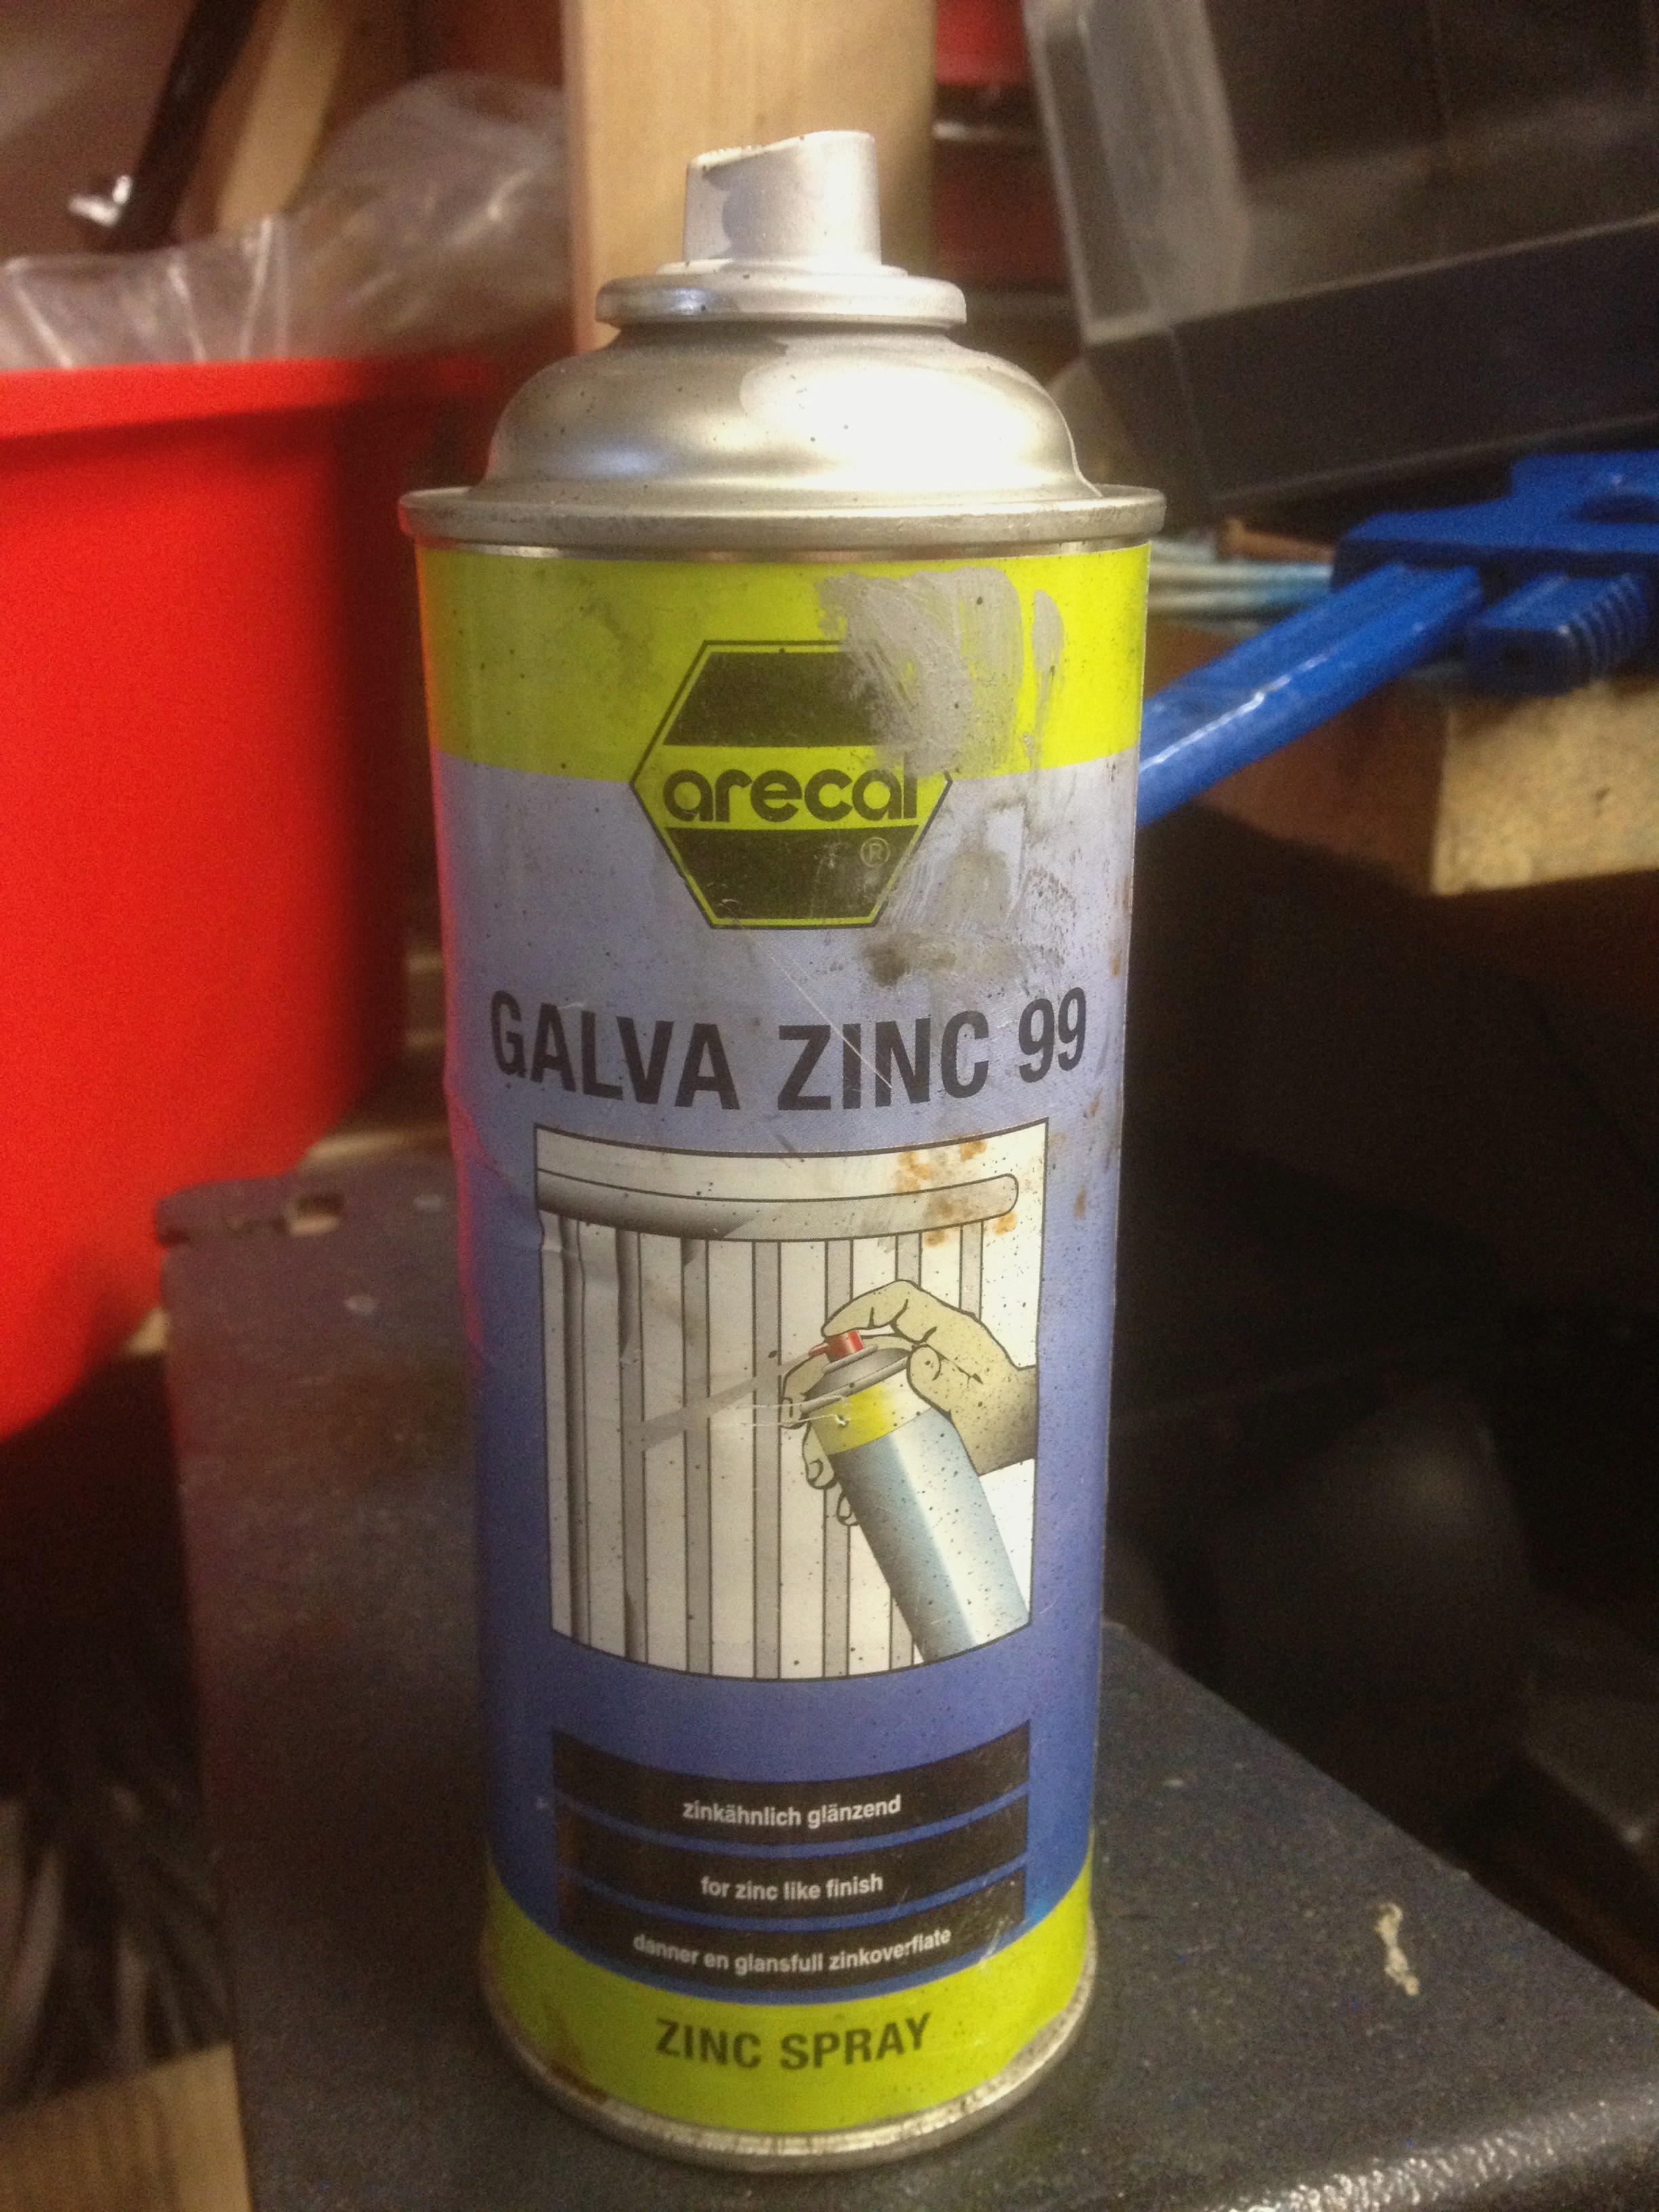
I cleaned up the Honda M8 pinch bolt and as it had lost some plating gave it a coat of cold galv.paint a zinc rich coating, the ones I have are these:
and they are both about the same really good stuff, and refitted it when the time came.
The front end of the rear brake cable is disconnected from the old arm, and having been cleaned etc should be inserted into the new arm (or the old arm if you are re-using it of course) BEFORE FITTING because it is about impossible to do it after, especially without kinking the cable.

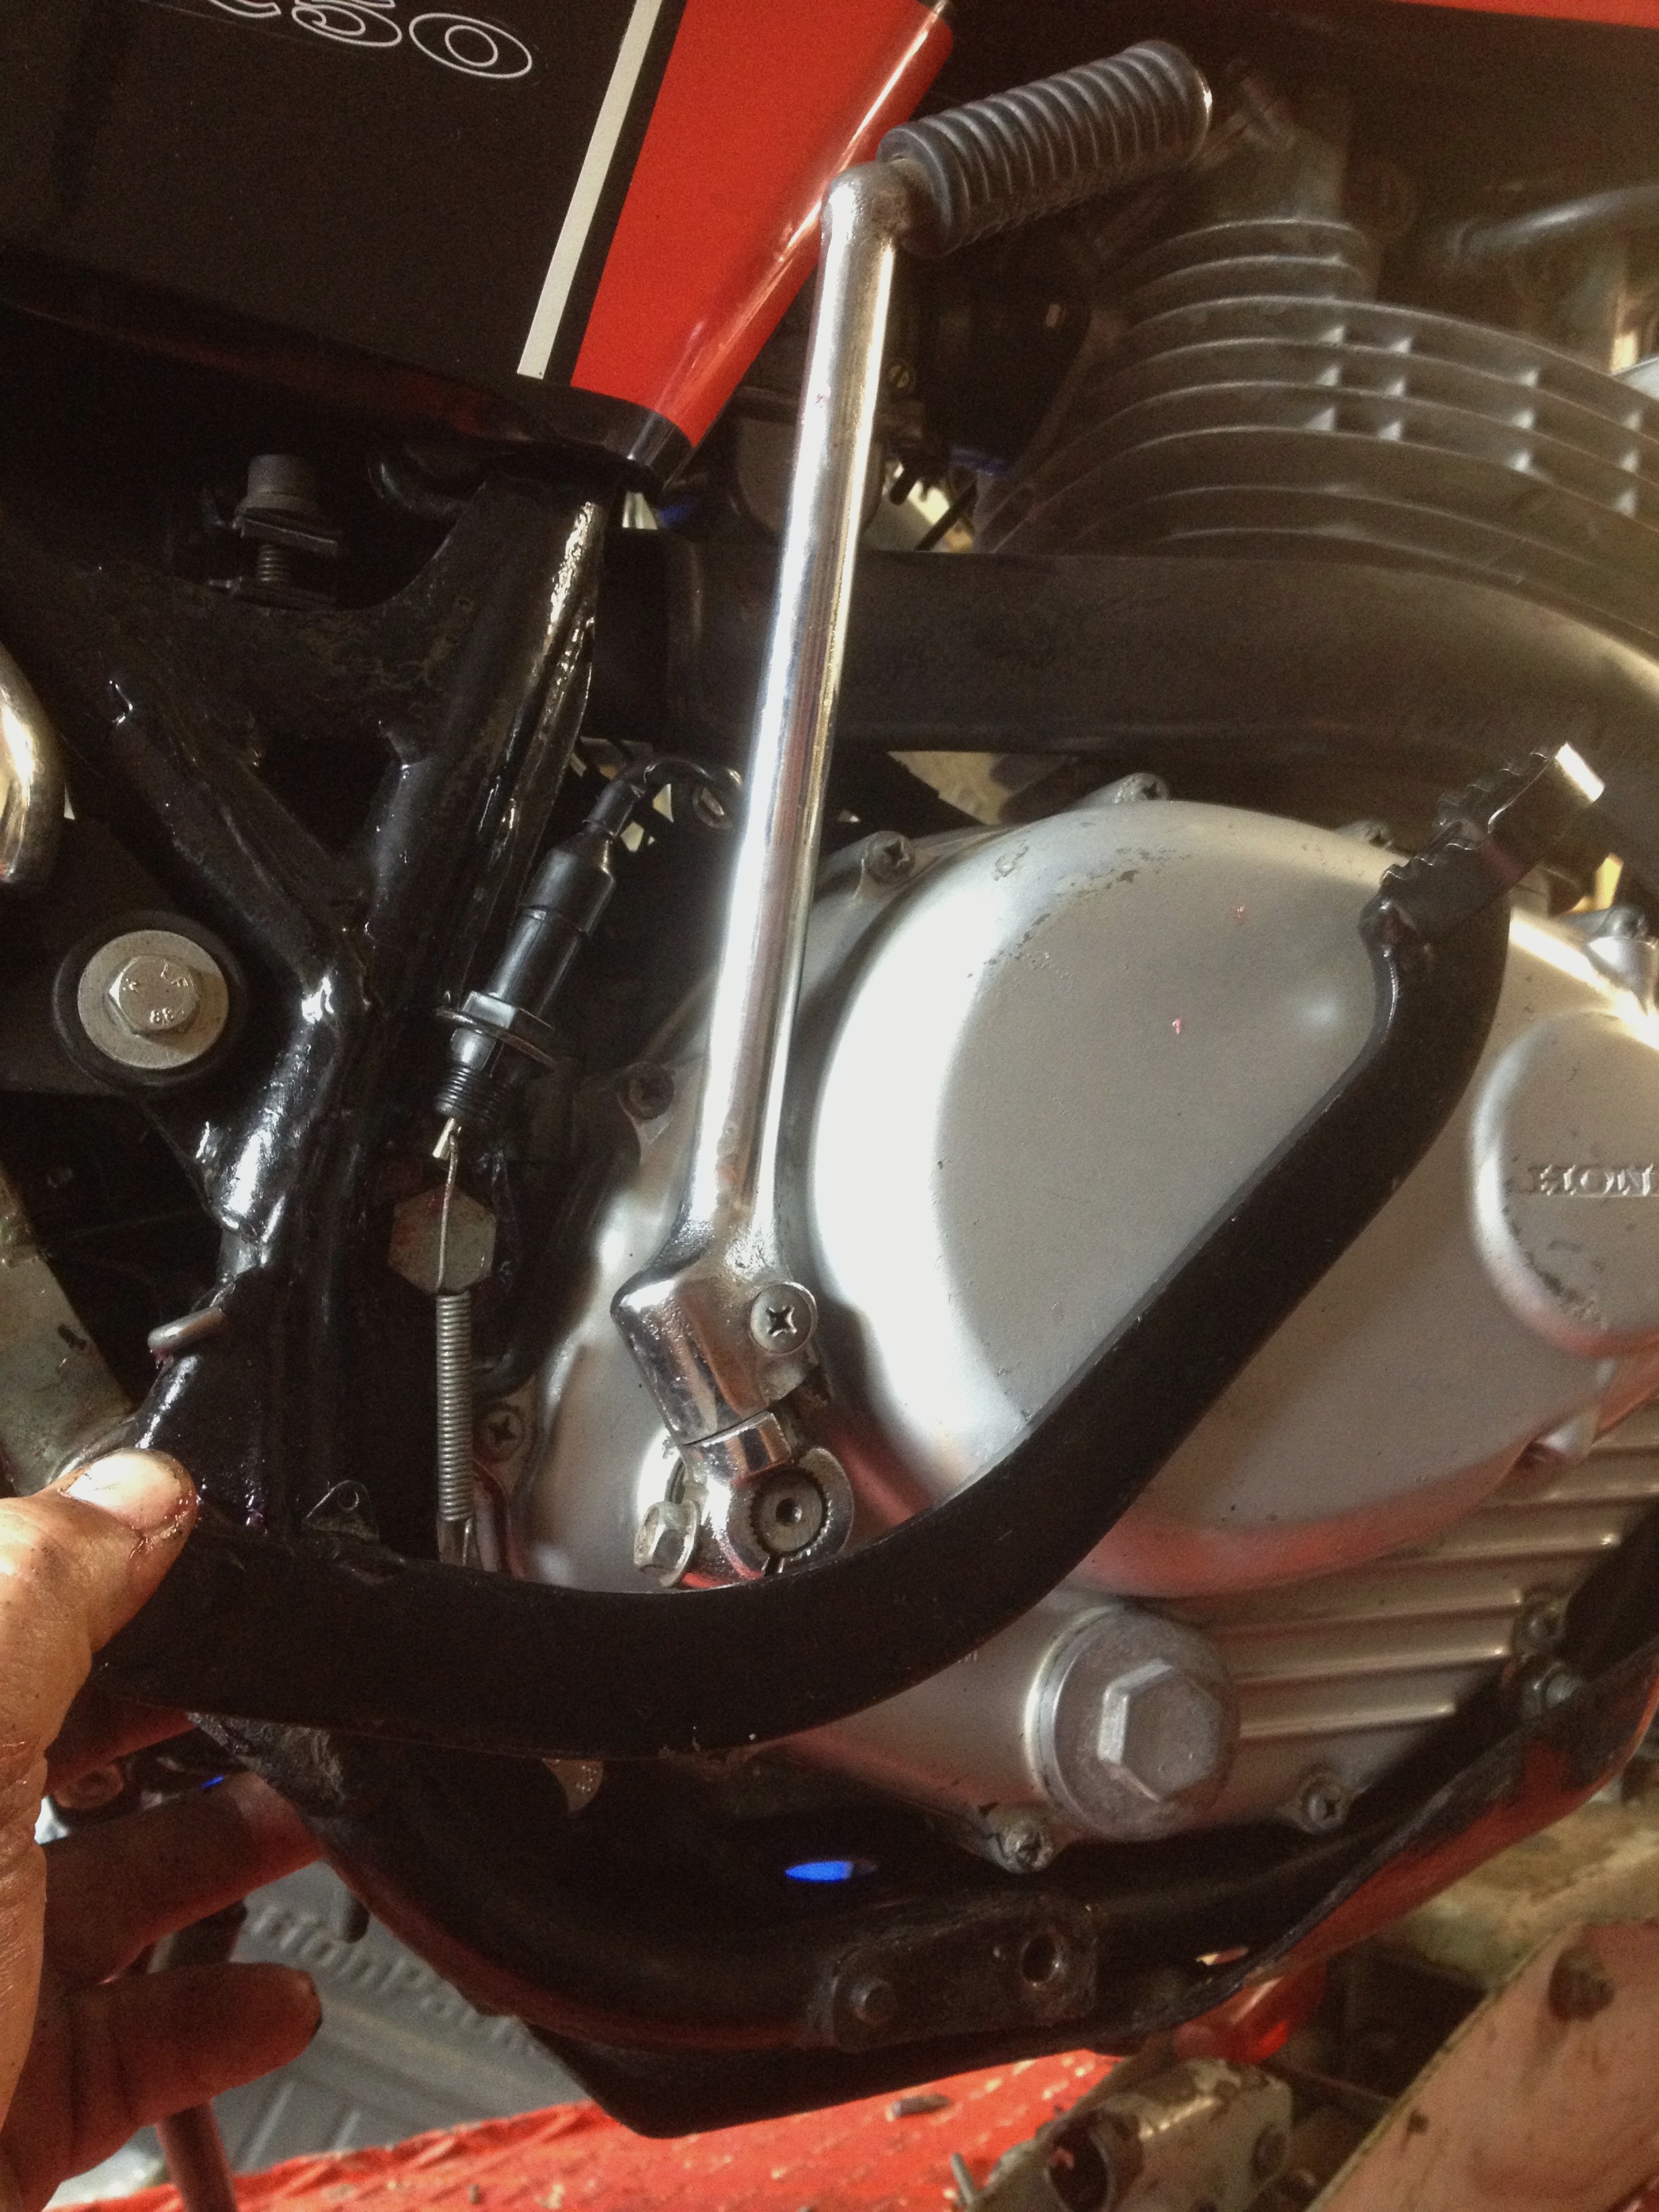
To be able to get some tension on the return spring, you need to remove the front RH footrest, it is only one bolt. Remove the brake arm and clean the splines on a wire brush then replace with some nice new red coloured grease on the shaft. Mine was bone dry.
The brake arm can then be gently lifted up (avoiding scratching the engine cover)
and with a bit of fiddling (and no bolt in it) the inner arm and spring can be replaced by holding them in position, note the cable is already attached.
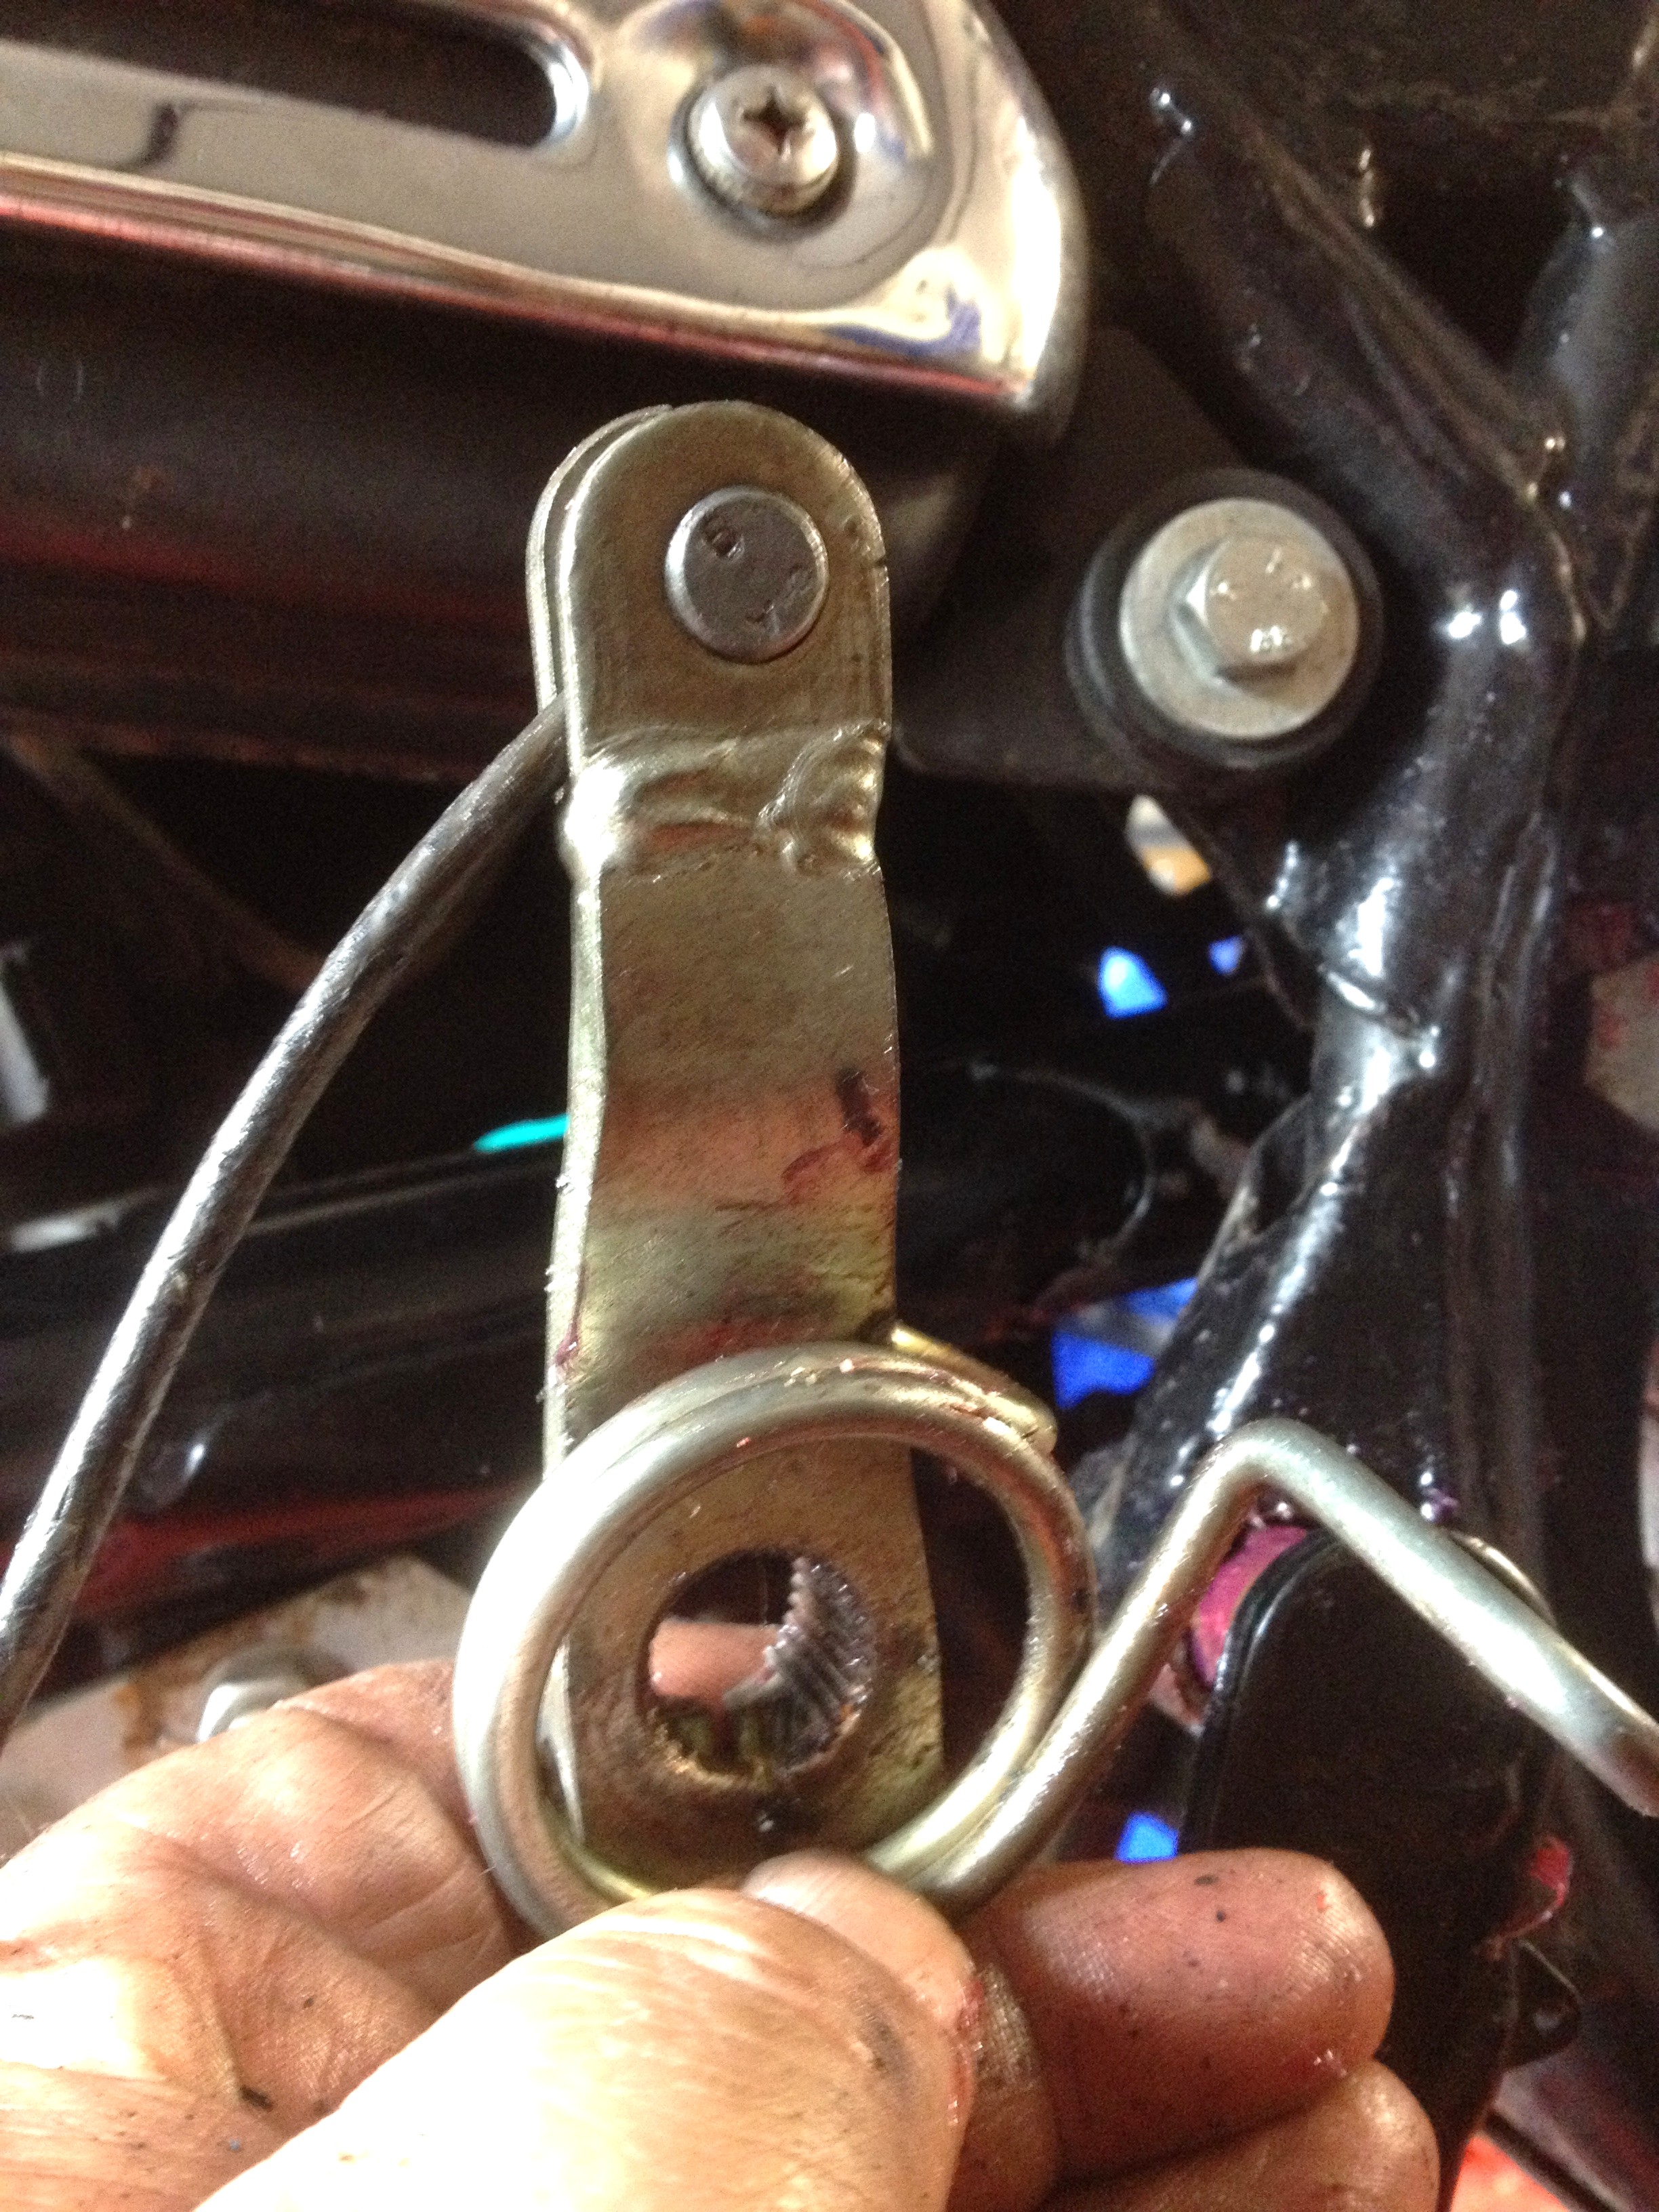
and tapping onto the shaft with gentle taps of a hammer.
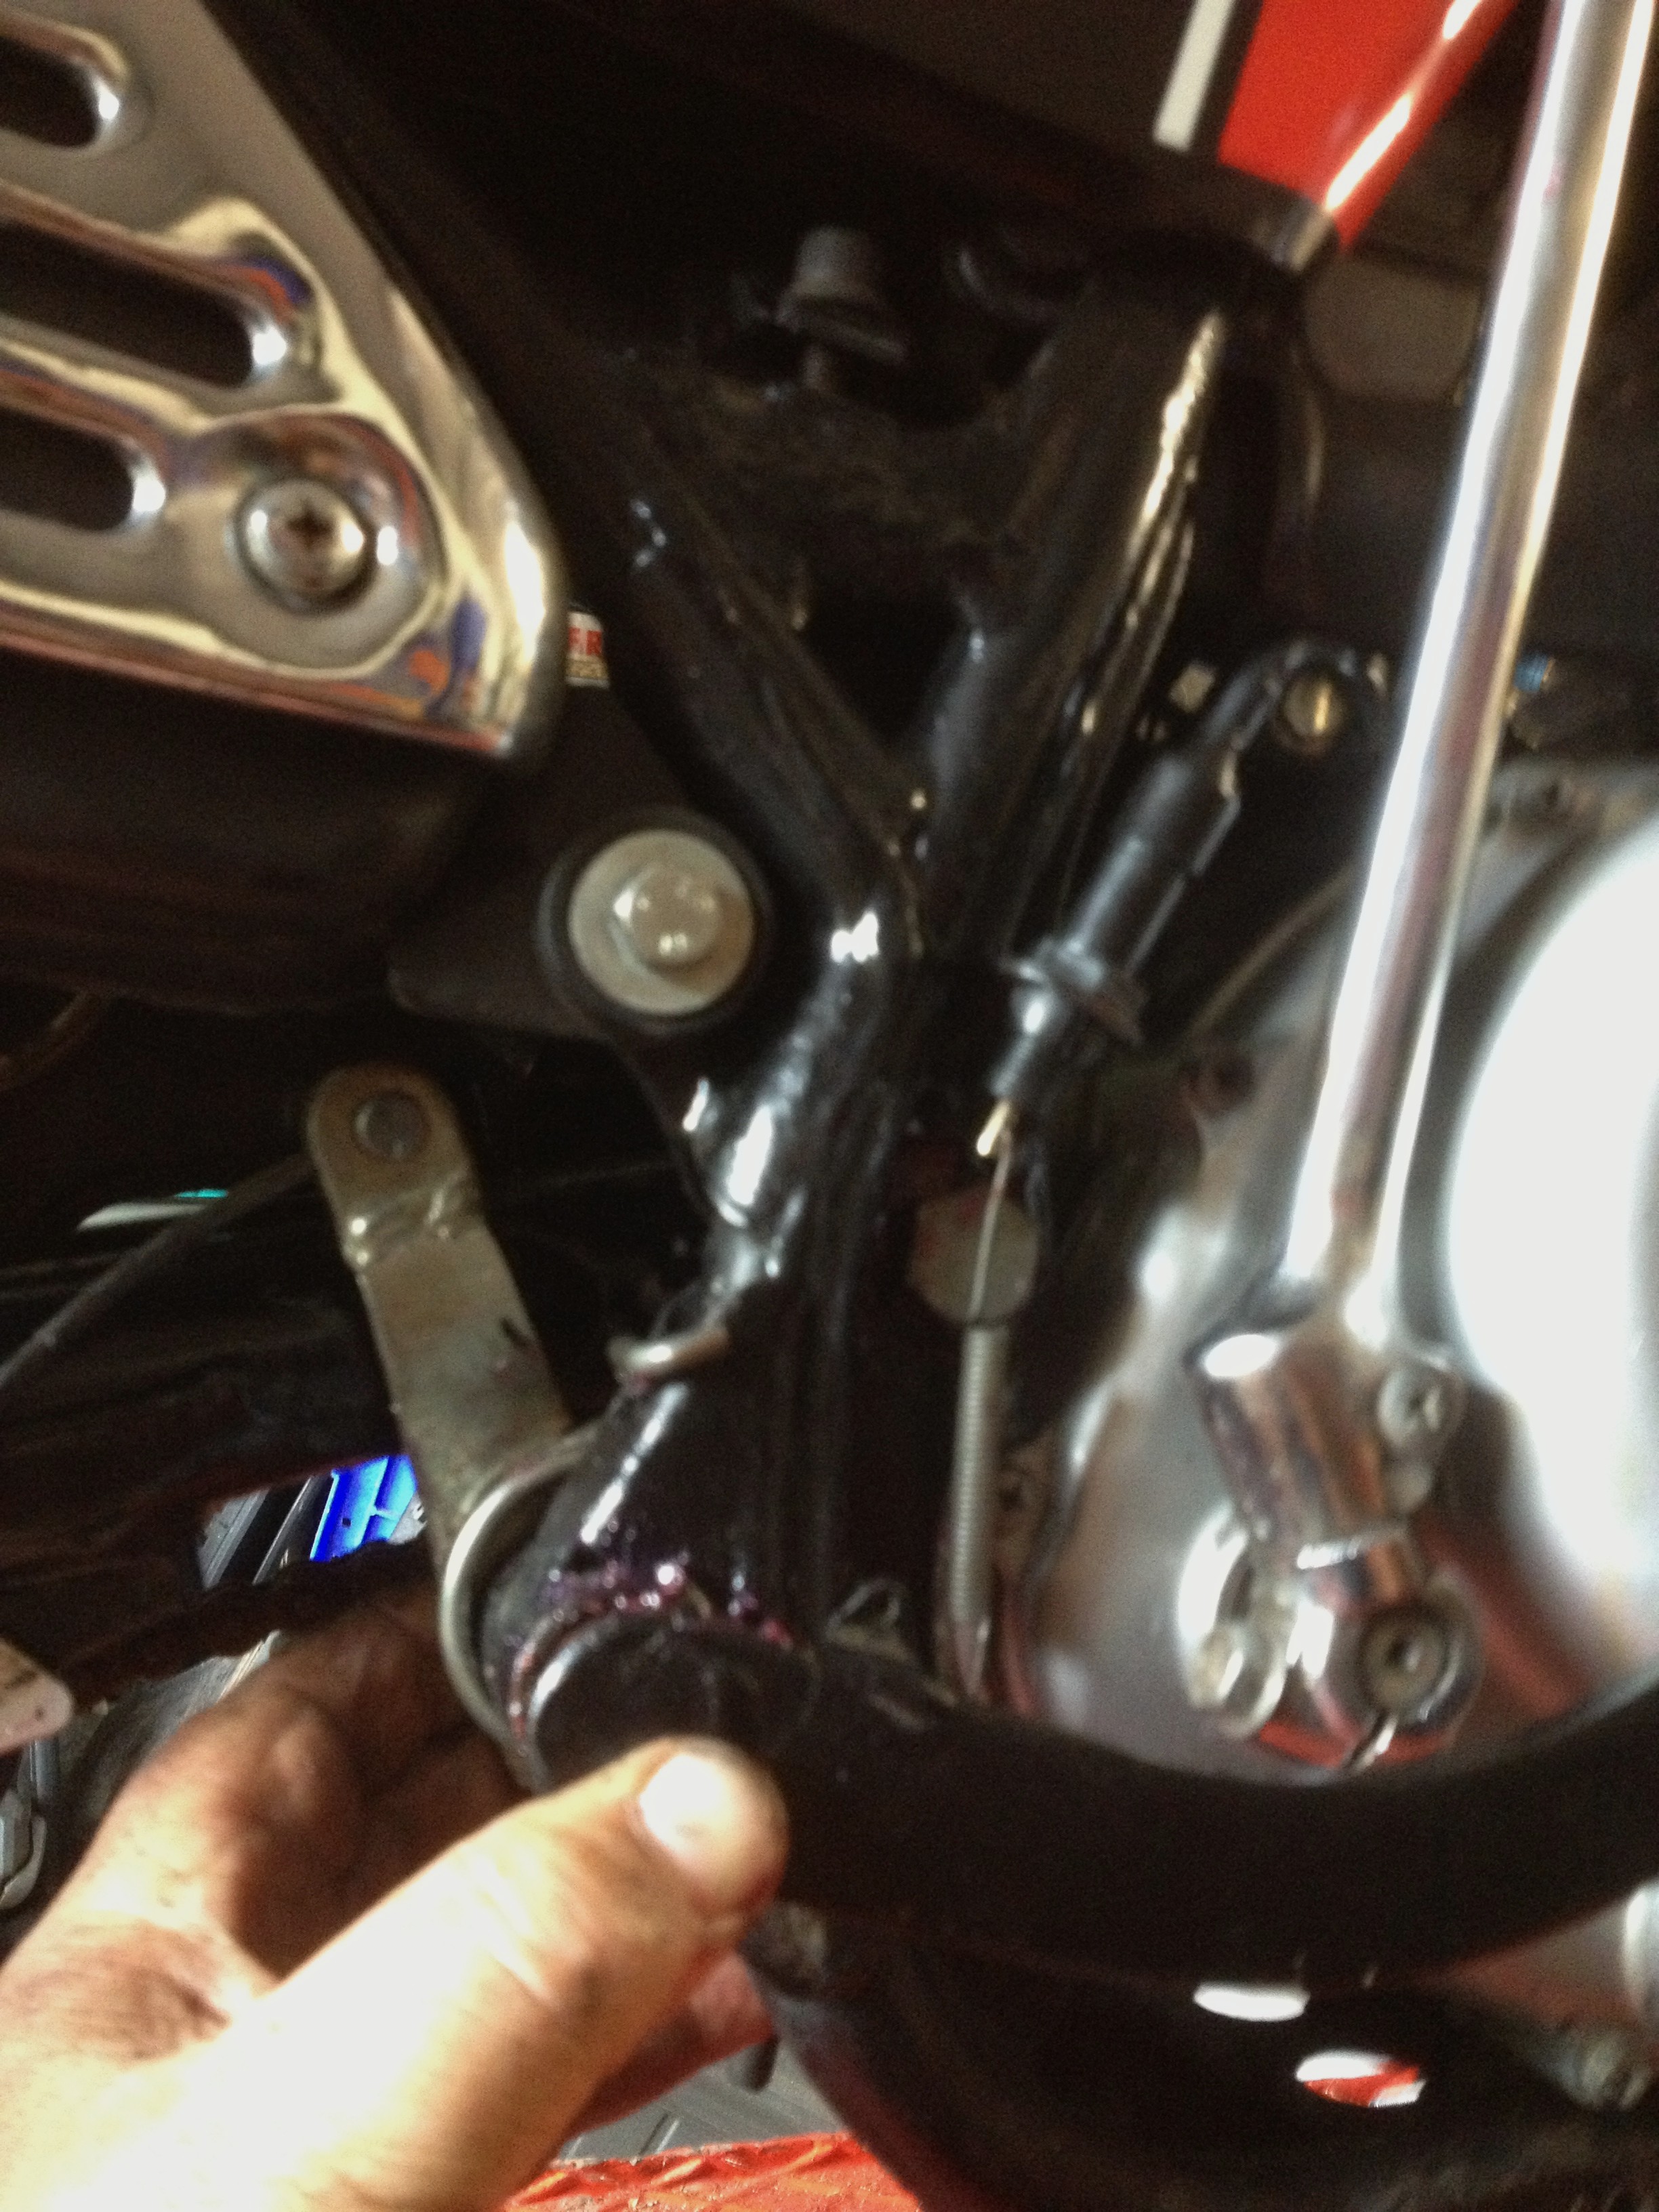
Only when fitted onto the nice newly greased shaft should the bolt be put into position and tightened with a little Loctite on the threads..
Then refit the footrest, again using loctite on the bolt.
Next job is to refit the rear brake cable adjusting spring and nut onto the rear hub brake actuating arm.
Finally, refit the brake switch return spring onto the switch and brake lever and adjust so there is a reasonable action for the rear brake lever (not too much not too little)
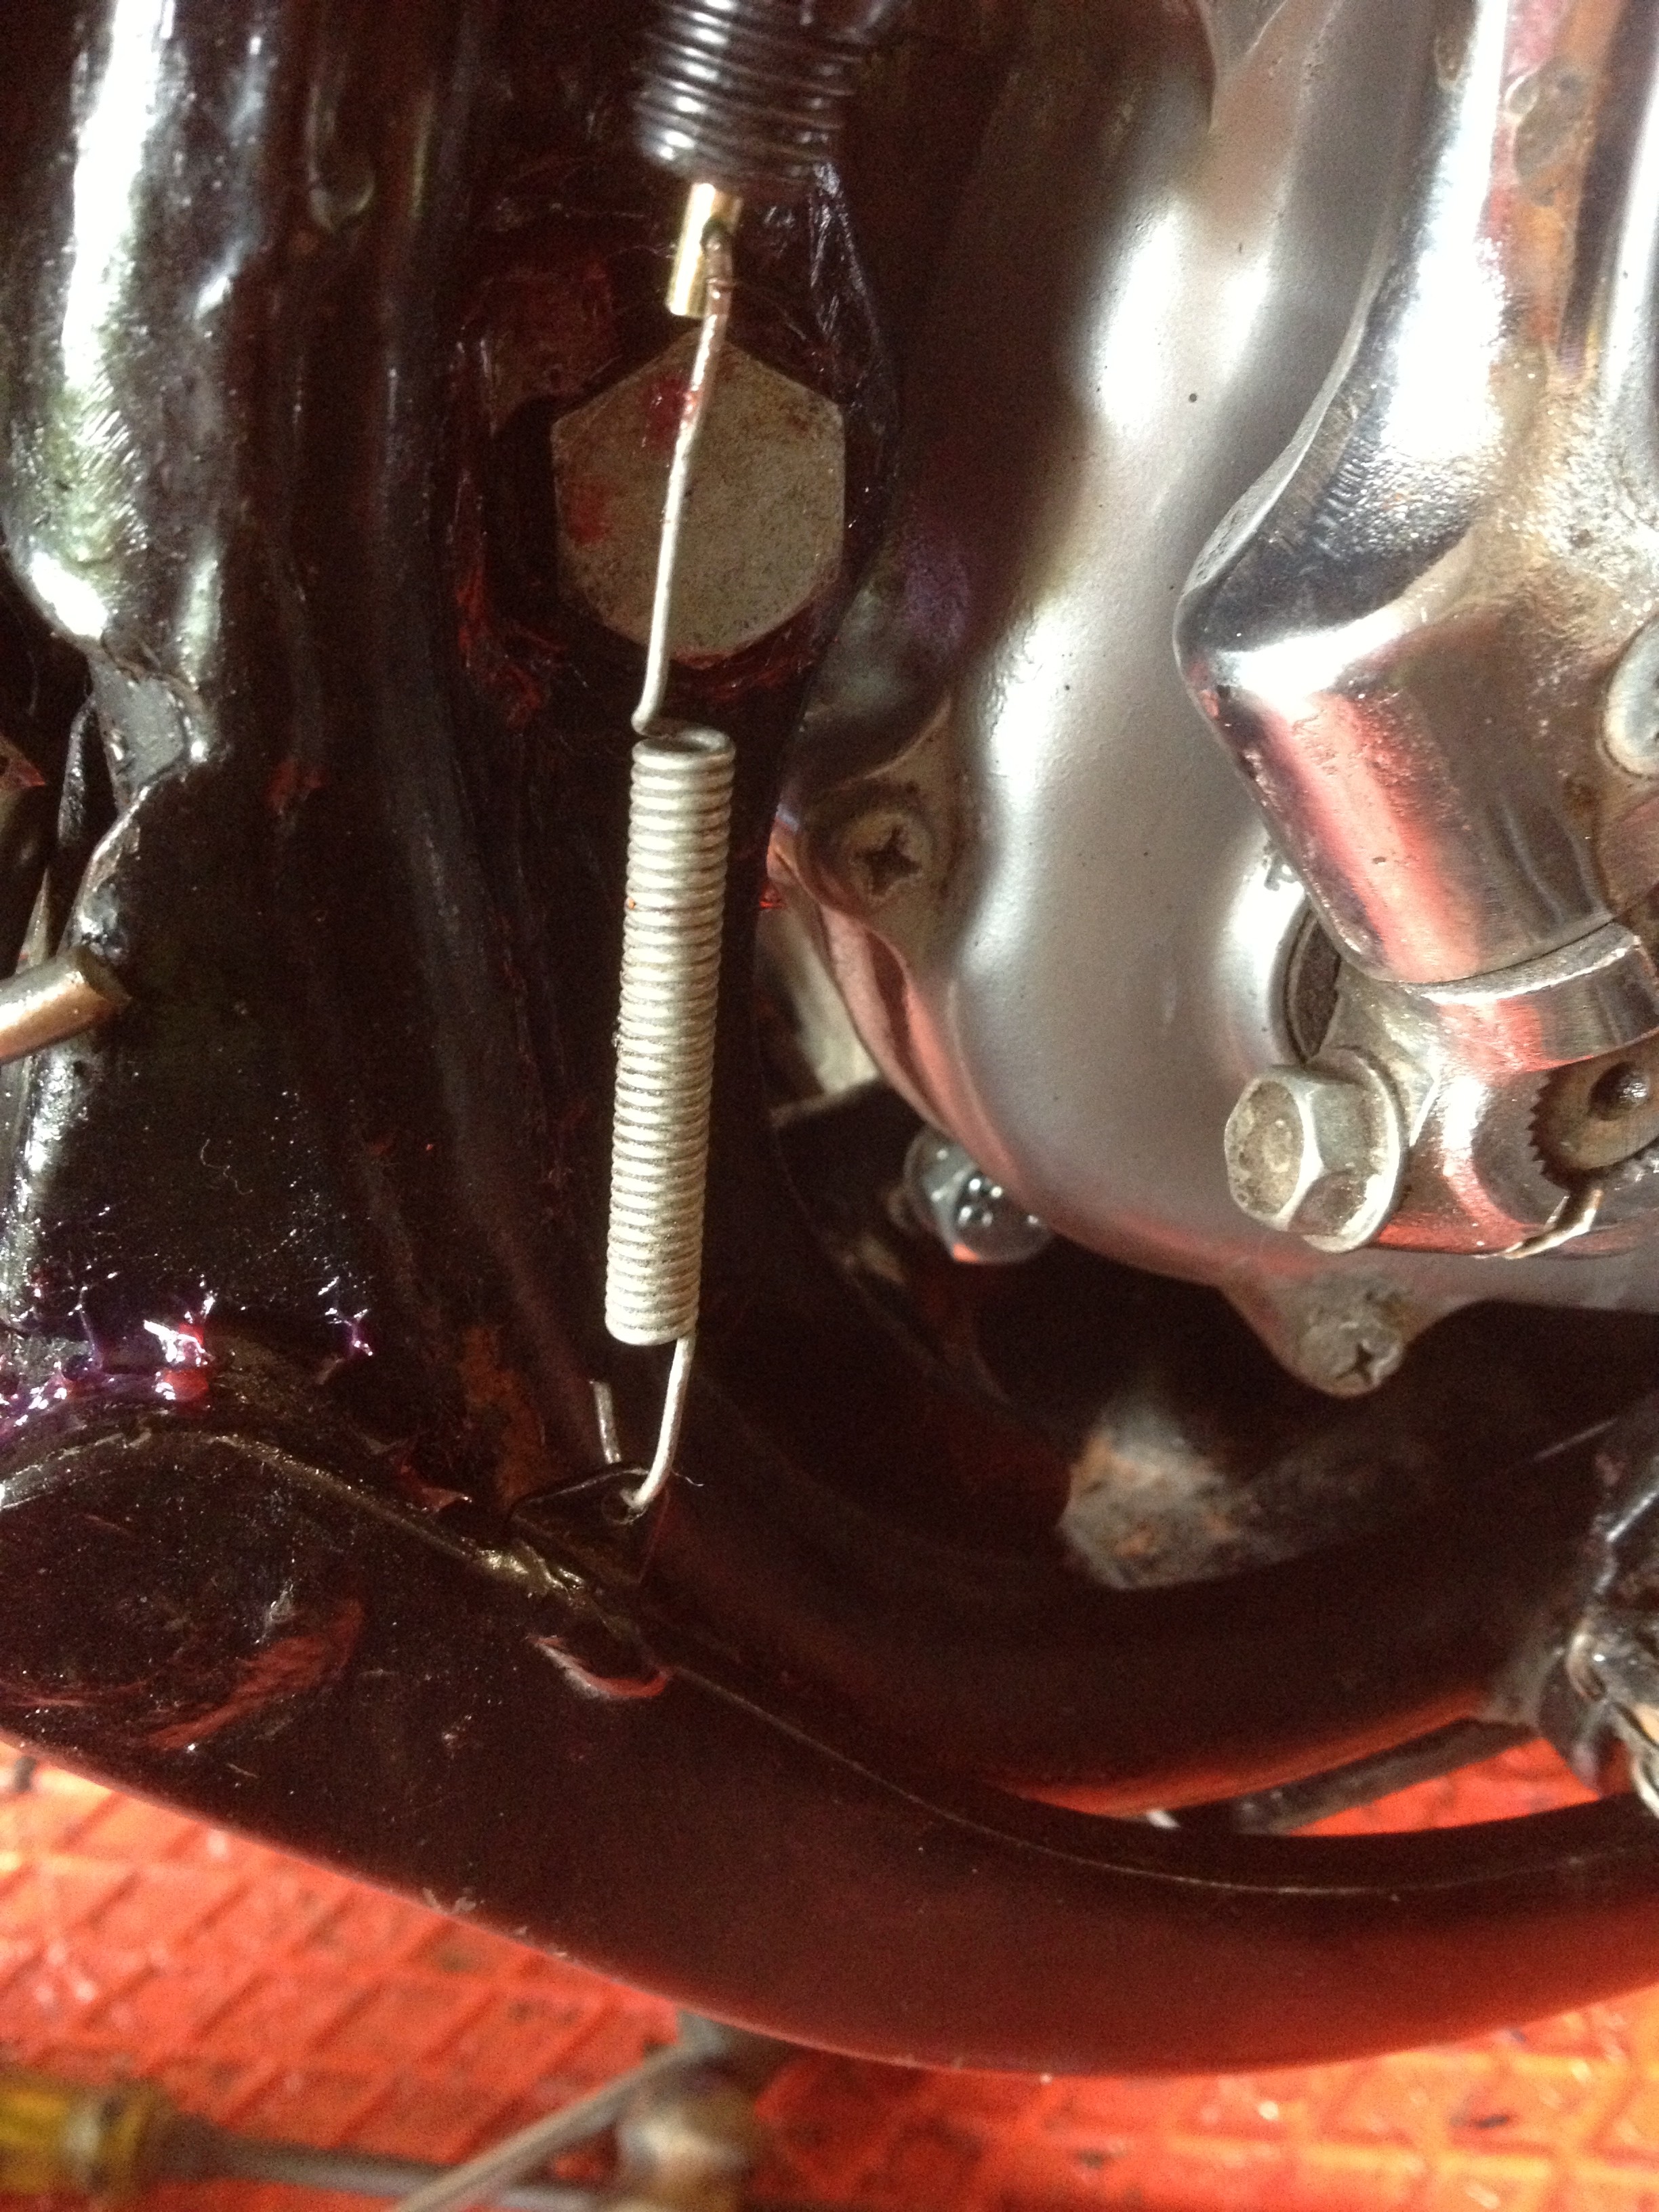
and that action works the switch OK. You have to have the ignition on for this.
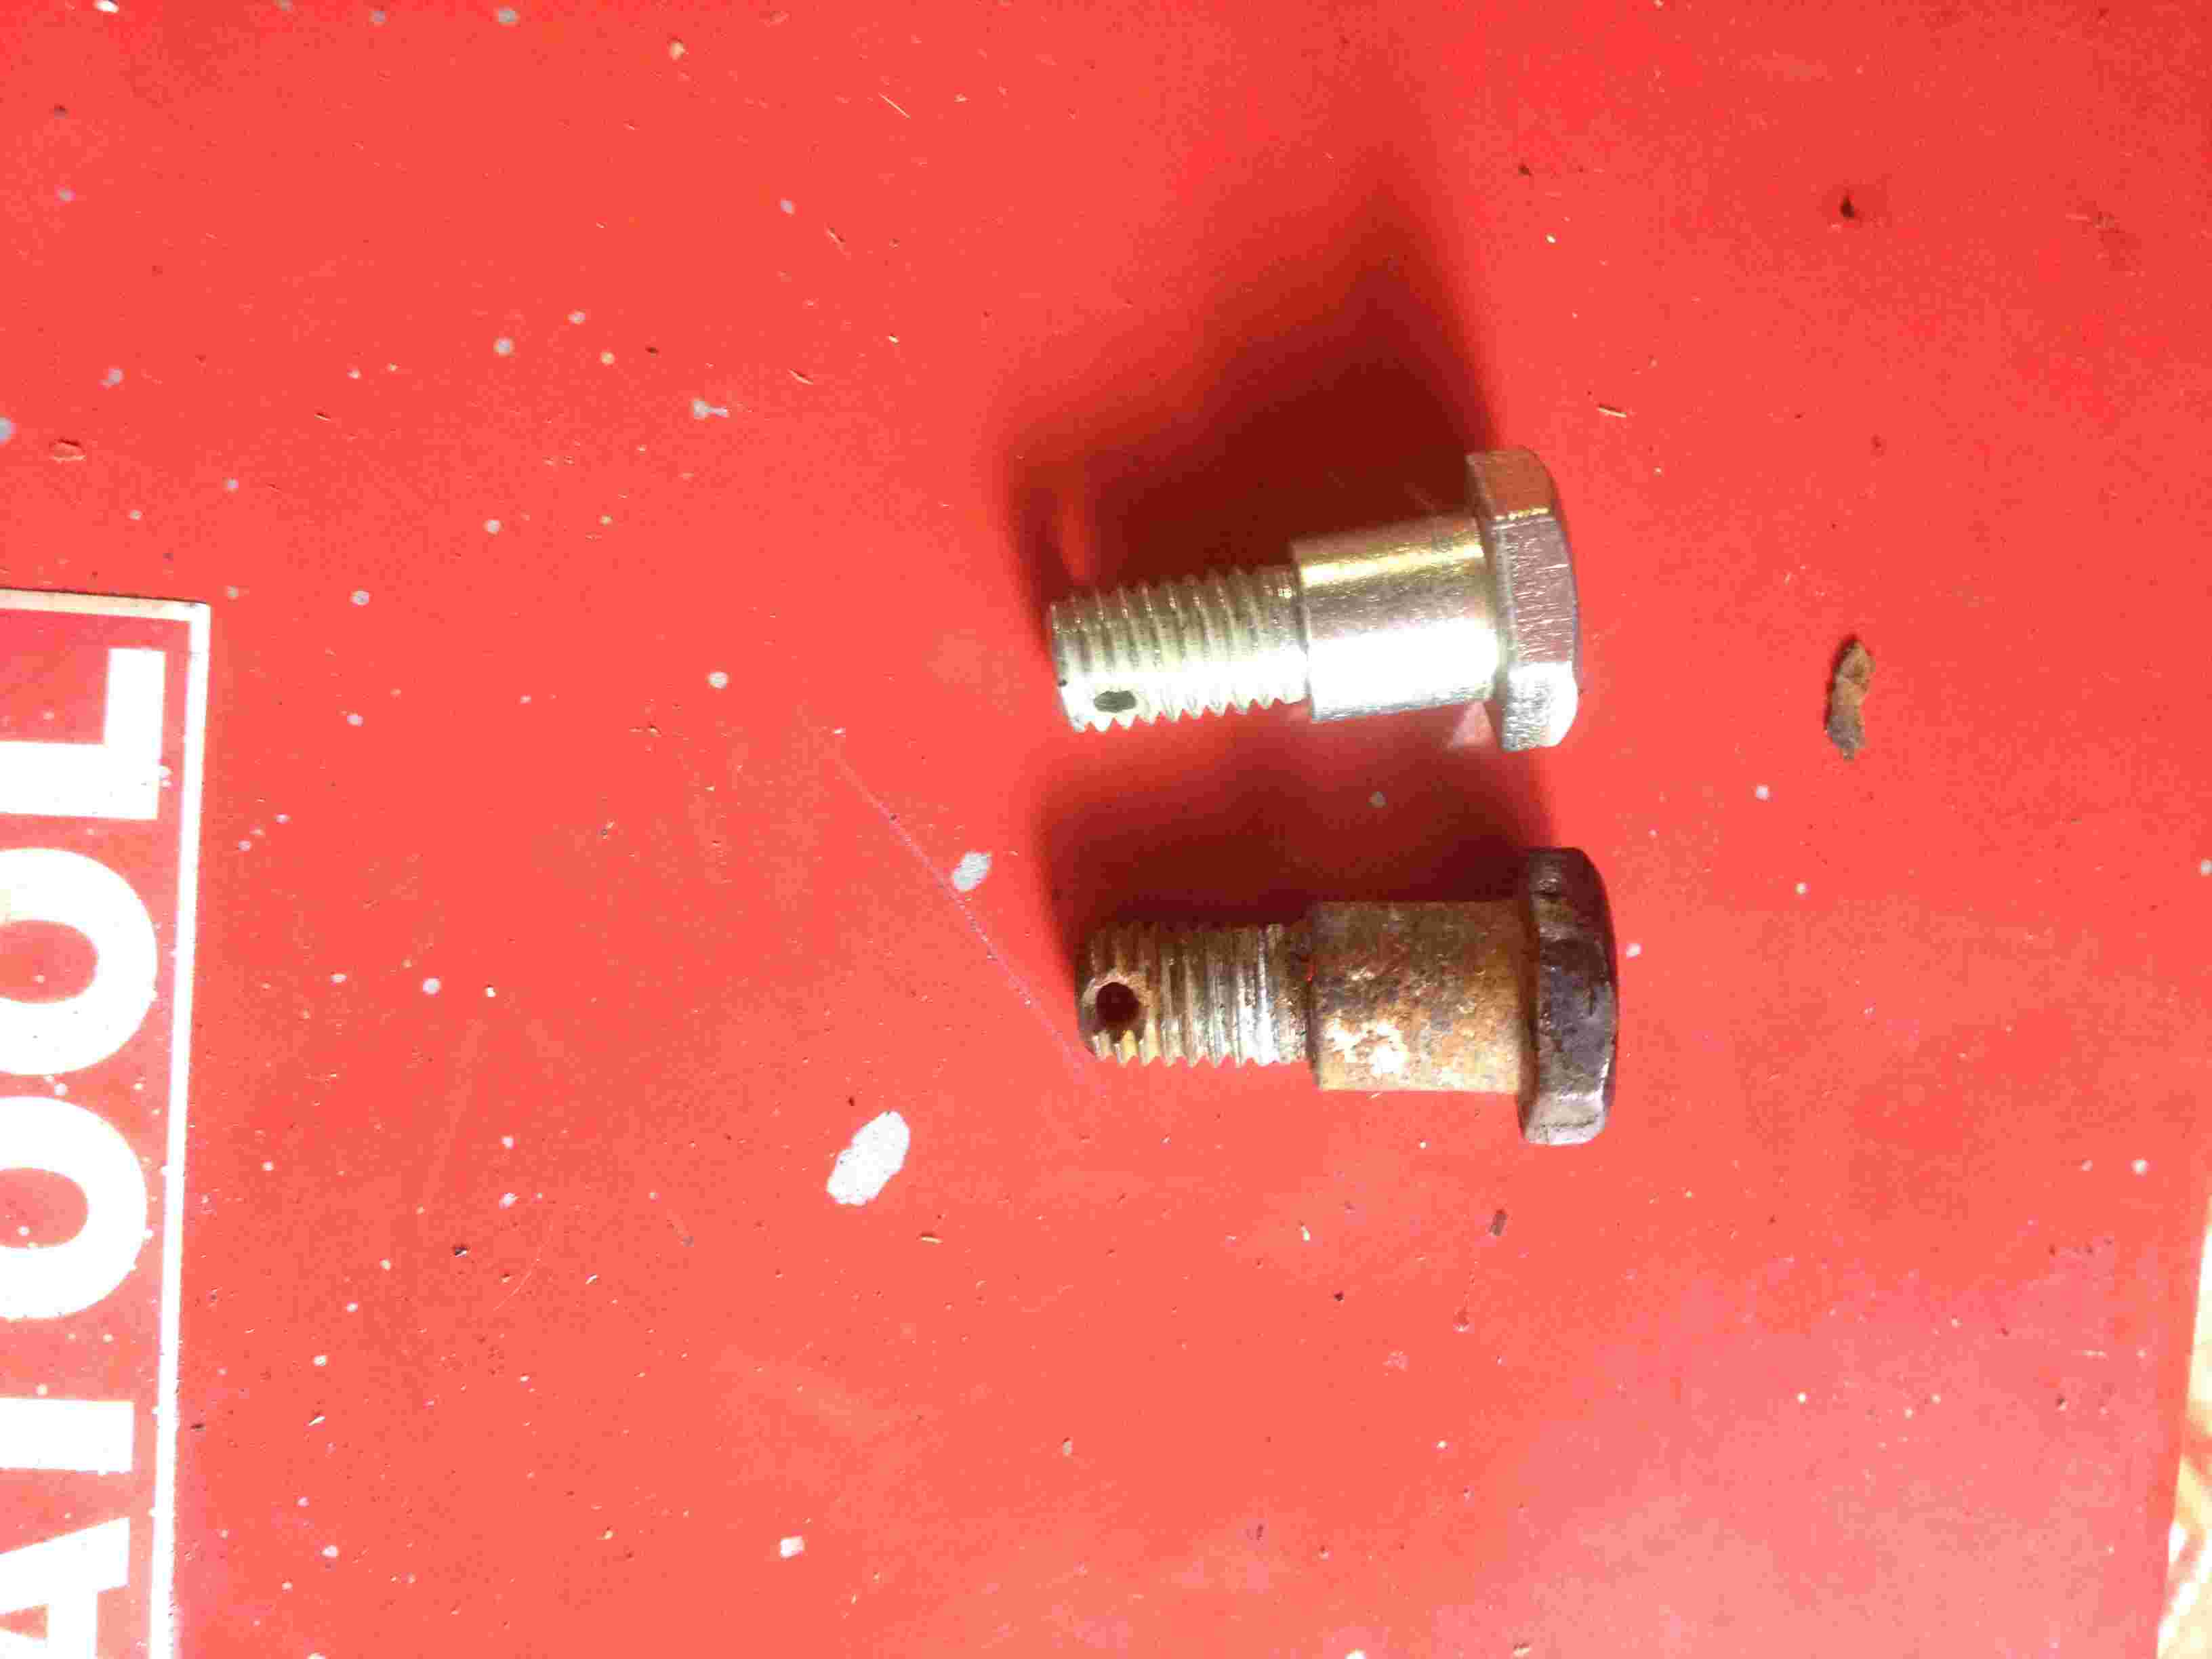
Whilst I was on that bit of bike I found I had a better front brake stay bolt than the shitty one that was on it so I put the new one on.
Then tidy up, wash hands and take the bike for a spin.
The effect is a nicer looking bike and everything works like Mr. Honda wanted, and you deserve a cold beer.